


A free-to-all post about fitting locks, in this case, on a chest….]
The first box I have to make this year is a custom piece; including initials and a lock. The whole shebang. I don’t often get a chance to use locks. Most every case piece (chest, box, cupboard, cabinet, even chests of drawers) were usually fitted with locks.
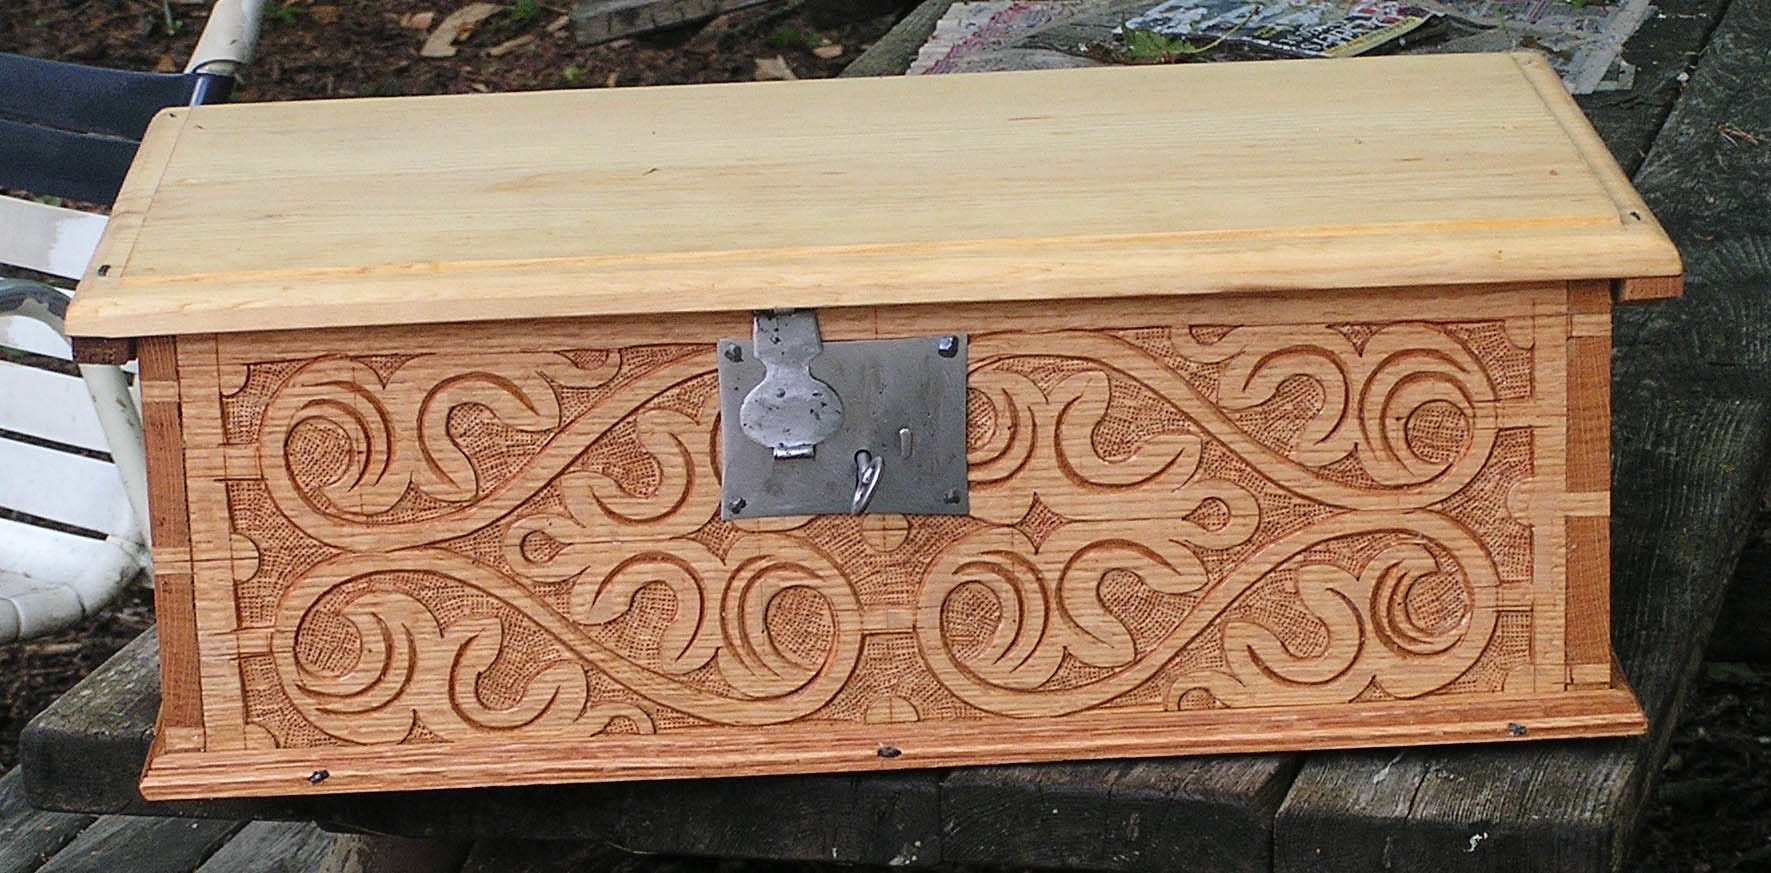
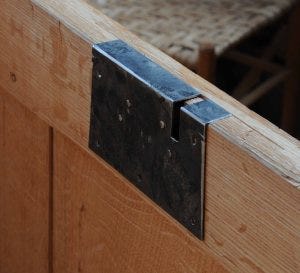
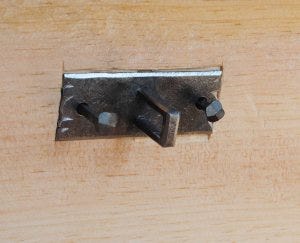
The boards for the box I’m making are just about ready so I thought it was time for me to review how on earth I go about fitting them. This is the sort of lock that I have for the upcoming box, here on one from early 2000s. The hasp is nailed to the underside of the lid, flops down into the guts of the lock in the front and the key slides a bolt through the hasp.
I don’t have a blow-by-blow of how I fit those locks, but I did find one for a chest lock- so today’s post is a re-hash of one from 2018 on my old blog. Here goes:
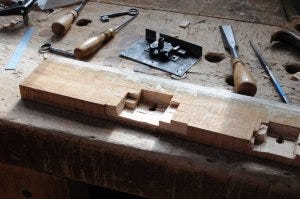
I was fitting it in a chest, not a box. I don’t often do these so I cut an entire housing in a piece of scrap first.
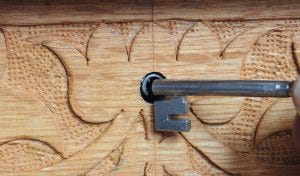
After taking some measurements from the lock, I scribed a centerline and then located the keyhole. When I bored it, I used a square to help align the bit.
One step I forgot on the box lock the other day was the housing on the top edge of the rail/box front. Here I marked it out with a chisel, then chopped & pared it. This notch is quite shallow, but helps snug the lock down into place.
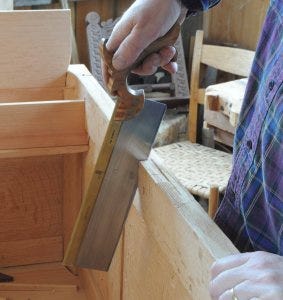
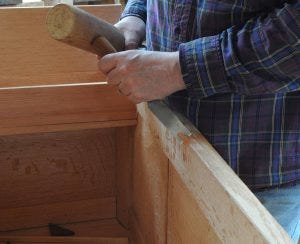
Next comes sawing, chopping and paring to cut the multi-tiered housing for the lock and its moving parts. I scribed the limits with an awl & square, and marking gauge.
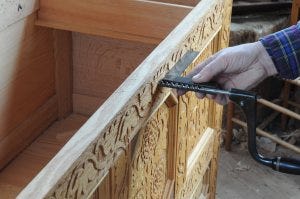
When chopping, I braced my hip/gut against the chest front to support it while knocking against it. I wish I had cut this when the parts were un-assembled…but if wishes were horses, beggars would ride.
It’s easy to cut the depth of this housing un-even. I kept chopping and then paring across the grain.
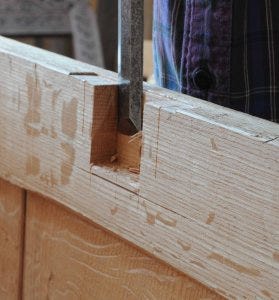
This is the housing just about done – it needs to go lower to reach down to the scribed line.
At this point, I got the lock ready to install, but first had to extend the keyhole. I scribed about the bottom of the key, and bored & chopped the rest.
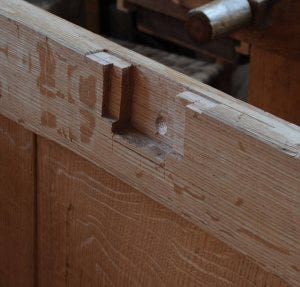
Still not installed; I get it this far – then scribe the rectangle where the staple from the lid will fall into the lock. That wood needs to be cut away.
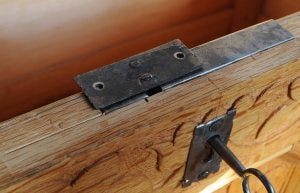
At this stage, I’ve nailed the lock in place, and added the escutcheon too. Its nails are quite short, if they are too long, they can interfere with the lock. Once it’s done, I lock the staple in place and mark the underside of its plate with a Sharpie/felt marker – then close the chest lid. And lean on it.
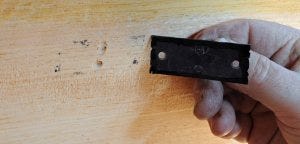
That leaves some impressions in the underside of the chest lid. Two divots from the feet of the staple. And a smudgy black rectangle showing where to pare the lid to engage the plate. I took a small carving gouge to hollow out a spot for the staple’s feet.
A benefit of a pine lid is that this operation is easily done. Well, still awkward up in the air, but it’s not oak at least.
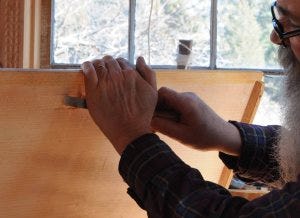
Once I had it where I wanted it, I bored pilot holes for the nails. Reamed those holes, and drove the nails.
Then, test the lock & key. If all goes well, then you clinch those nails on top of the lid.
I wanted to see how the lock worked from the inside. But it’s very dark in there. If you’re going to be locked inside for any duration, I suggest bringing a light.
Love the video. It what I'll see when Lucy puts me in the casket.
Good morning Peter!