


Wainscot chairs, pt 2

[a follow-up to yesterday’s post about wainscot - or “joined” - chairs. This one’s free to all subscribers - thanks for all the support here, I appreciate it.]
The previous post could have gone on forever, wainscot chairs are a pretty big subject. I thought I’d better do part 2 right away before I forget about it. In that post, I talked about a couple of format concepts- how the side rails join the stiles and also the crest rail-to-stiles joinery; two options - between the rear stiles or mounted on top of them. This post takes a more detailed look at those rear stiles -
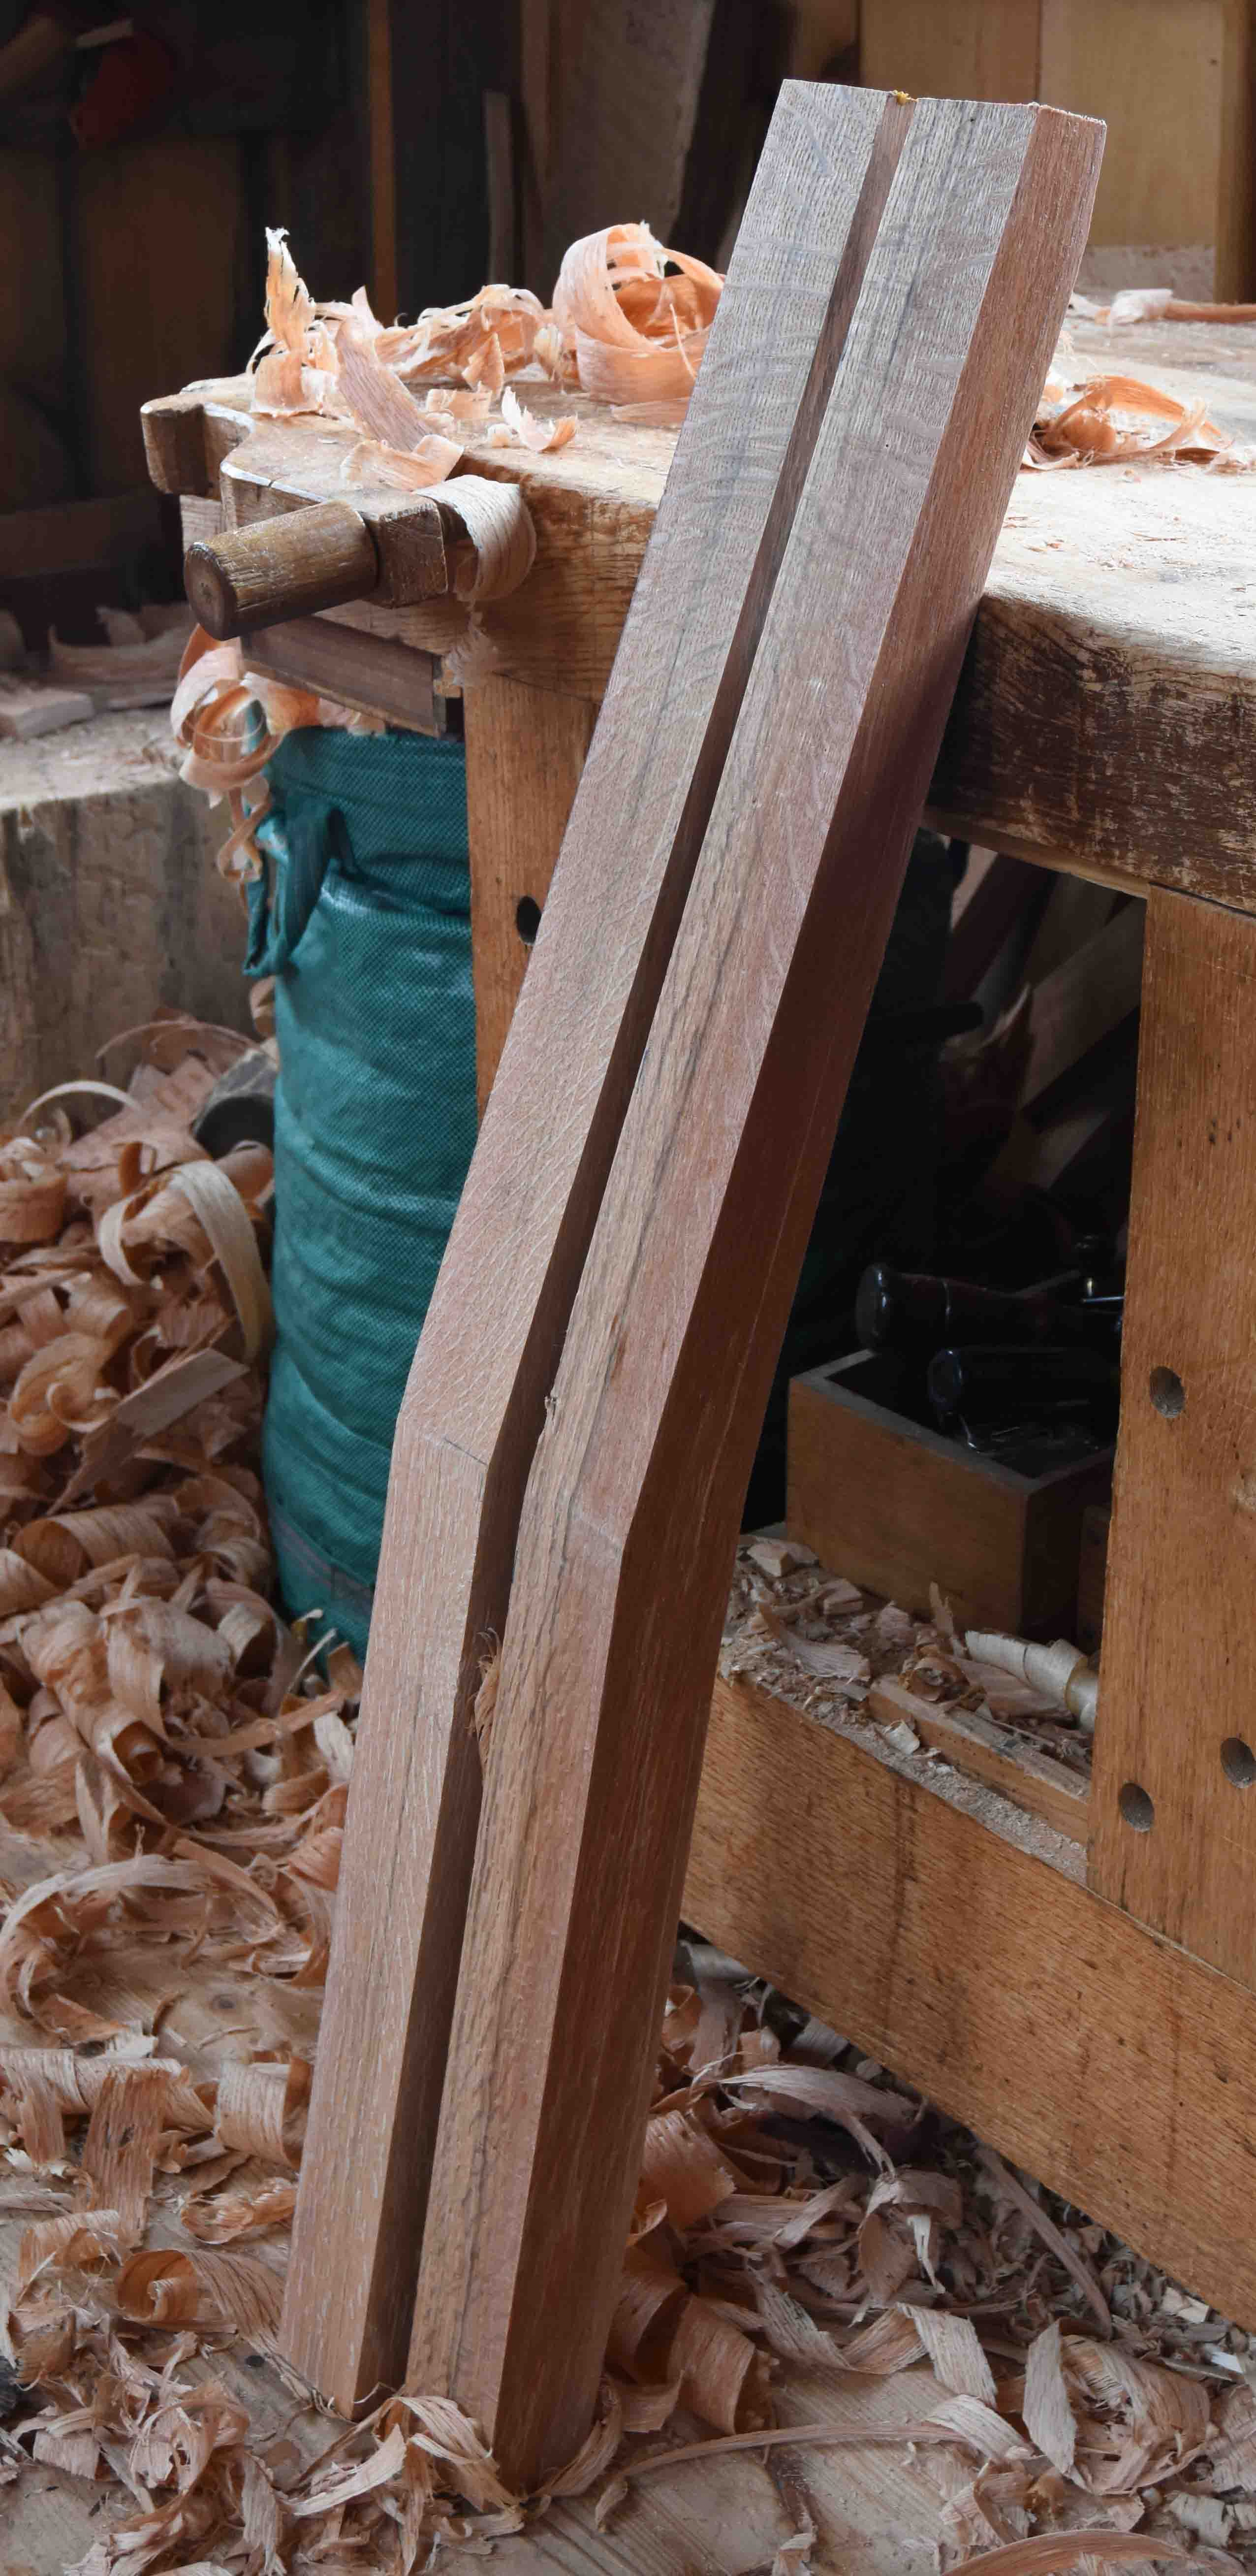
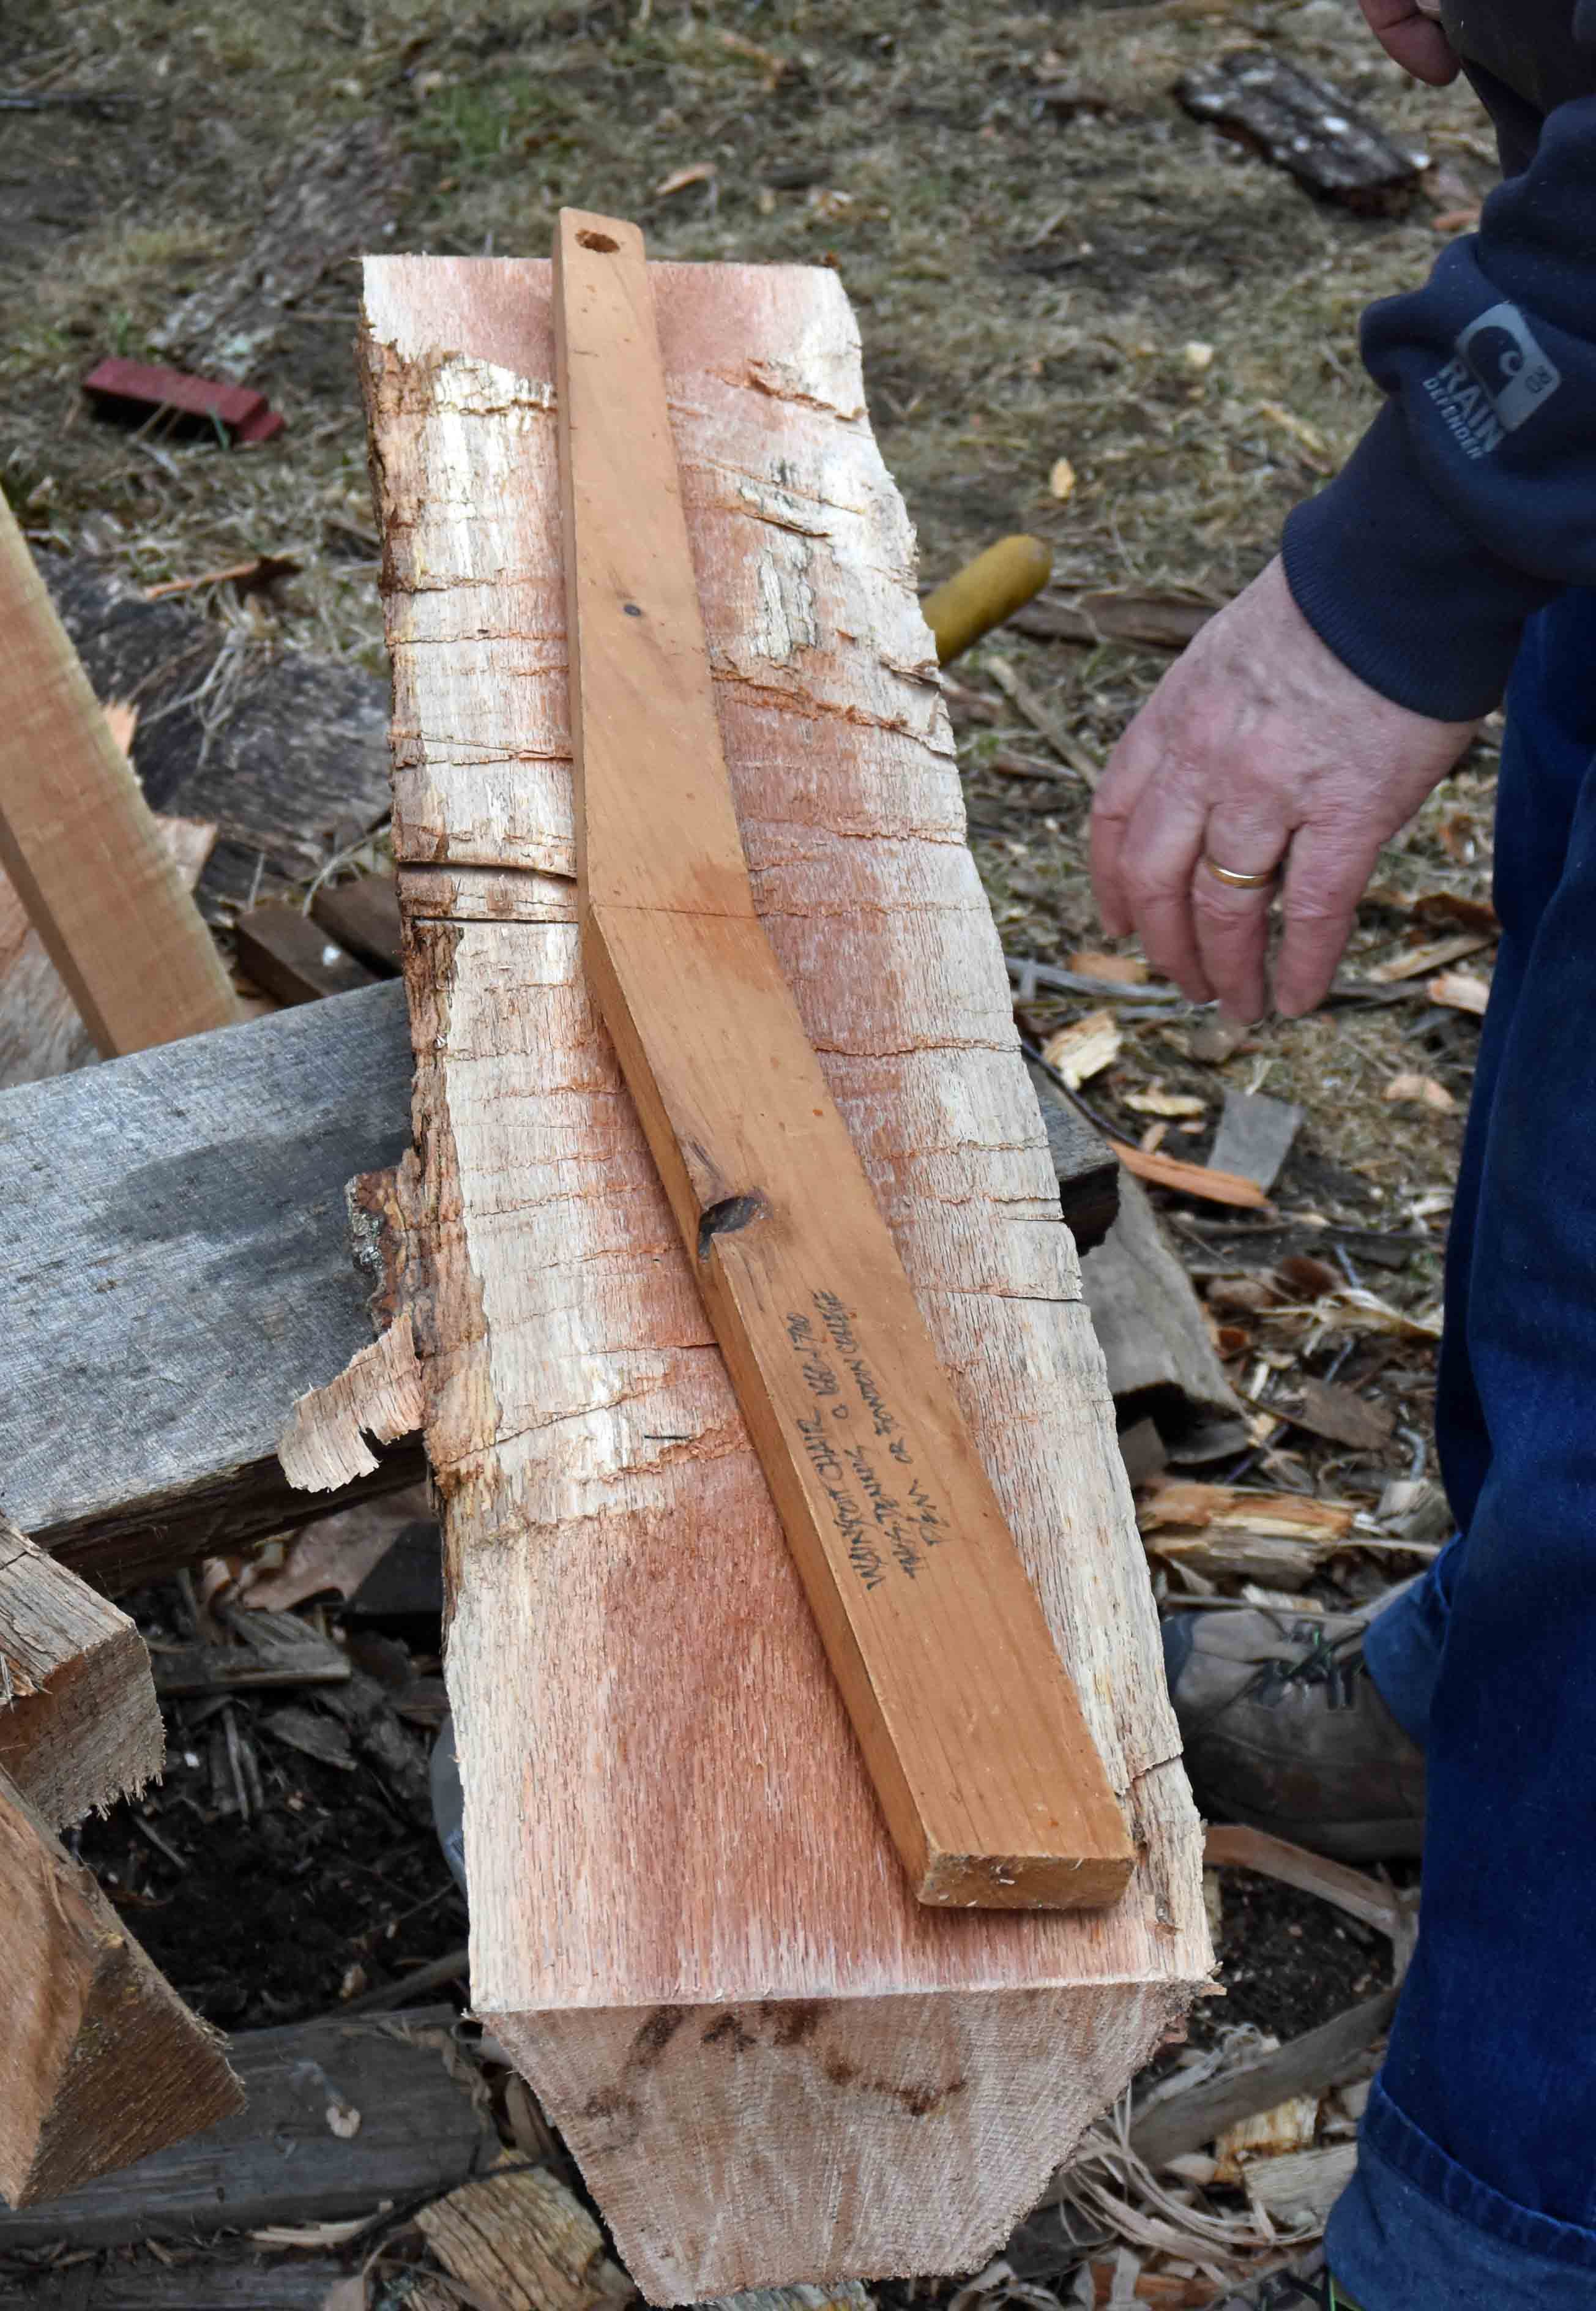
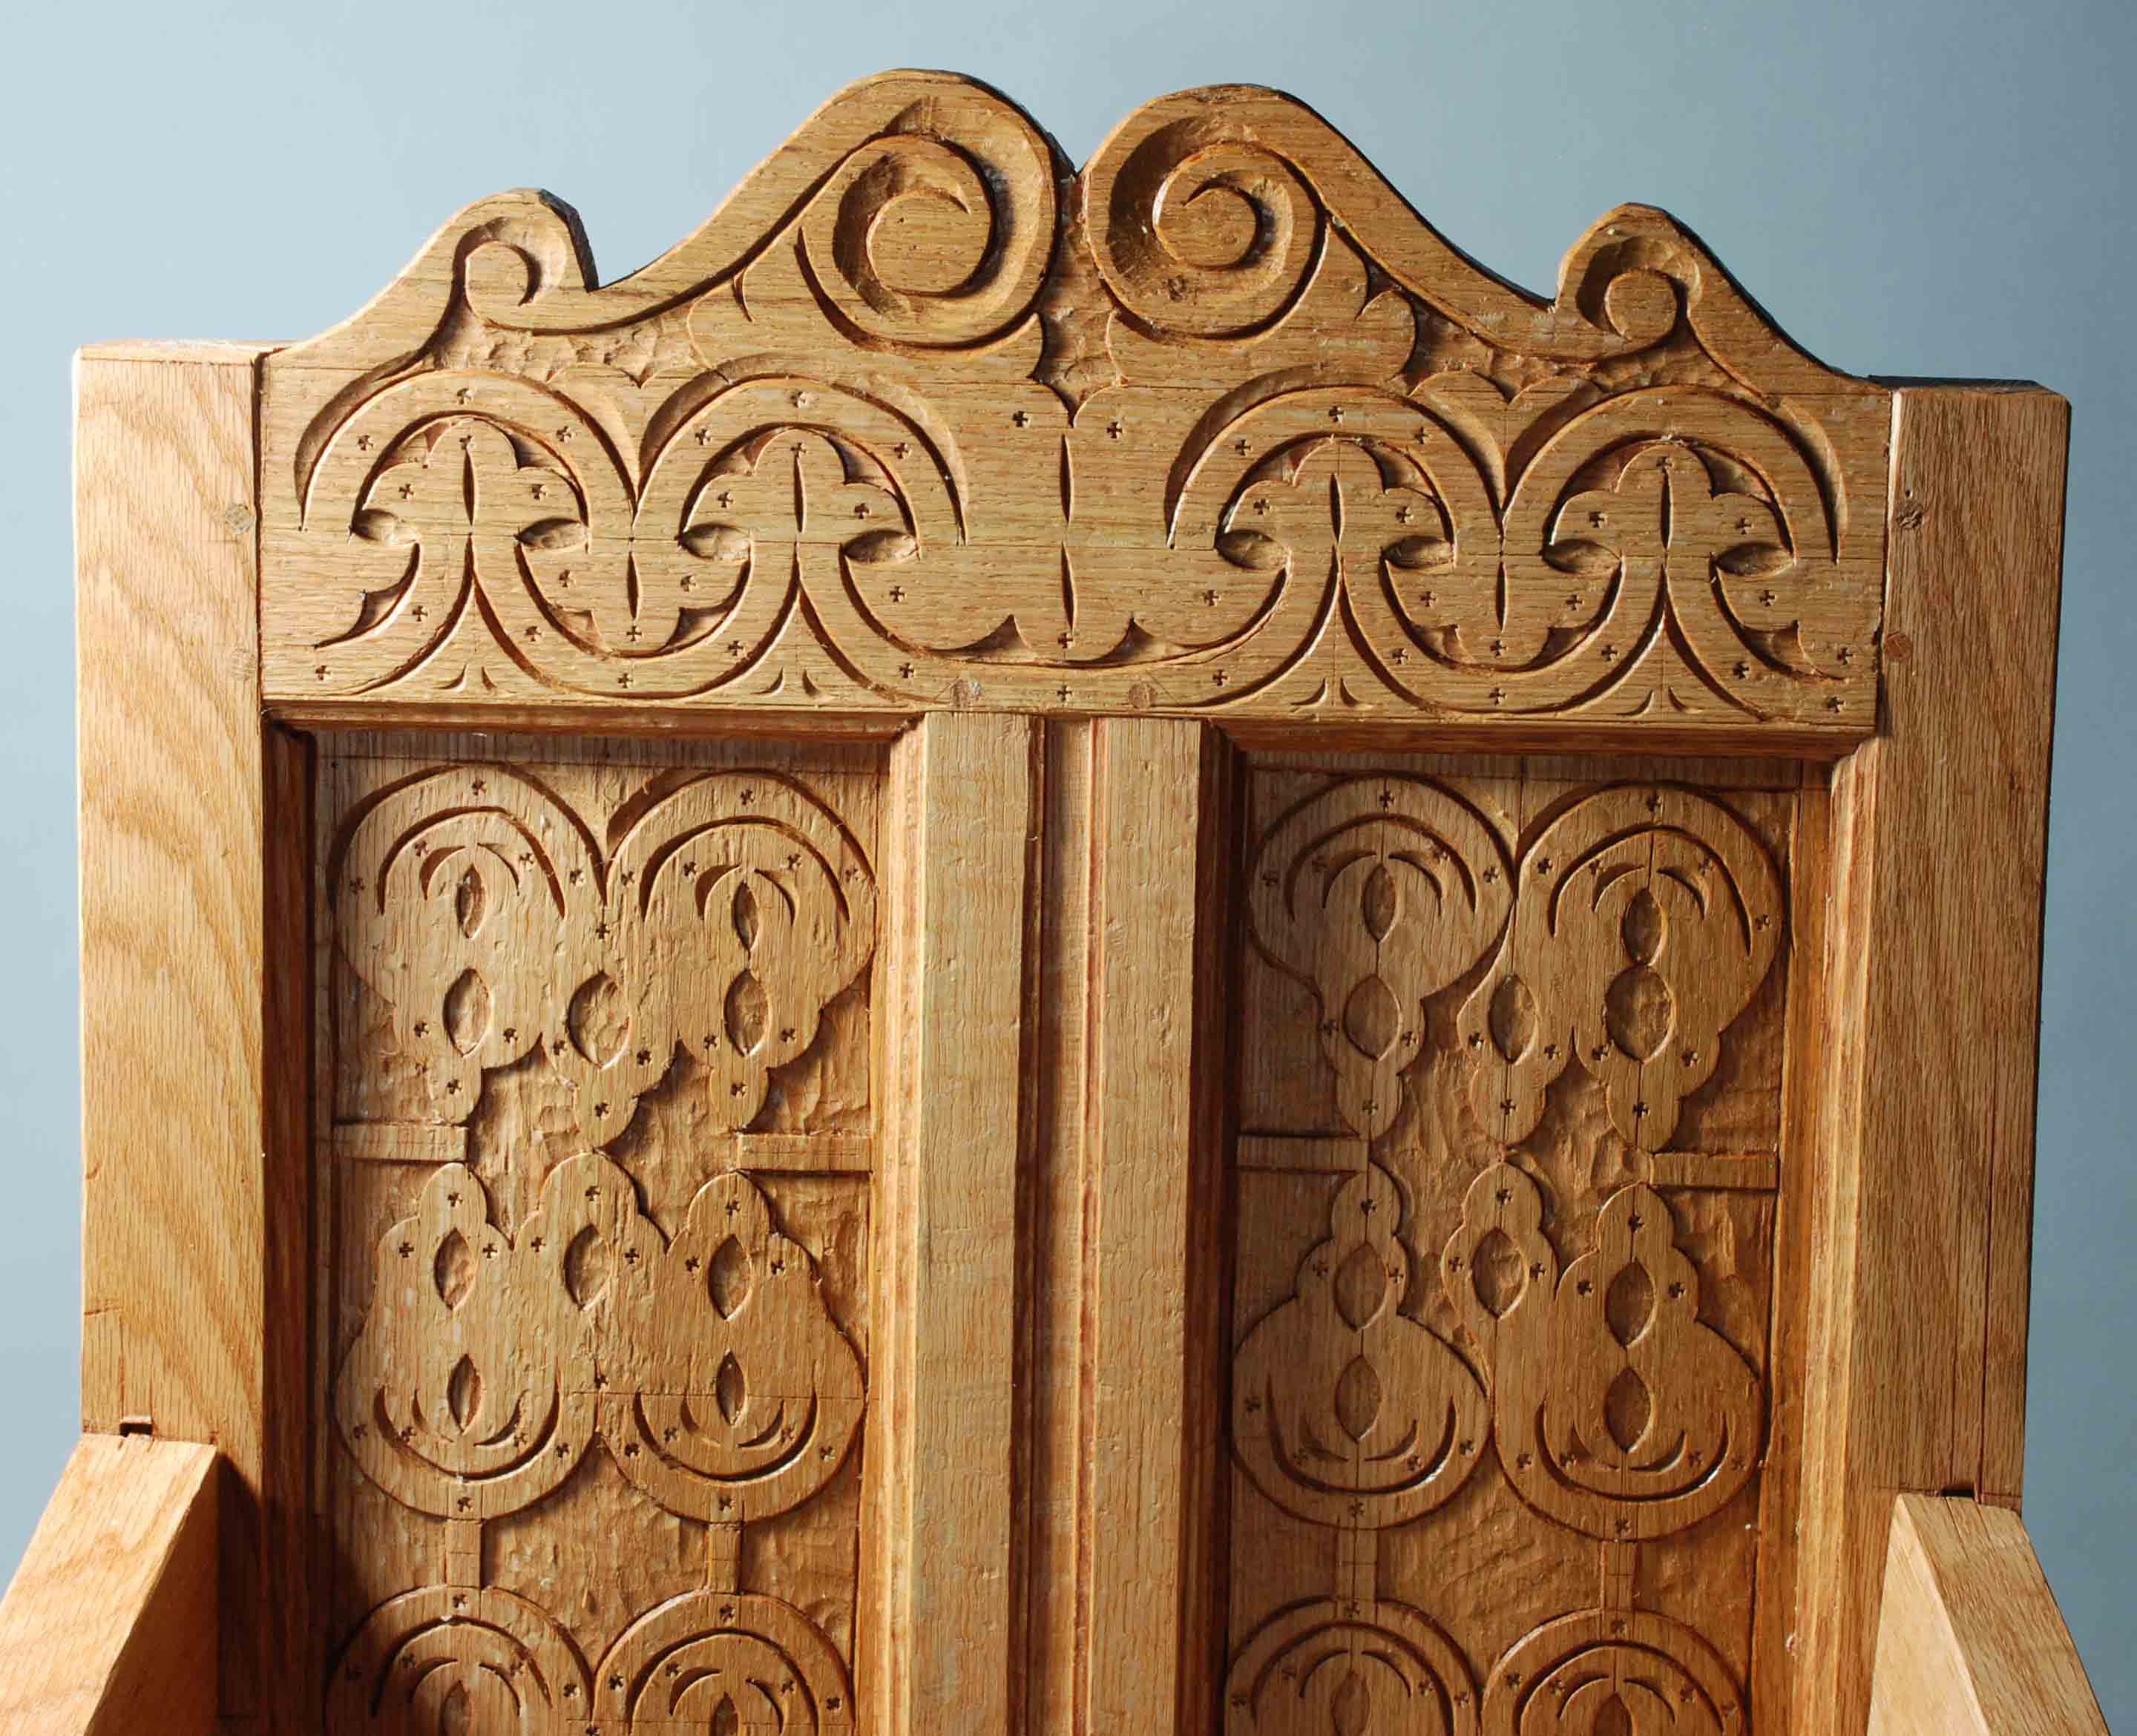
First - they’re often quite chunky. The stiles in the photo above are 2”+ thick at the bottom end. They taper some toward the top end - but the main feature is the canted shape above the seat height. That shape is hewn from a large riven bolt of oak. That section below is about 6” square - squarish anyway. I have a stick to use as a template, from there I strike chalk lines marking out the shape and go to hewing, sawing, hewing some more then planing. That stick is sitting on the tangential face - the growth rings’ face. That will result in a rear stile whose front face is the radial surface of the oak.
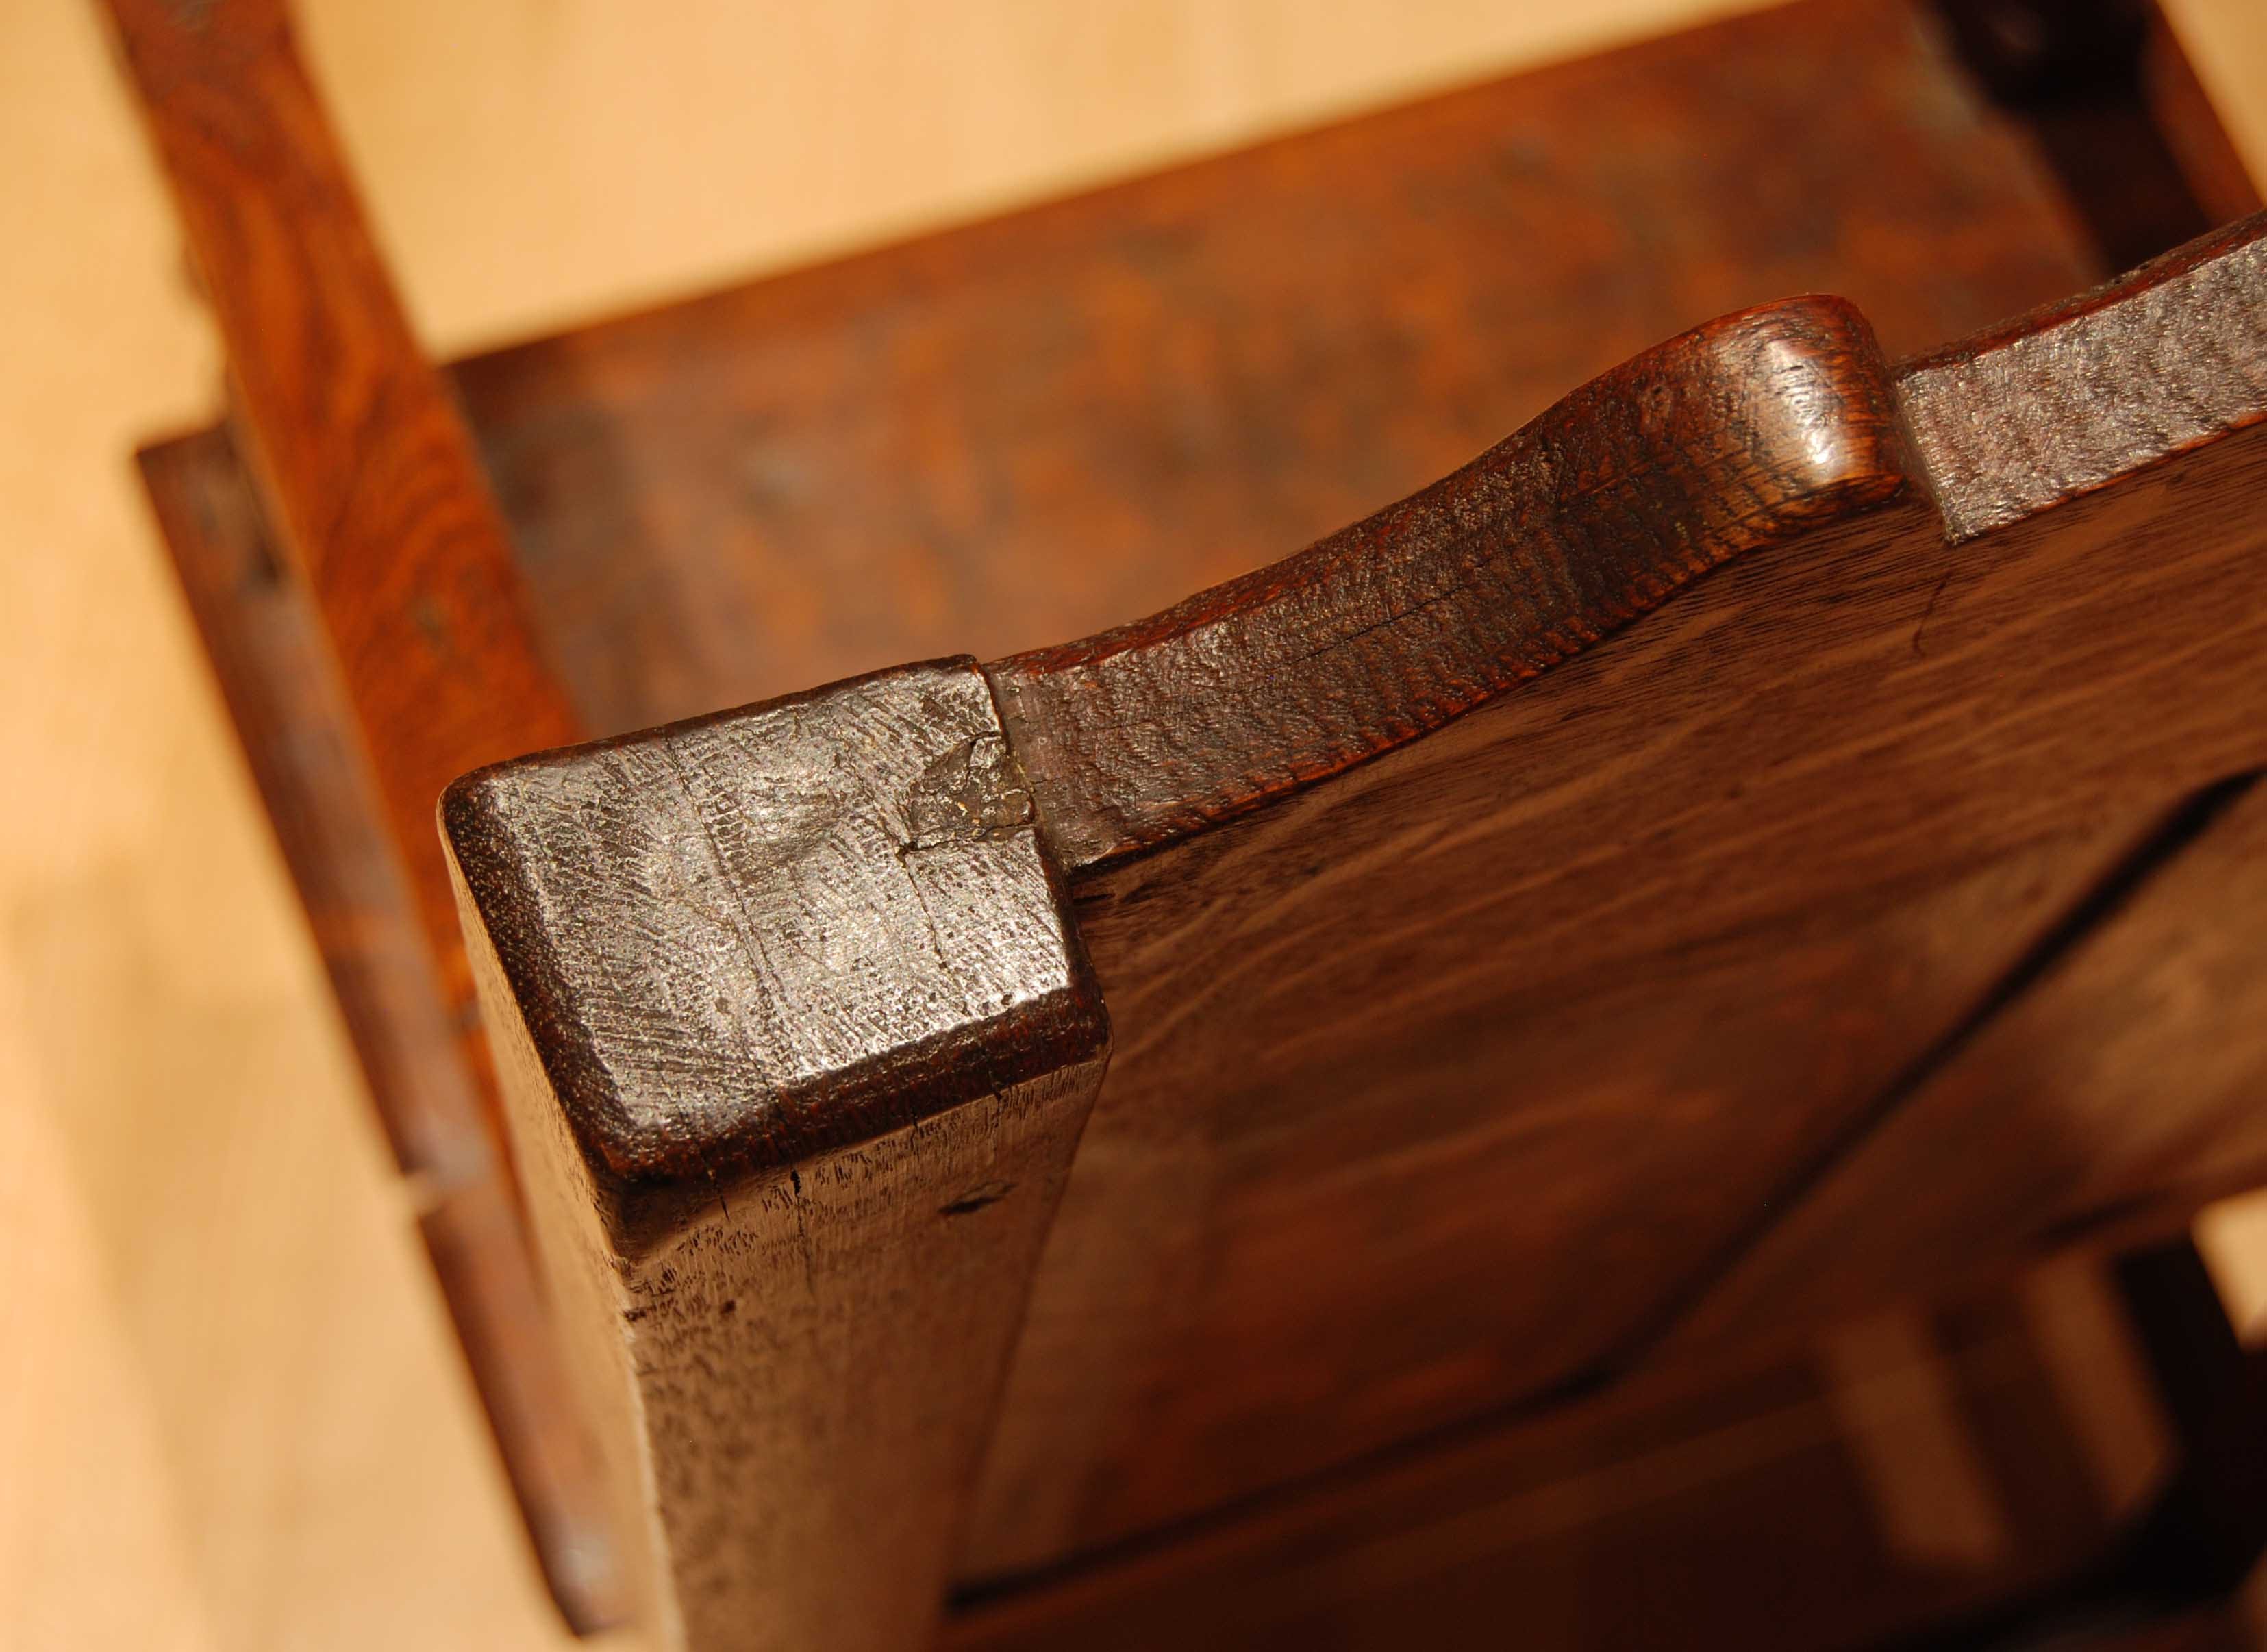
Period chairs have the rear stile oriented this way and that. Just as with other concepts, each shop/joiner did it one way…mine tend to be just as you see here, the tangential plane as the side elevation, the radial surface as the front of the stile. Here’s a period chair done just the opposite of how I do them. I’m standing behind the chair, shooting the top of a rear stile/crest rail joint. It’s hard to see but the growth rings are running across the stile - so the radial face is the side view.
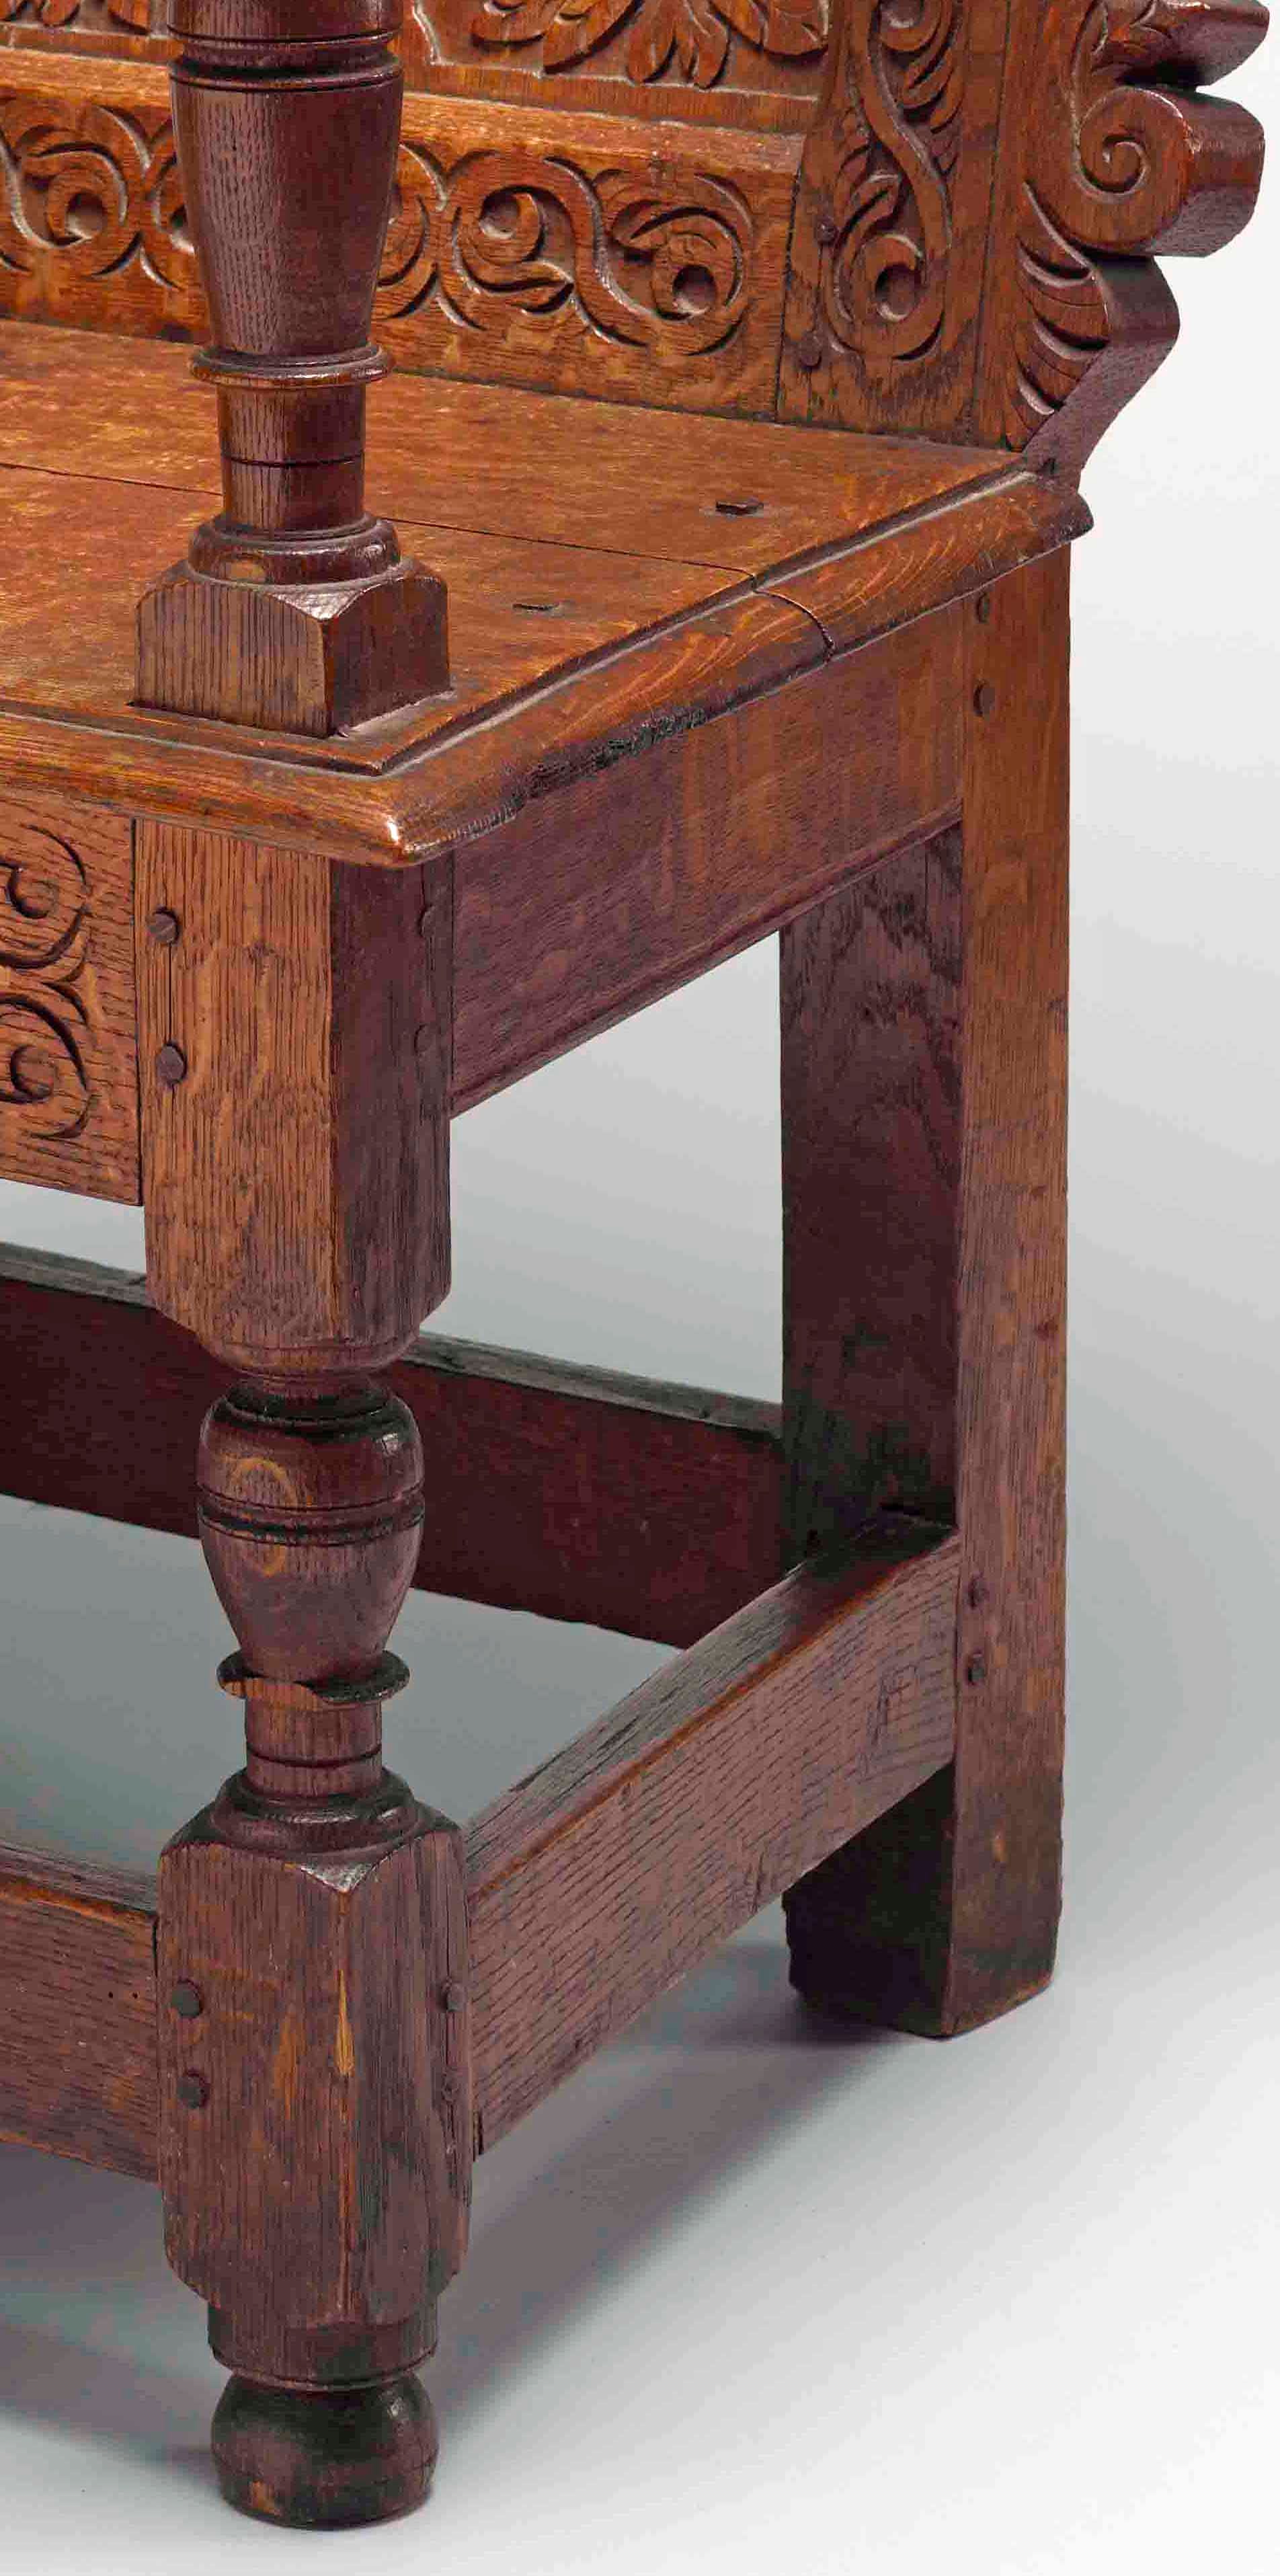
Thomas Dennis did his that way too - you can see the growth ring pattern on the rear stile below the side rail. On the carved surface above it’s hard to see.
I’ve done them that way - but I don’t like the looks of it. When they’re new, that growth ring pattern sticks out like a sore thumb.
whichever way you orient them, there’s a lot of work to get that canted stile from that bulky piece of oak. I alternate between hewing, sawing and chopping. Then planing it little by little. Working the outside (front) faces is easy enough, all the work falls away from the mid-point where the cant begins. This is roughly where the front and side aprons hit the rear stiles. Working the inside (or back) - I mark out the shape after planing the front and side - then make a saw kerf down to the point where the shape turns. Then I hew down from each end to that point.
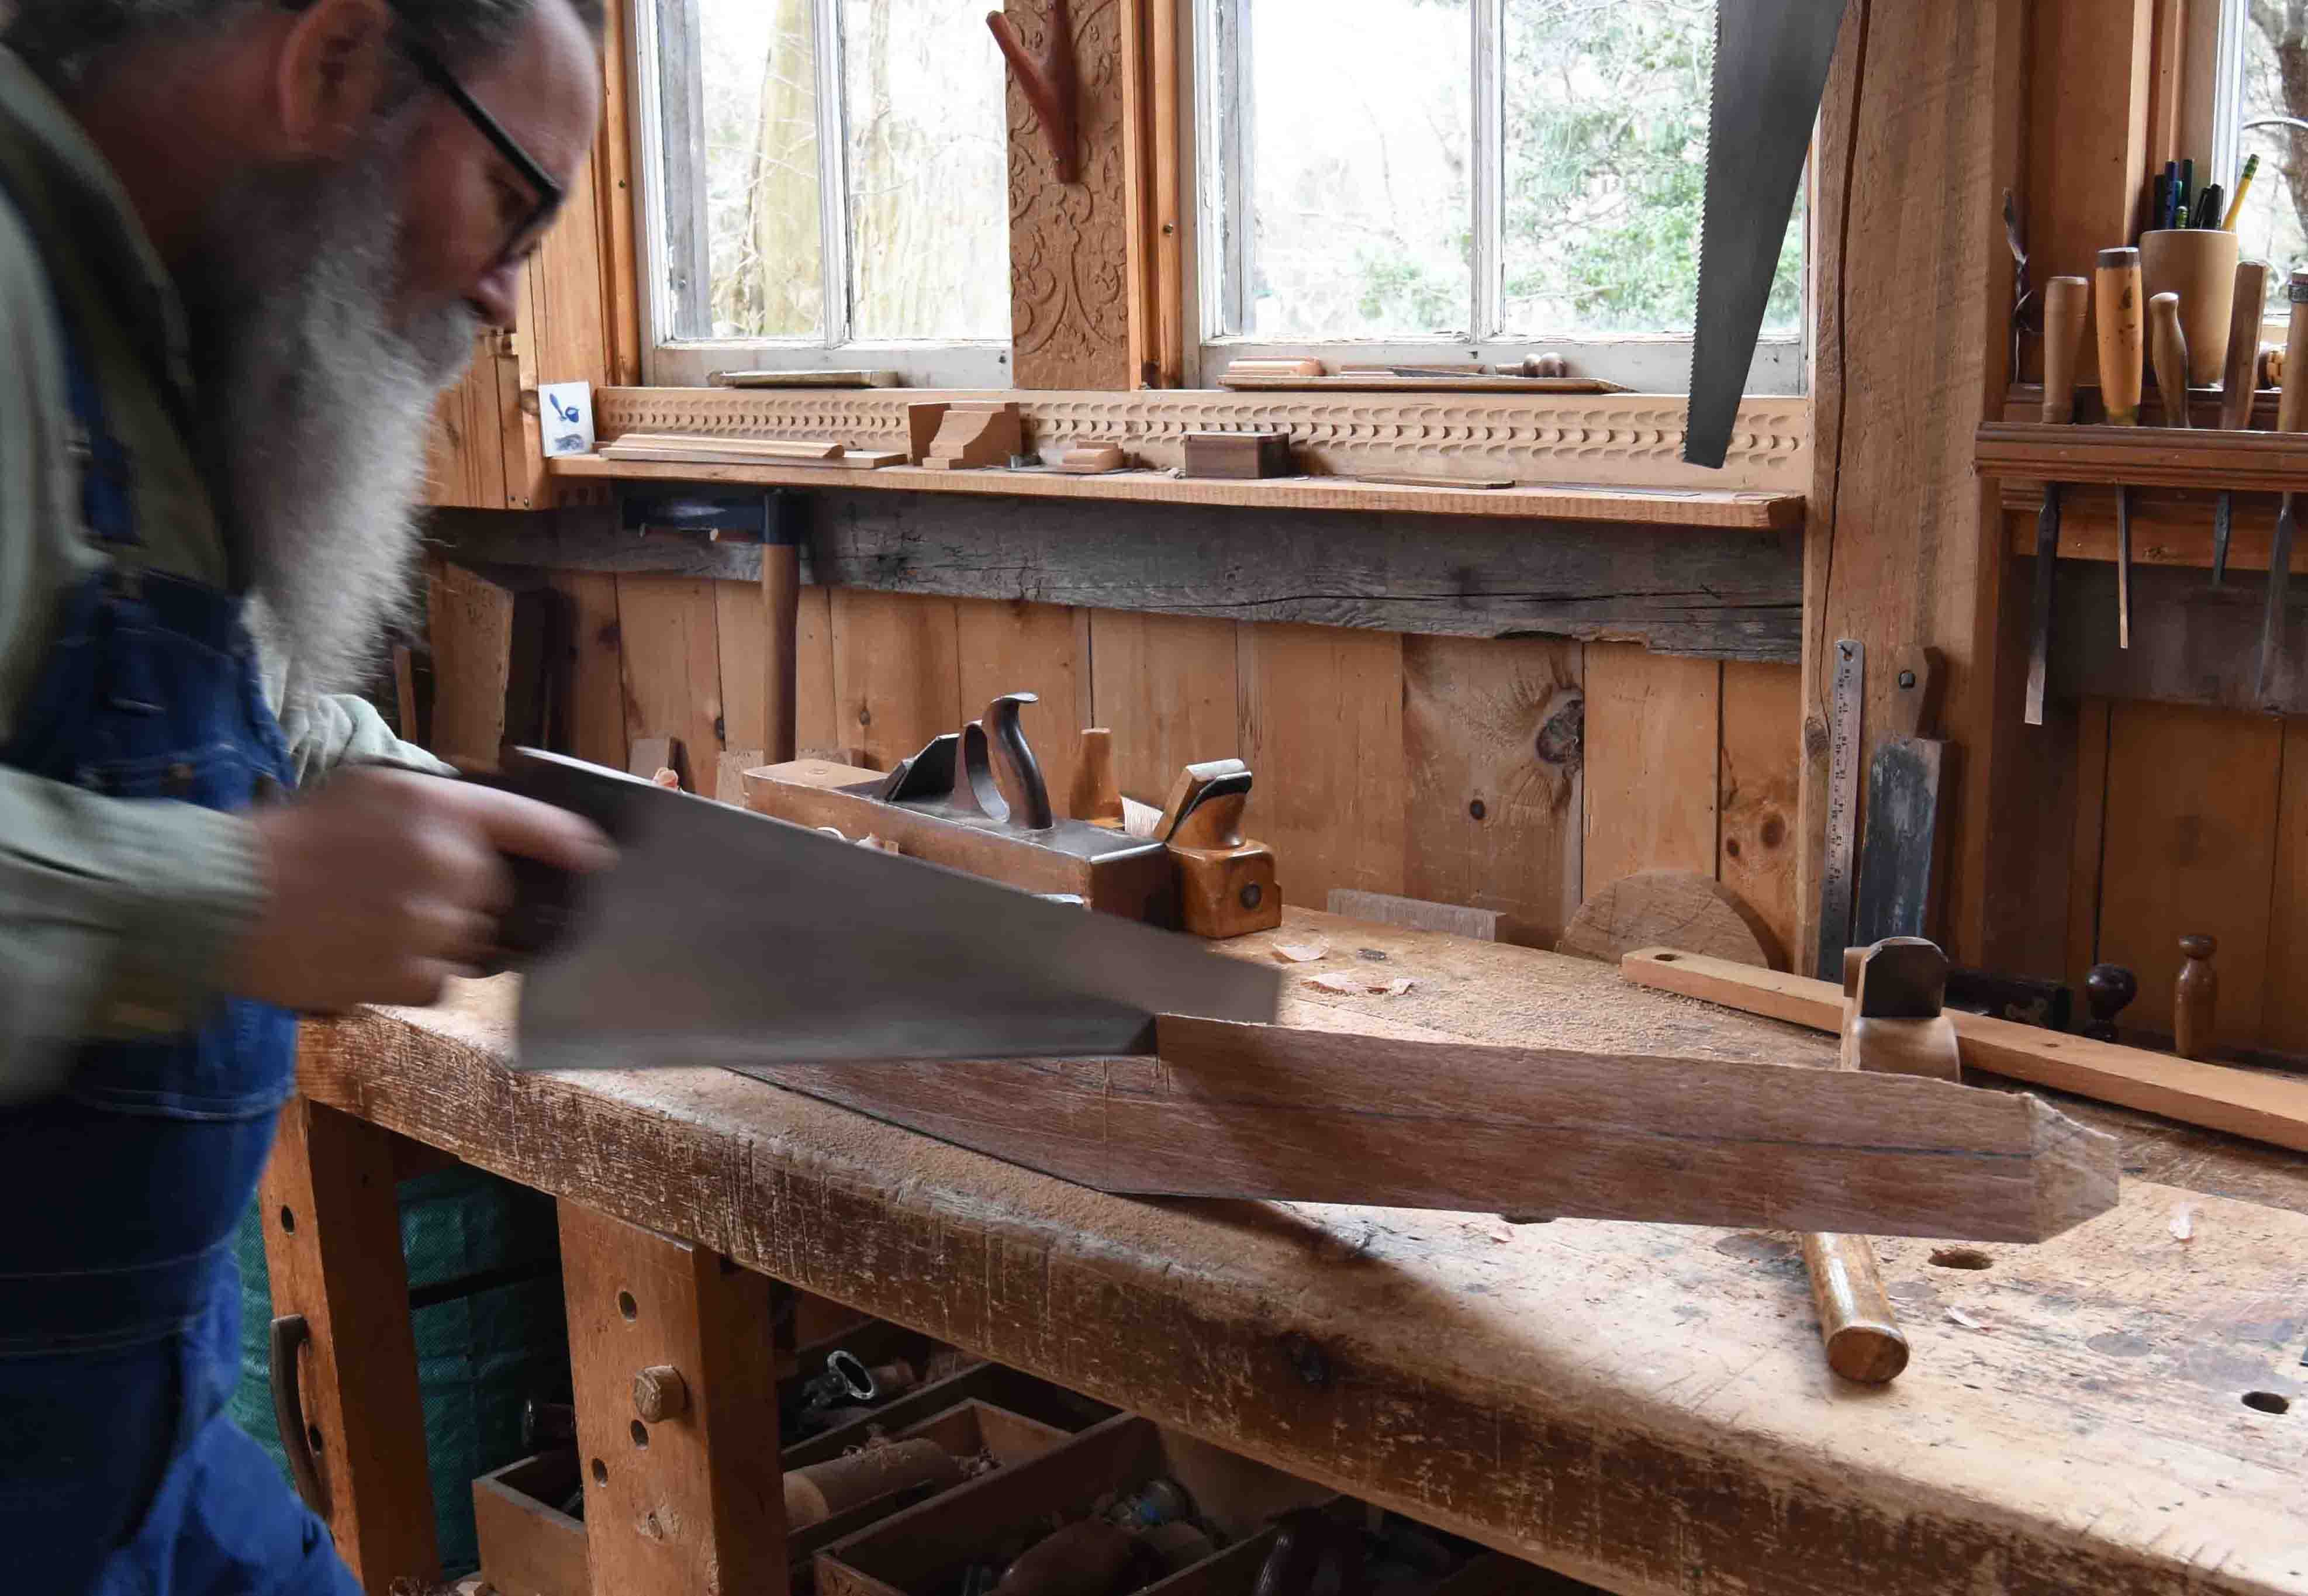
My notes from 2020 when I made one of these chairs tell me I took just over an hour to hew and plane one stile. One. I try to line up the fibers/grain with the top end of the stile - it makes mortising and plowing the panel groove easier. My notes on period chairs don’t have enough detail to tell how it was done at that time. The photos show things done this way & that…
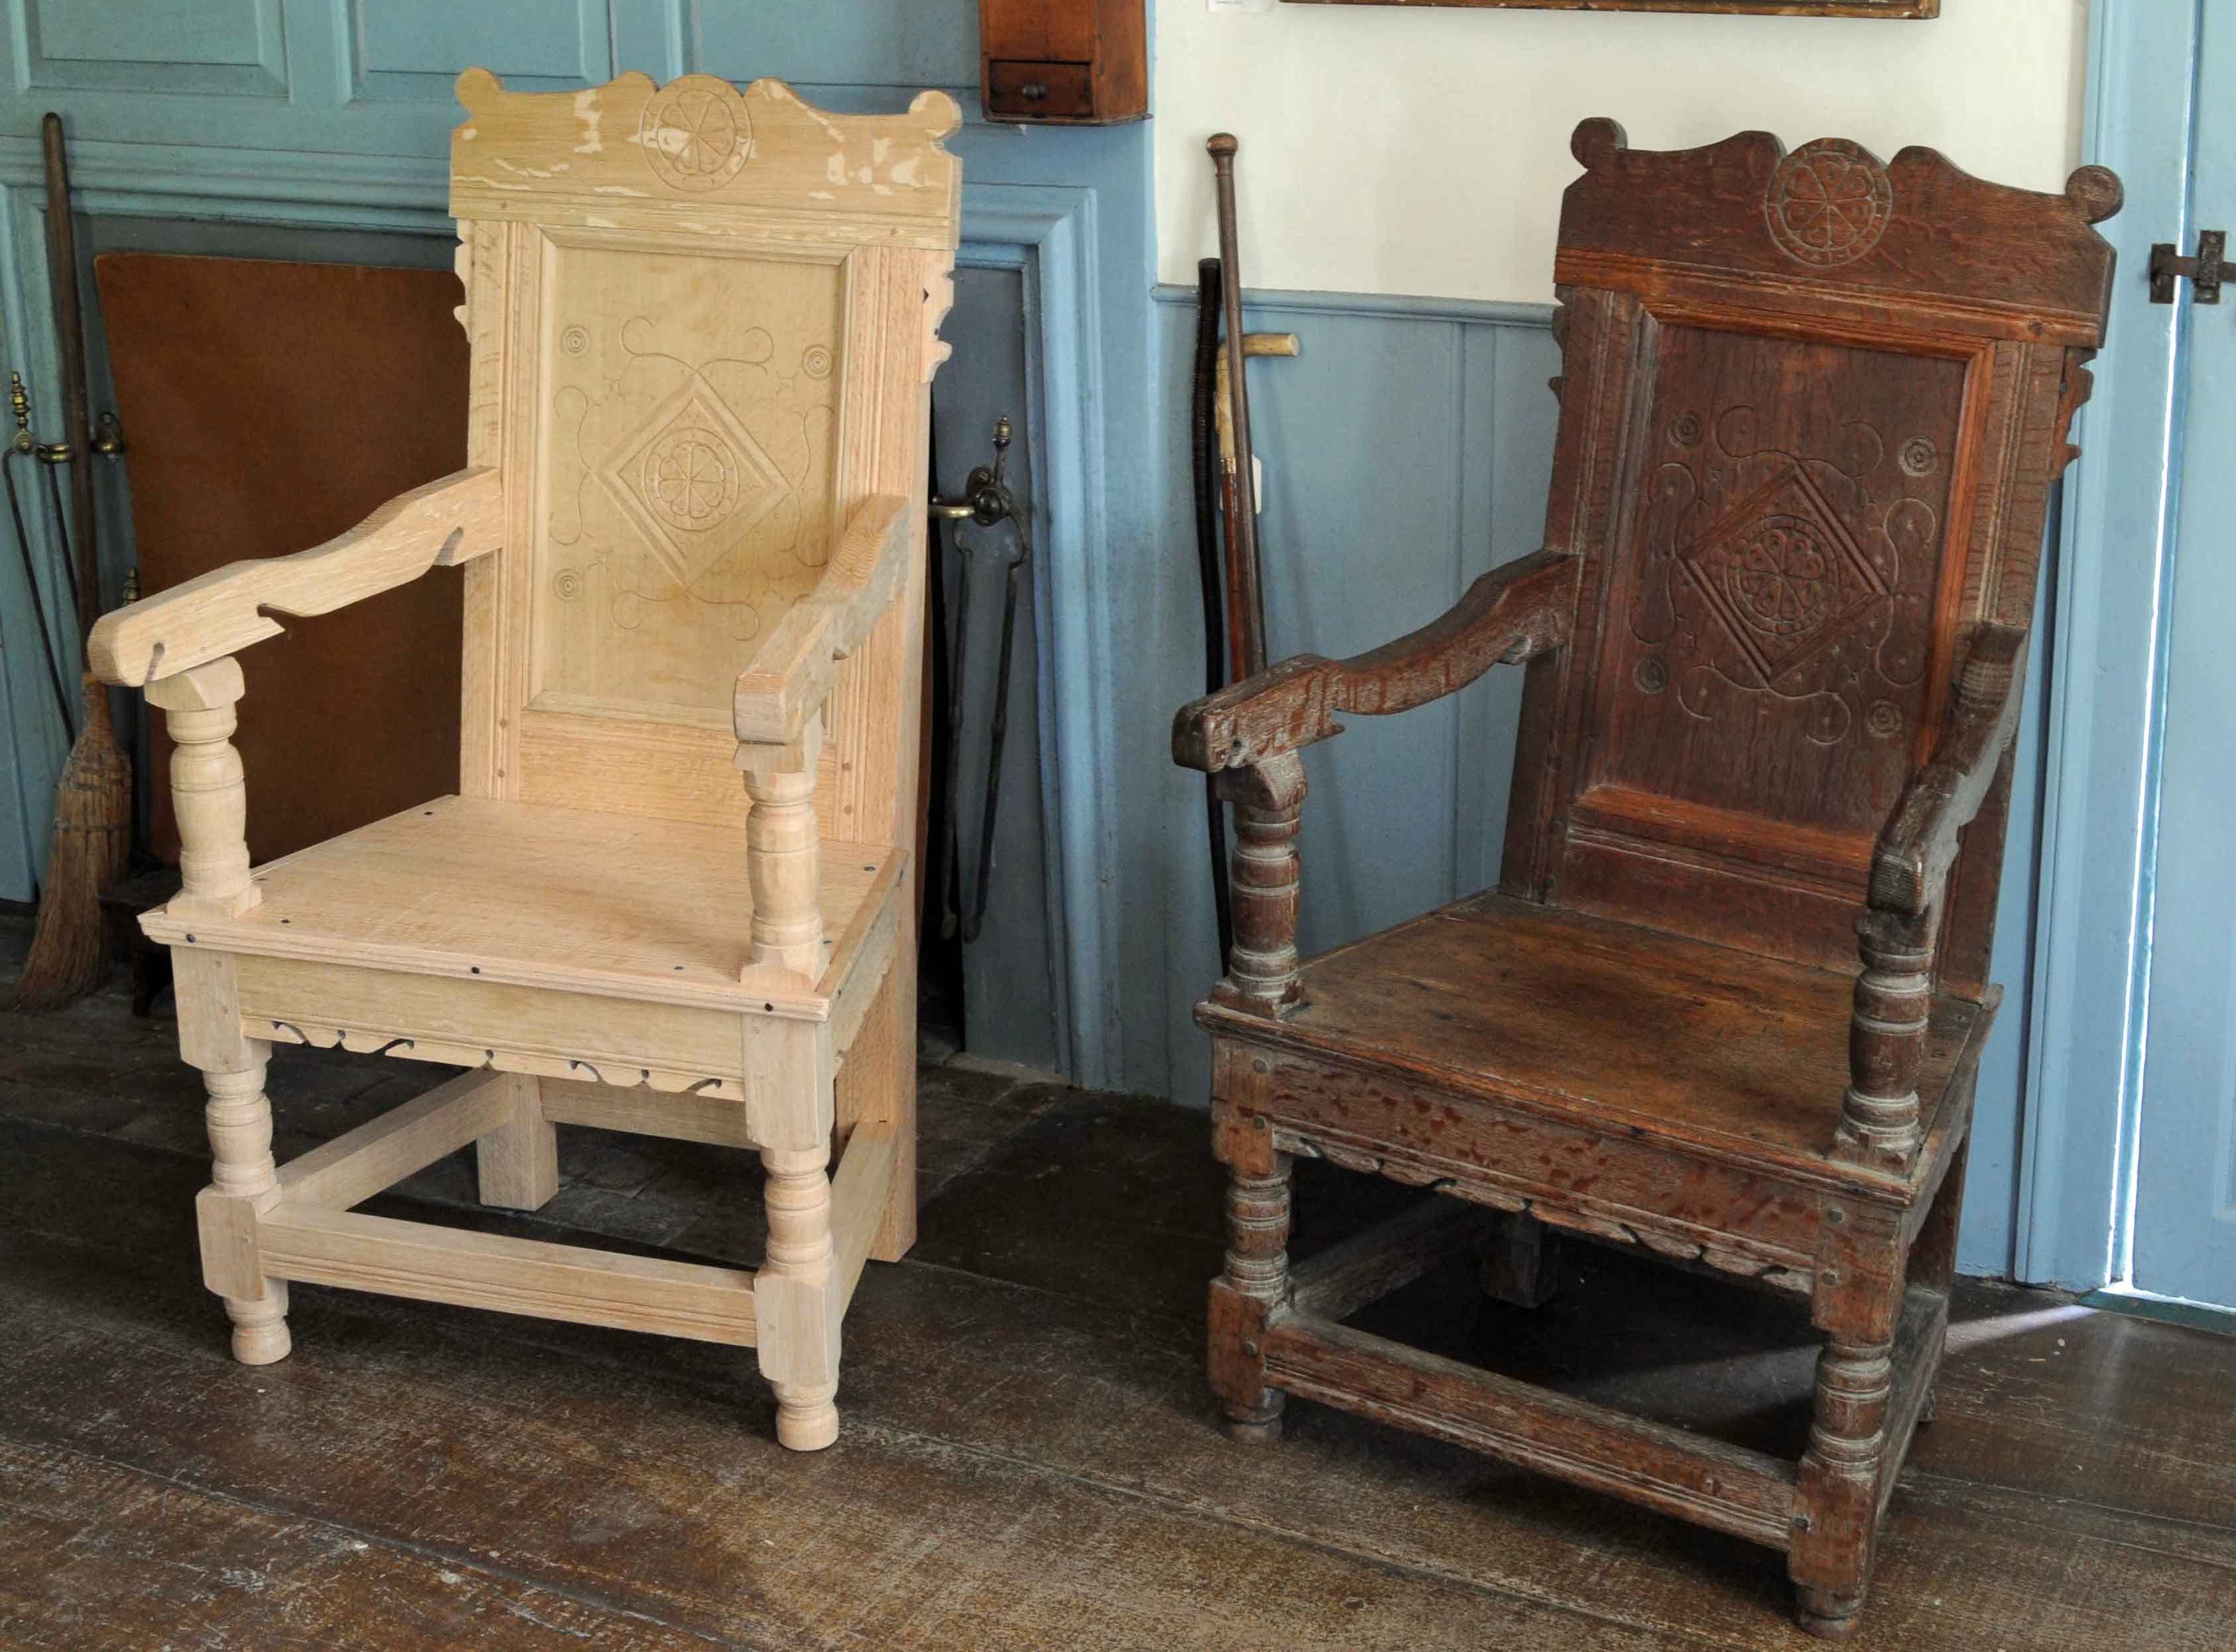
One of my favorite wainscot chair projects was this one from 2016 or so - when I copied this chair at the Martin House Farm in Swansea, Massachusetts. It’s the only time I got to stand mine next to its inspiration - fun stuff. Looks like mine has no finish on it - I think we were waiting to learn more about what might be on the original. Good thing I didn’t hold my breath.
Next week I’ll talk about the term “wainscot” and the many things it can mean in 17th-century English (& New England) records…
Thanks for doing this.
As I look at all this furniture (and other stuff you share), it's all carved. Is this because it was the norm or does it reflect your personal interest. I love these forms and building in this style but I prefer to make less ornate pieces. Just curious.
fun