


thumbnail molding

Today I got a bit of work done on my Spanish cedar strapwork box before the heat drove me out of the shop (and soon into the river.) The lid started out life as an 8/4 board that my friend Pret ripped apart for me - then I glued it up, planed it and carved it. Once that was done, it was time for the thumbnail molding around its four edges.
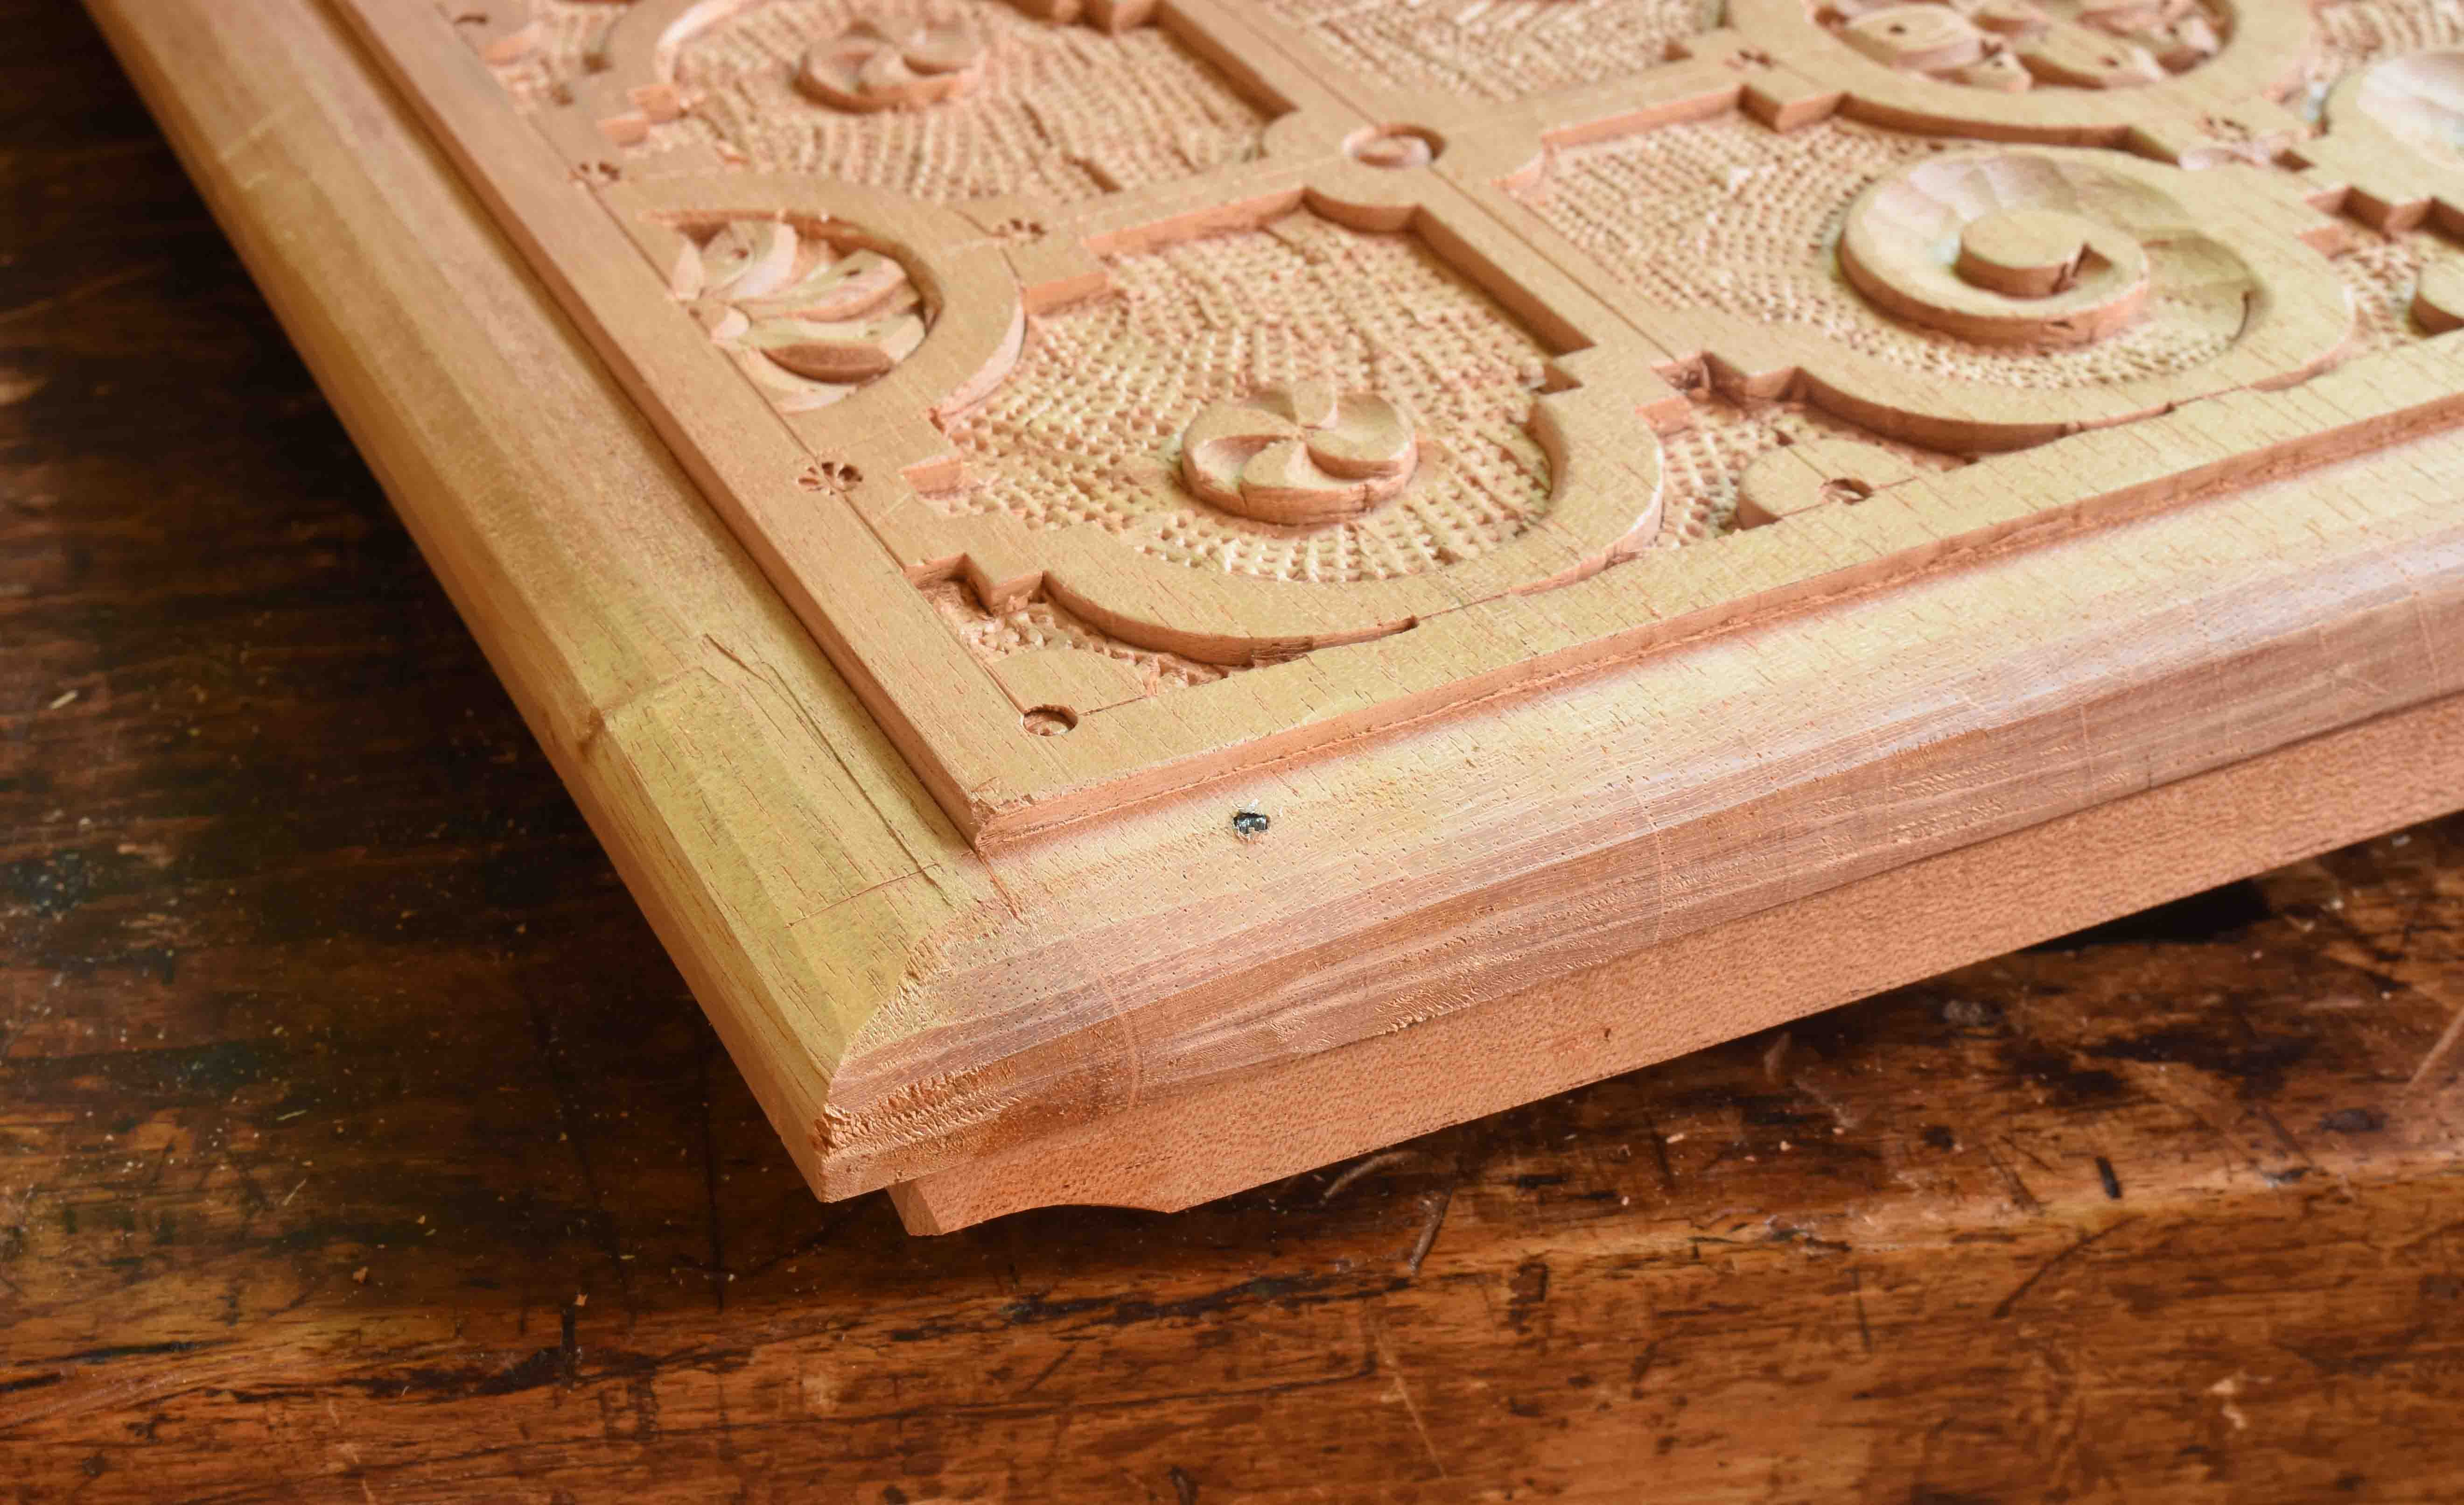
This lid draws a lot of attention, so while it doesn’t need to be perfect, it needs to be really, really good. I took a more cautious approach with this cedar than I would with oak or pine. For one thing, I have very little of this wood on hand. And that carving took more than a full day of work - mess up the molding and the carving is scrap. I marked out the molding at 7/8” from the edge. At first I just did the two long edges with a sharp marking gauge. Next step after that is a moving fillister plane to create a rabbet. I even used the depth stop this time, something I rarely do. Mostly out of stubbornness.
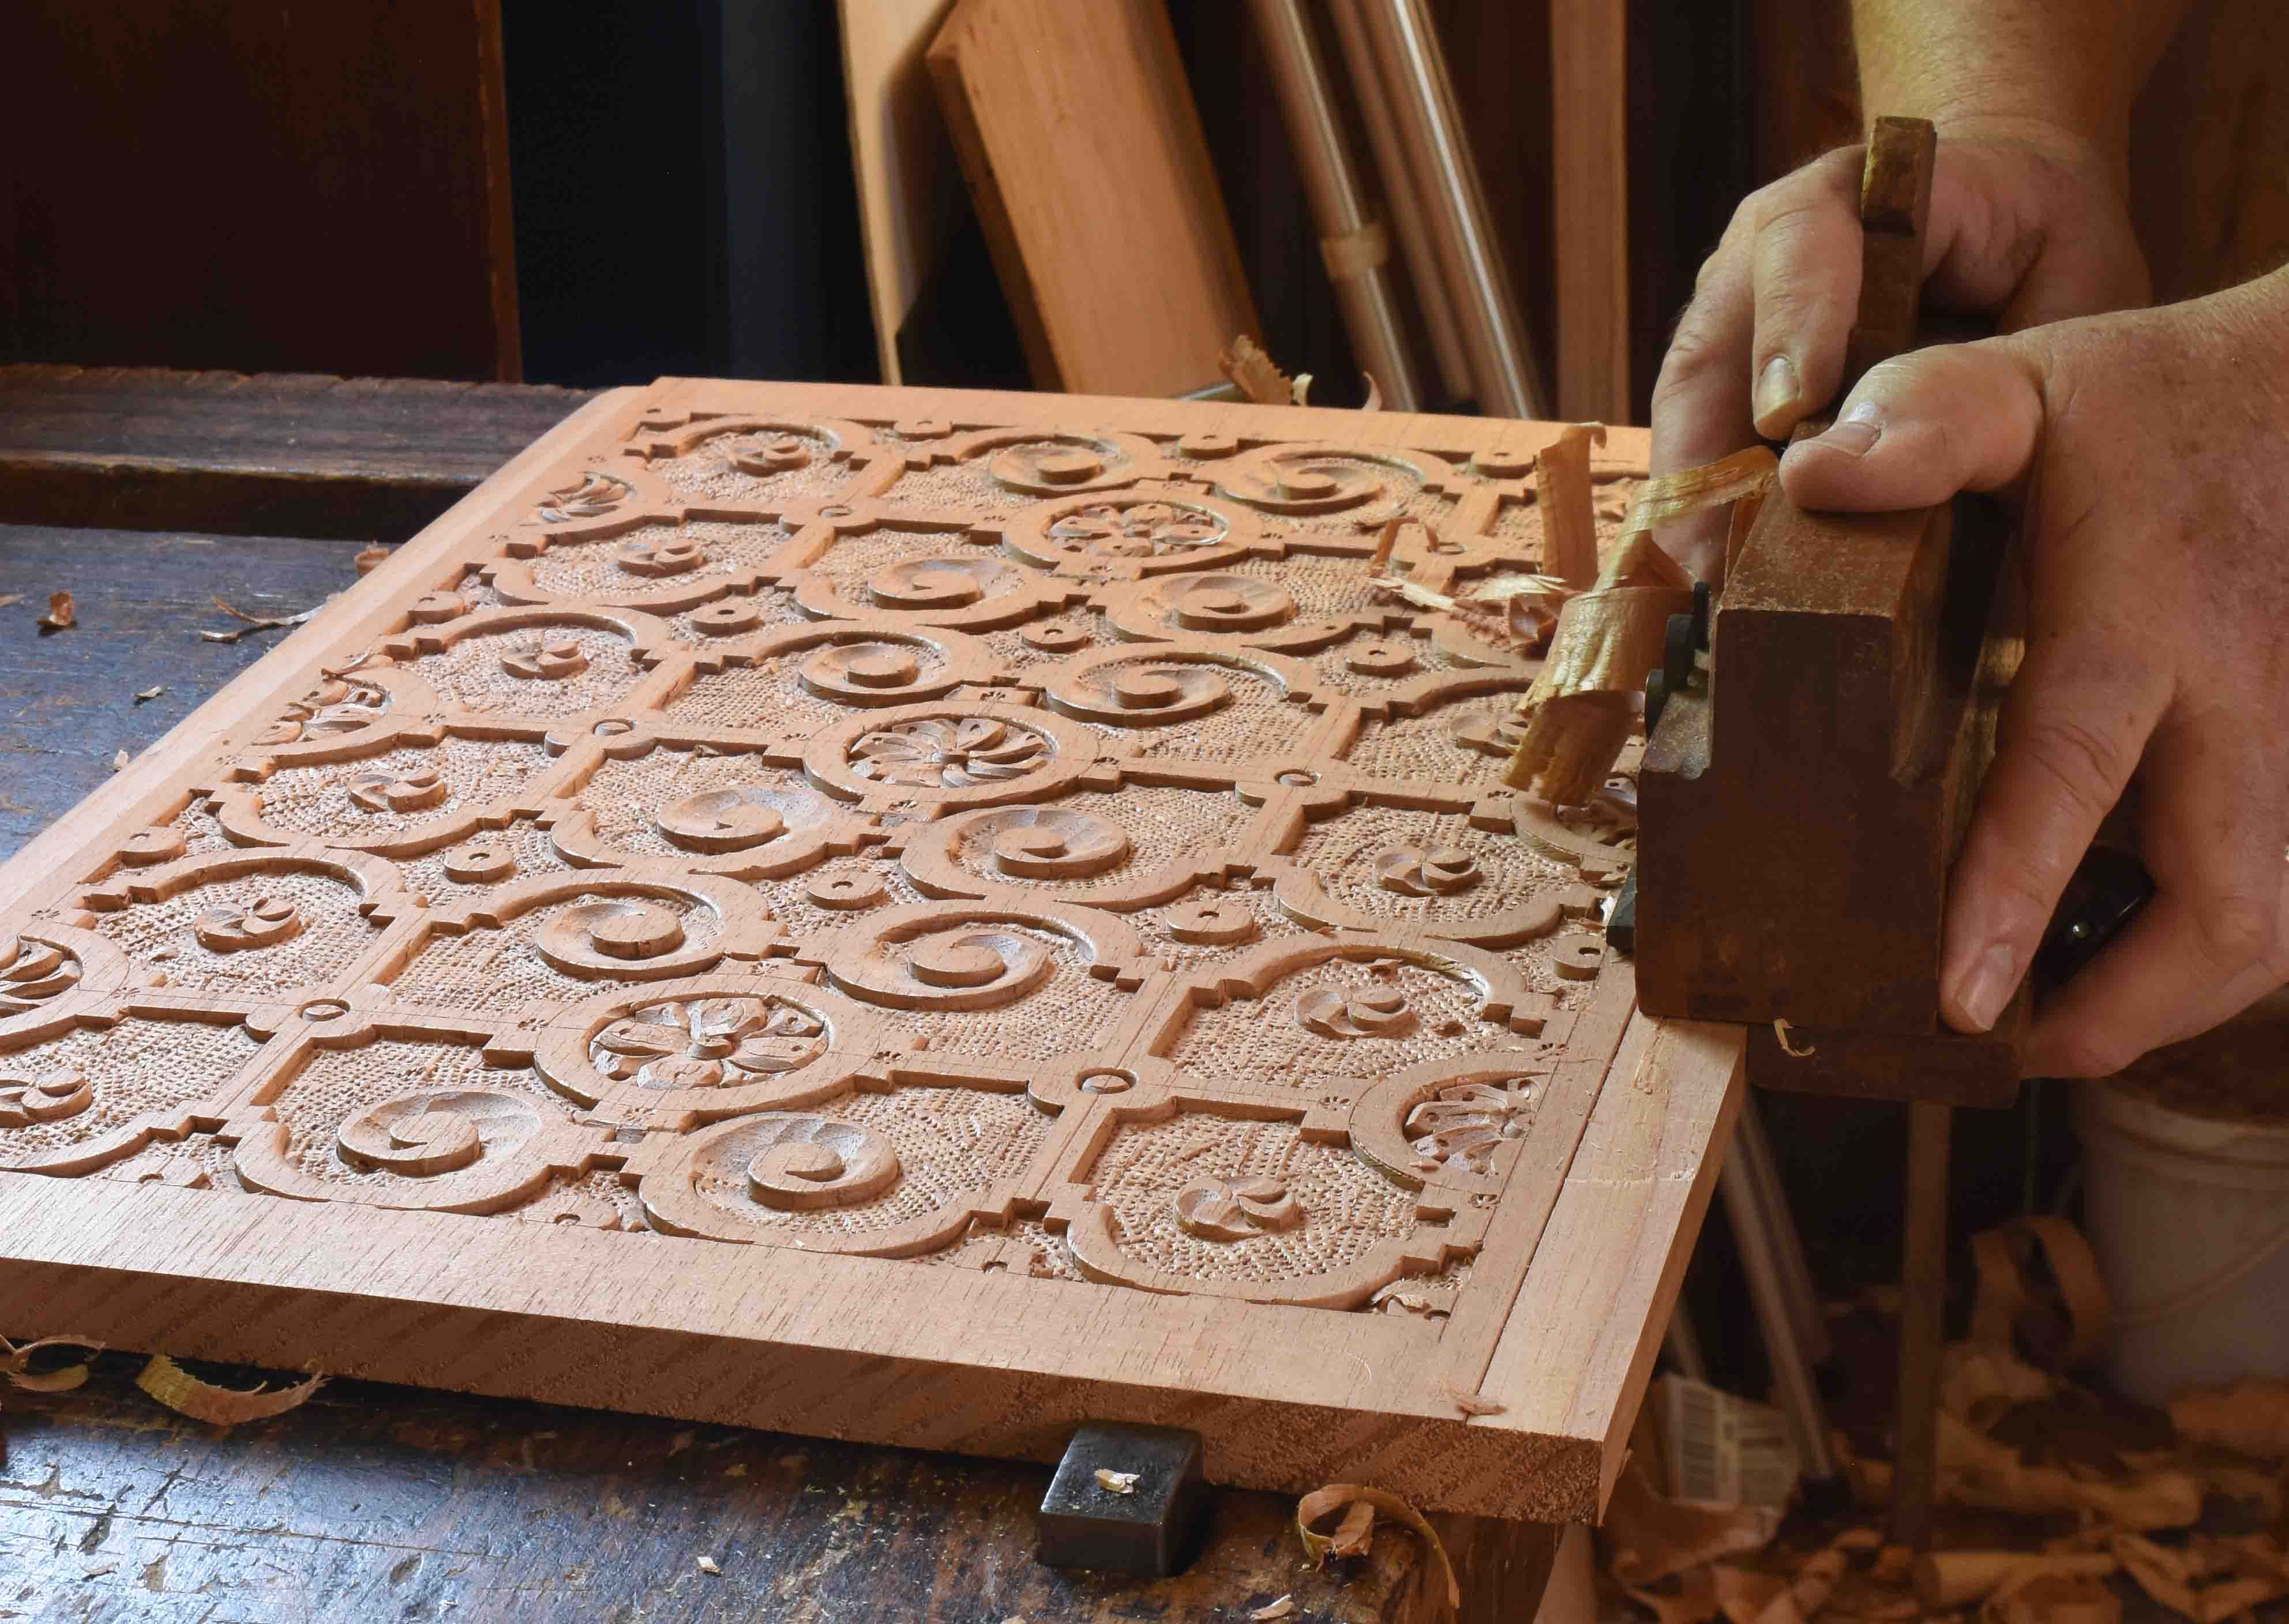
To begin to shape the thumbnail I just tilted the fillister over a bit and took passes with the plane shifting its angle more and more. I used to switch to the smooth plane for this step, but decided I like using the fence to keep these facets running straight.

Then I clean it up with a sharp block plane.
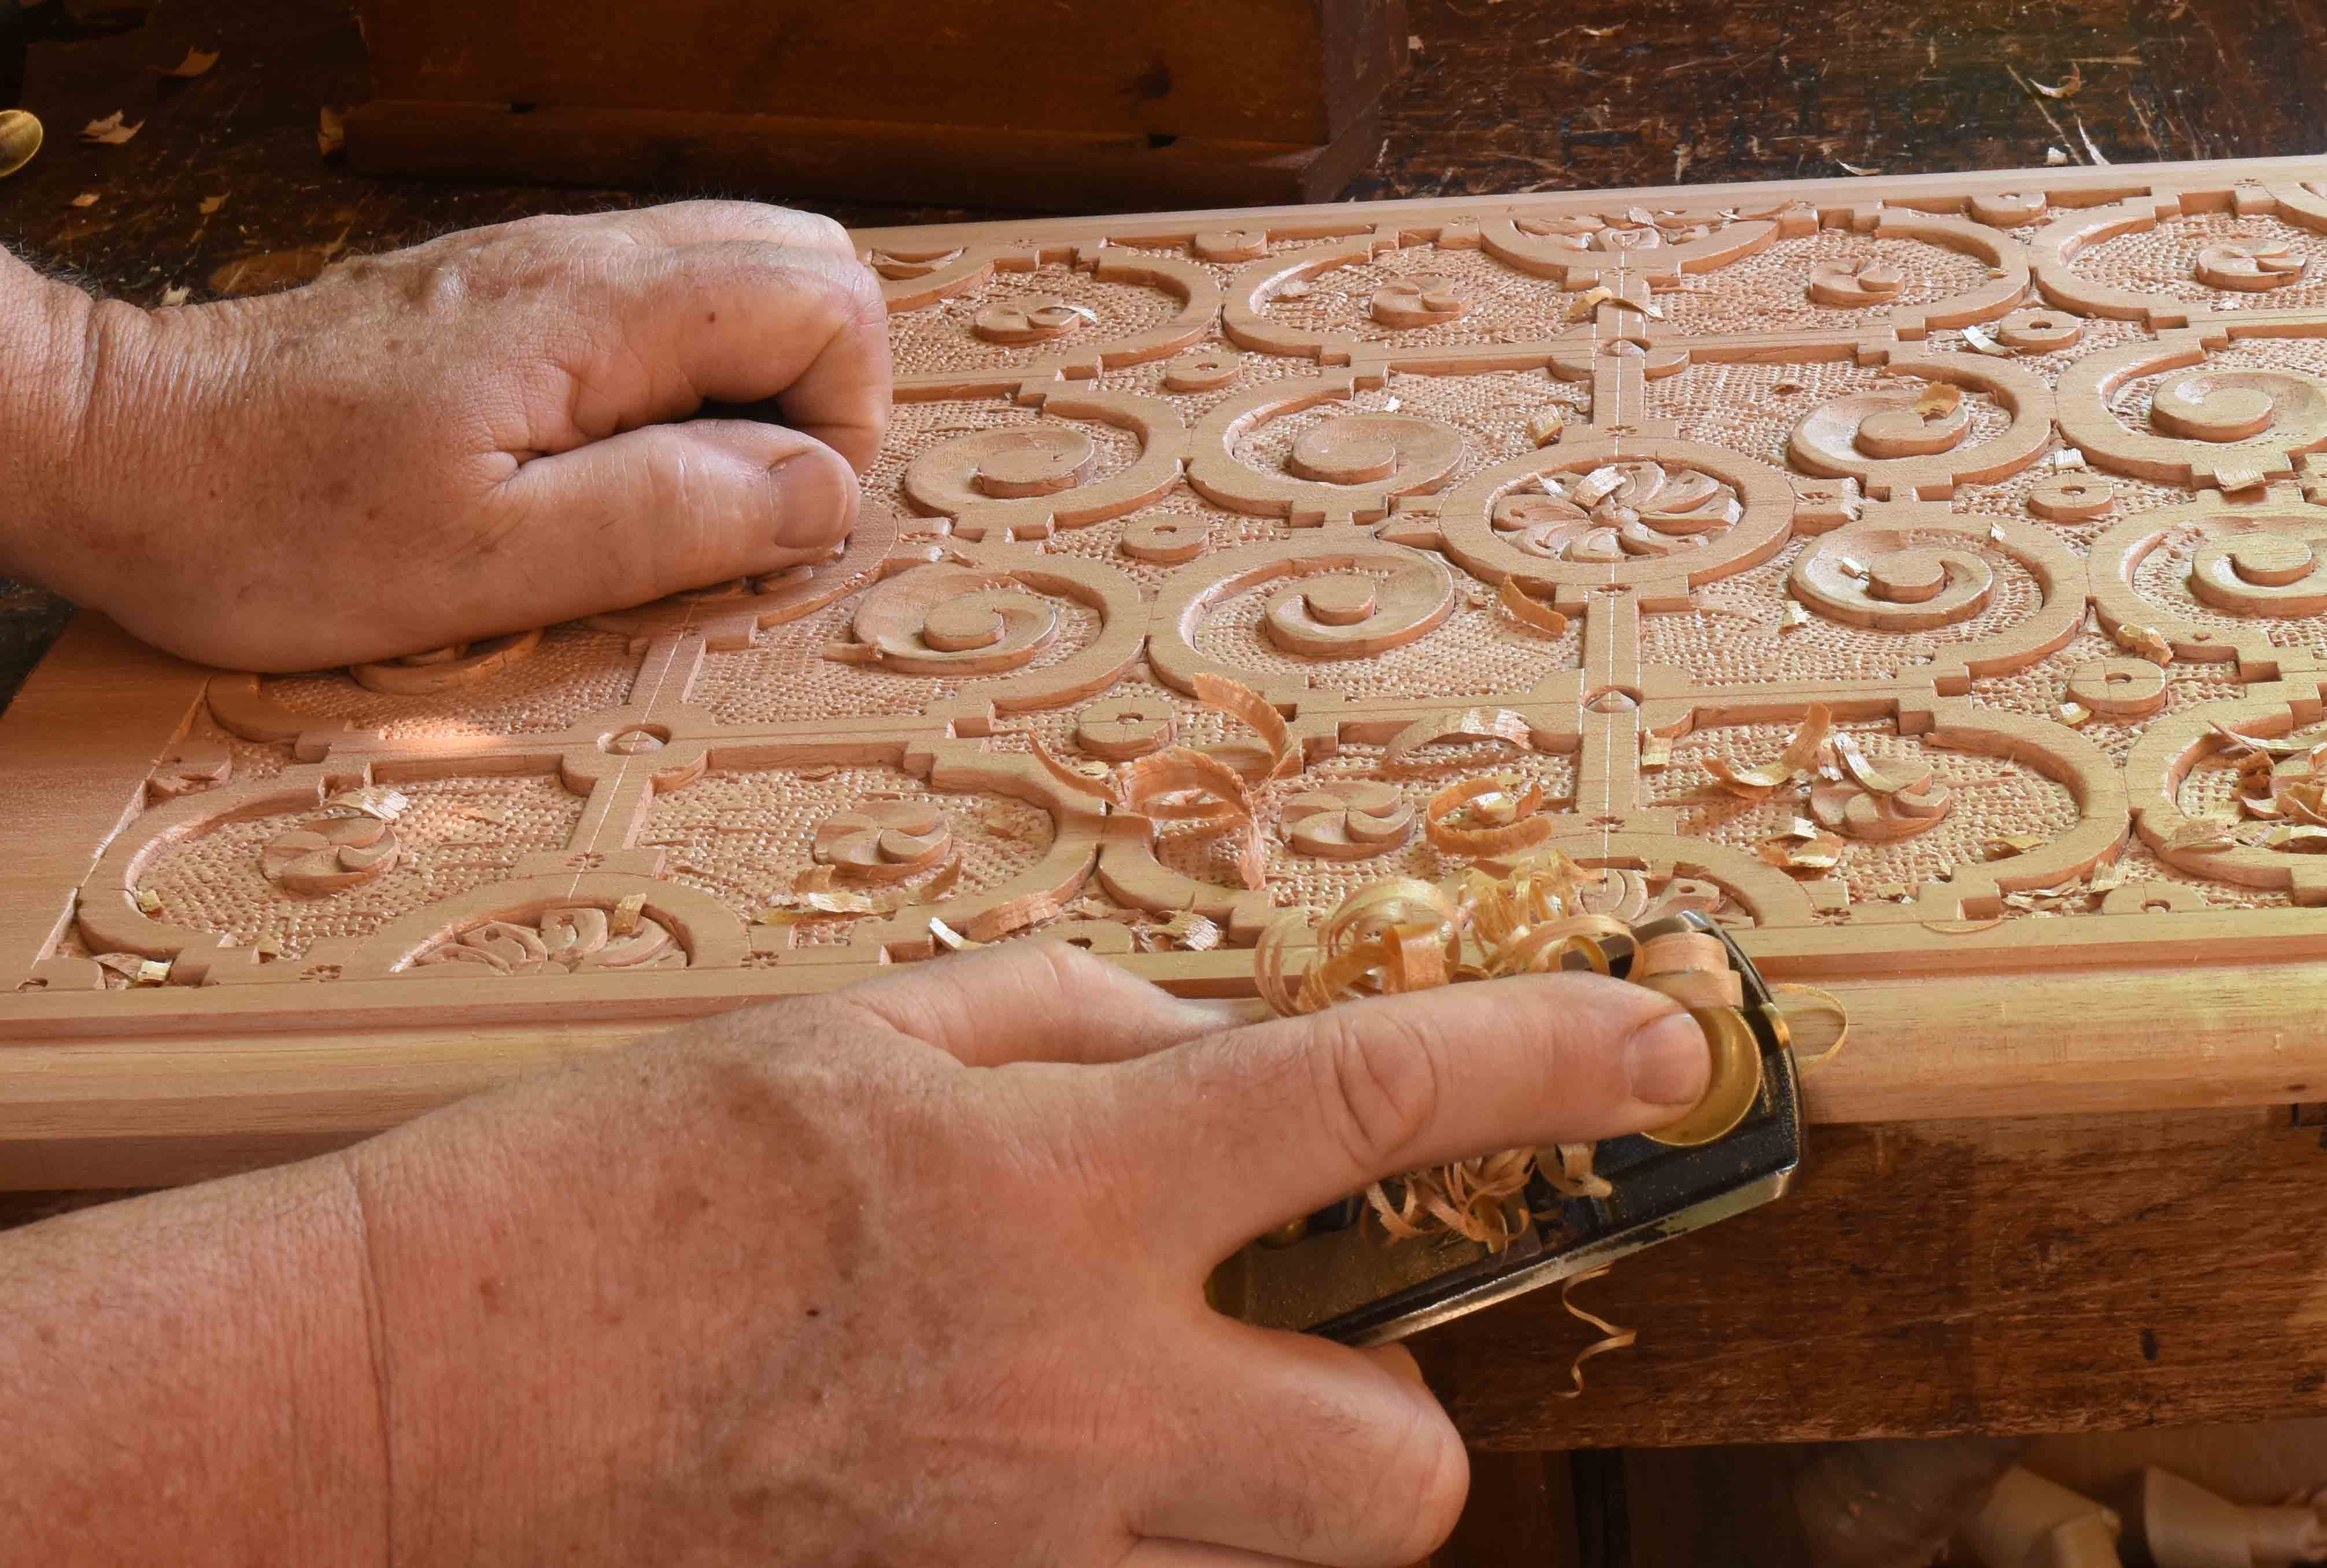
I don’t use the block plane as much as I did when Jennie Alexander and I first started learning joined work 35 years ago. This cedar takes a very nice finish for a softer wood. The block plane worked just fine.
Going across the end grain requires some adjustment. First - I struck the line with a sharp knife and a straightedge this time instead of the marking gauge. I wanted to score deeply enough to sever the fibers. Then, I started with a smooth plane, skewed at an angle to begin rounding the shape before cutting the rabbet/depth.
Keep reading with a 7-day free trial
Subscribe to Follansbee's Substack to keep reading this post and get 7 days of free access to the full post archives.