


thoughts while making a Windsor chair
and a section from my Craft Genealogy chapter on Windsors

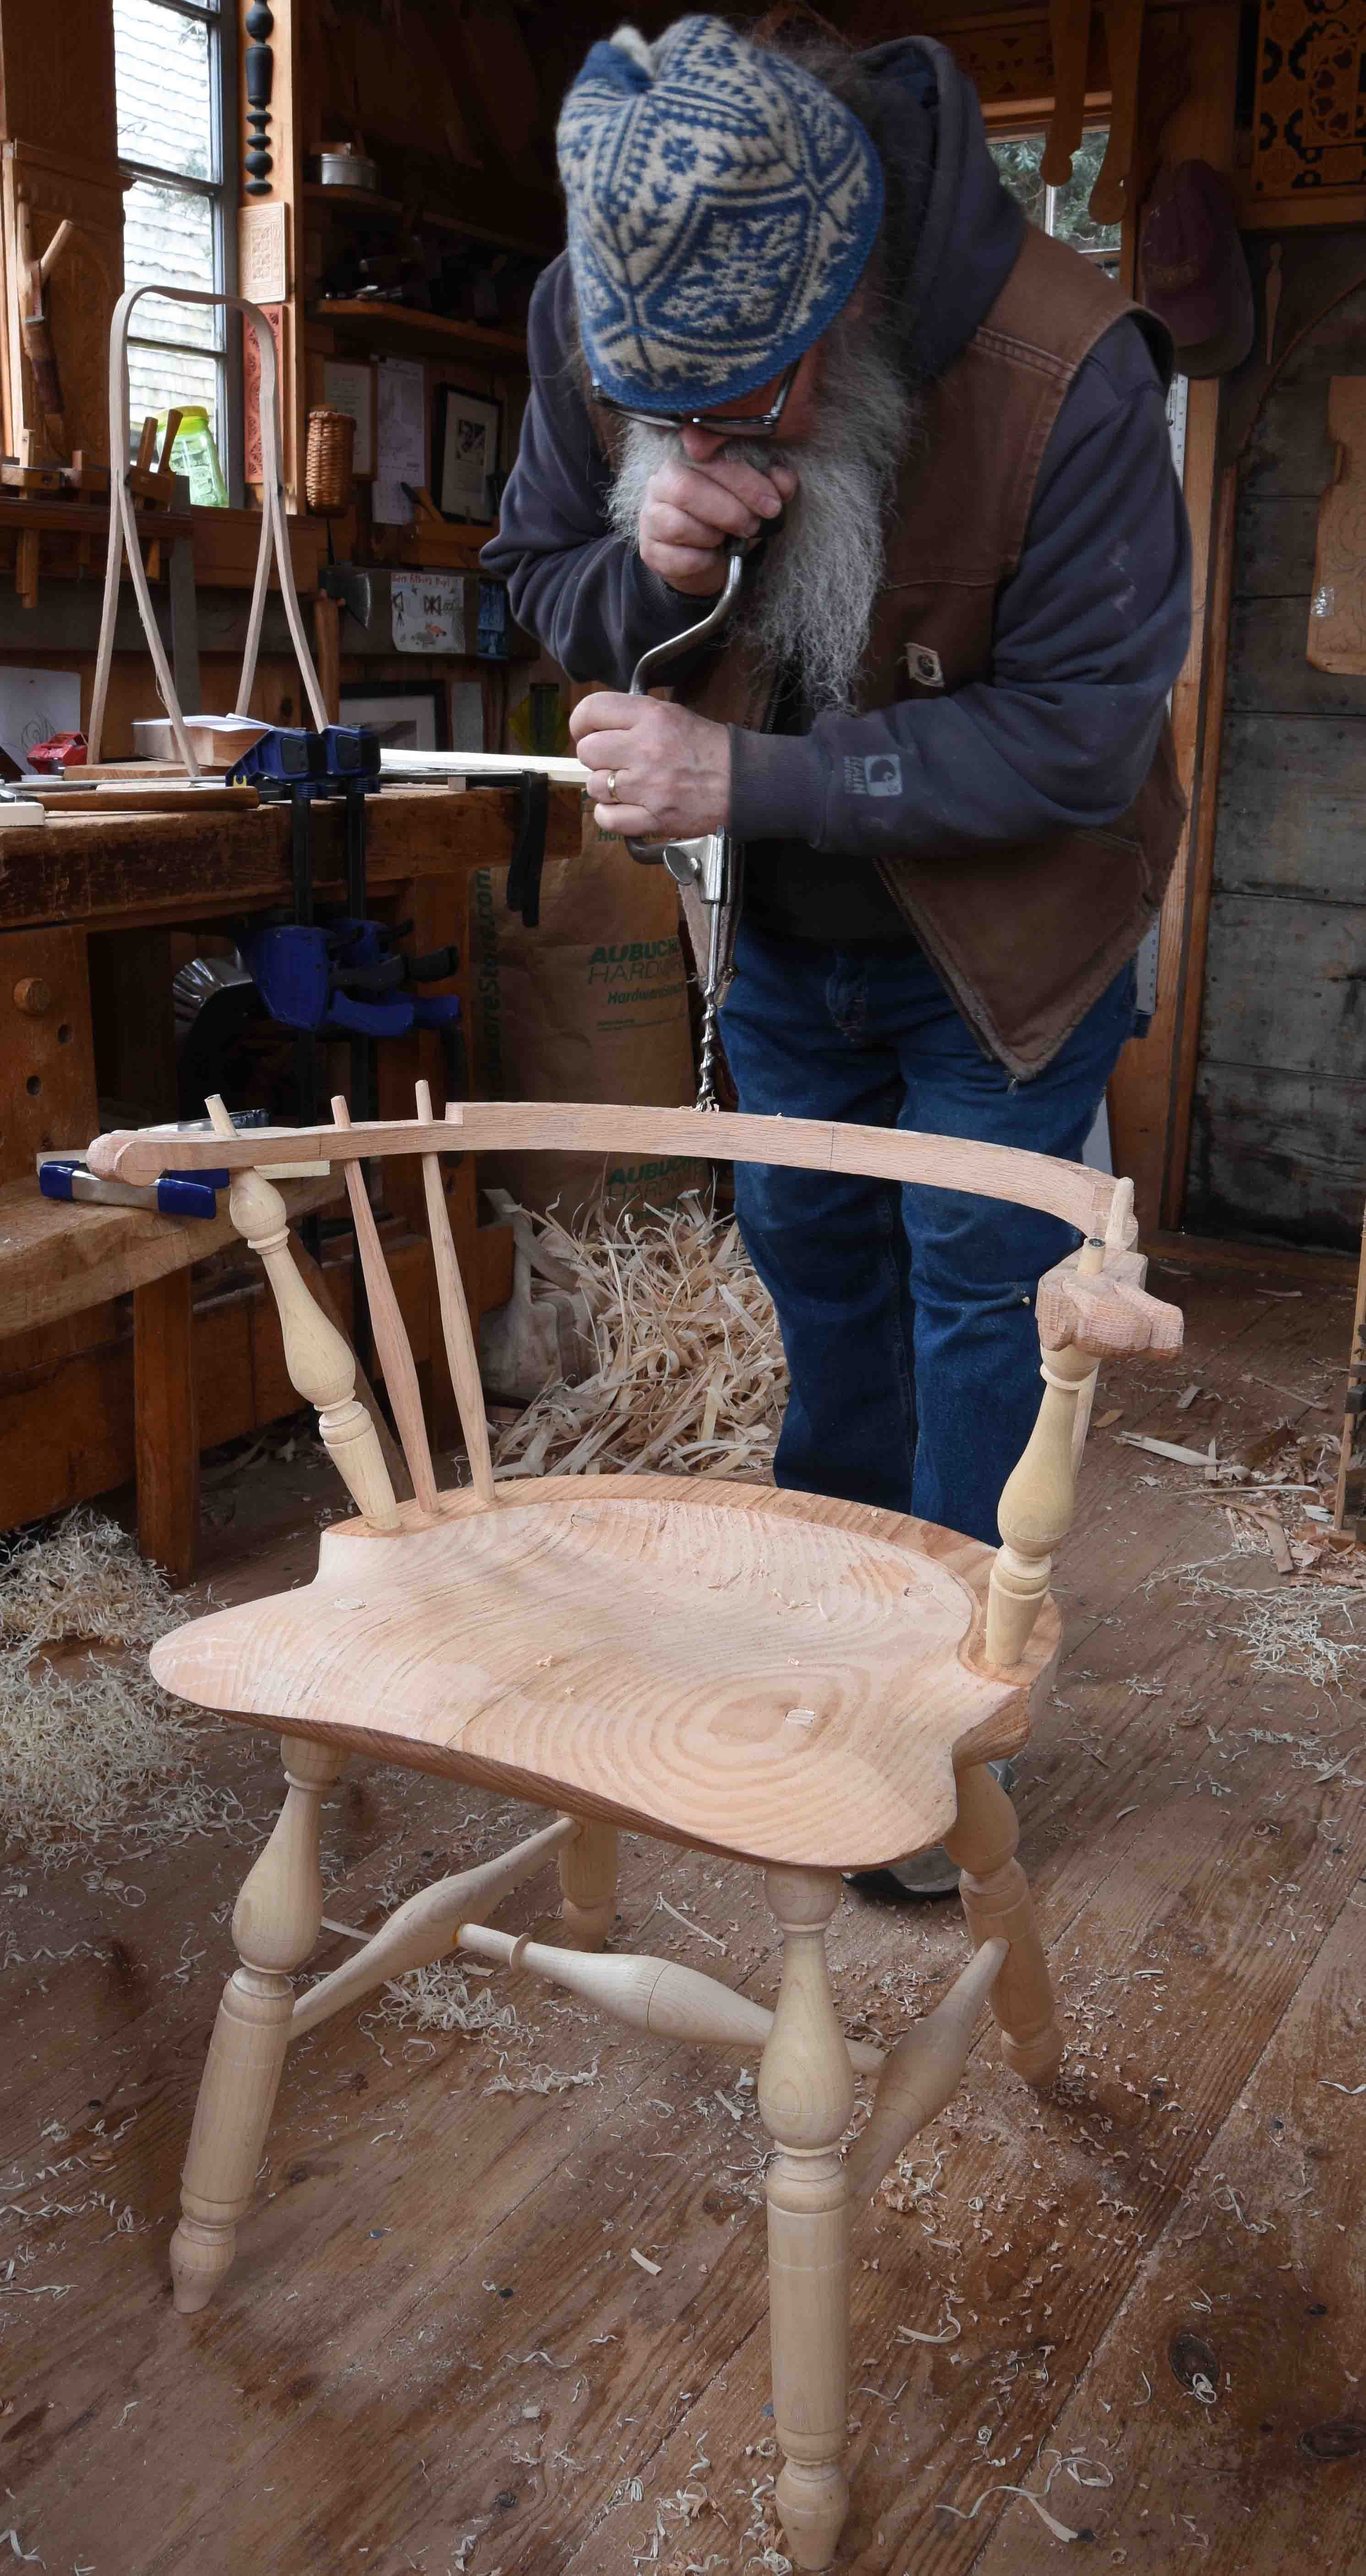
I’ve been taking some time (too much, as it turns out) lately to build a Windsor chair designed by Curtis Buchanan.
Twelve to thirteen years ago Curtis first produced one of his home-made video series on making a large comb back Windsor chair. (I just checked my old blog - I first saw them in March of 2013.)
https://www.youtube.com/playlist?list=PLL_KlogKd1xf-P7ObrjmBHEWgiZAl37lx
I had made comb backs way back in the late 1980s/early 1990s and they were a favorite of mine. I made one a couple of years ago, just re-posted it here not too long ago. That one has an oval seat, running side-to-side. Comfortable, but shallow. This one has a “shield” seat - like the continuous arm chair, bowback side chairs, etc. More spindles, deeper curve to the comb.
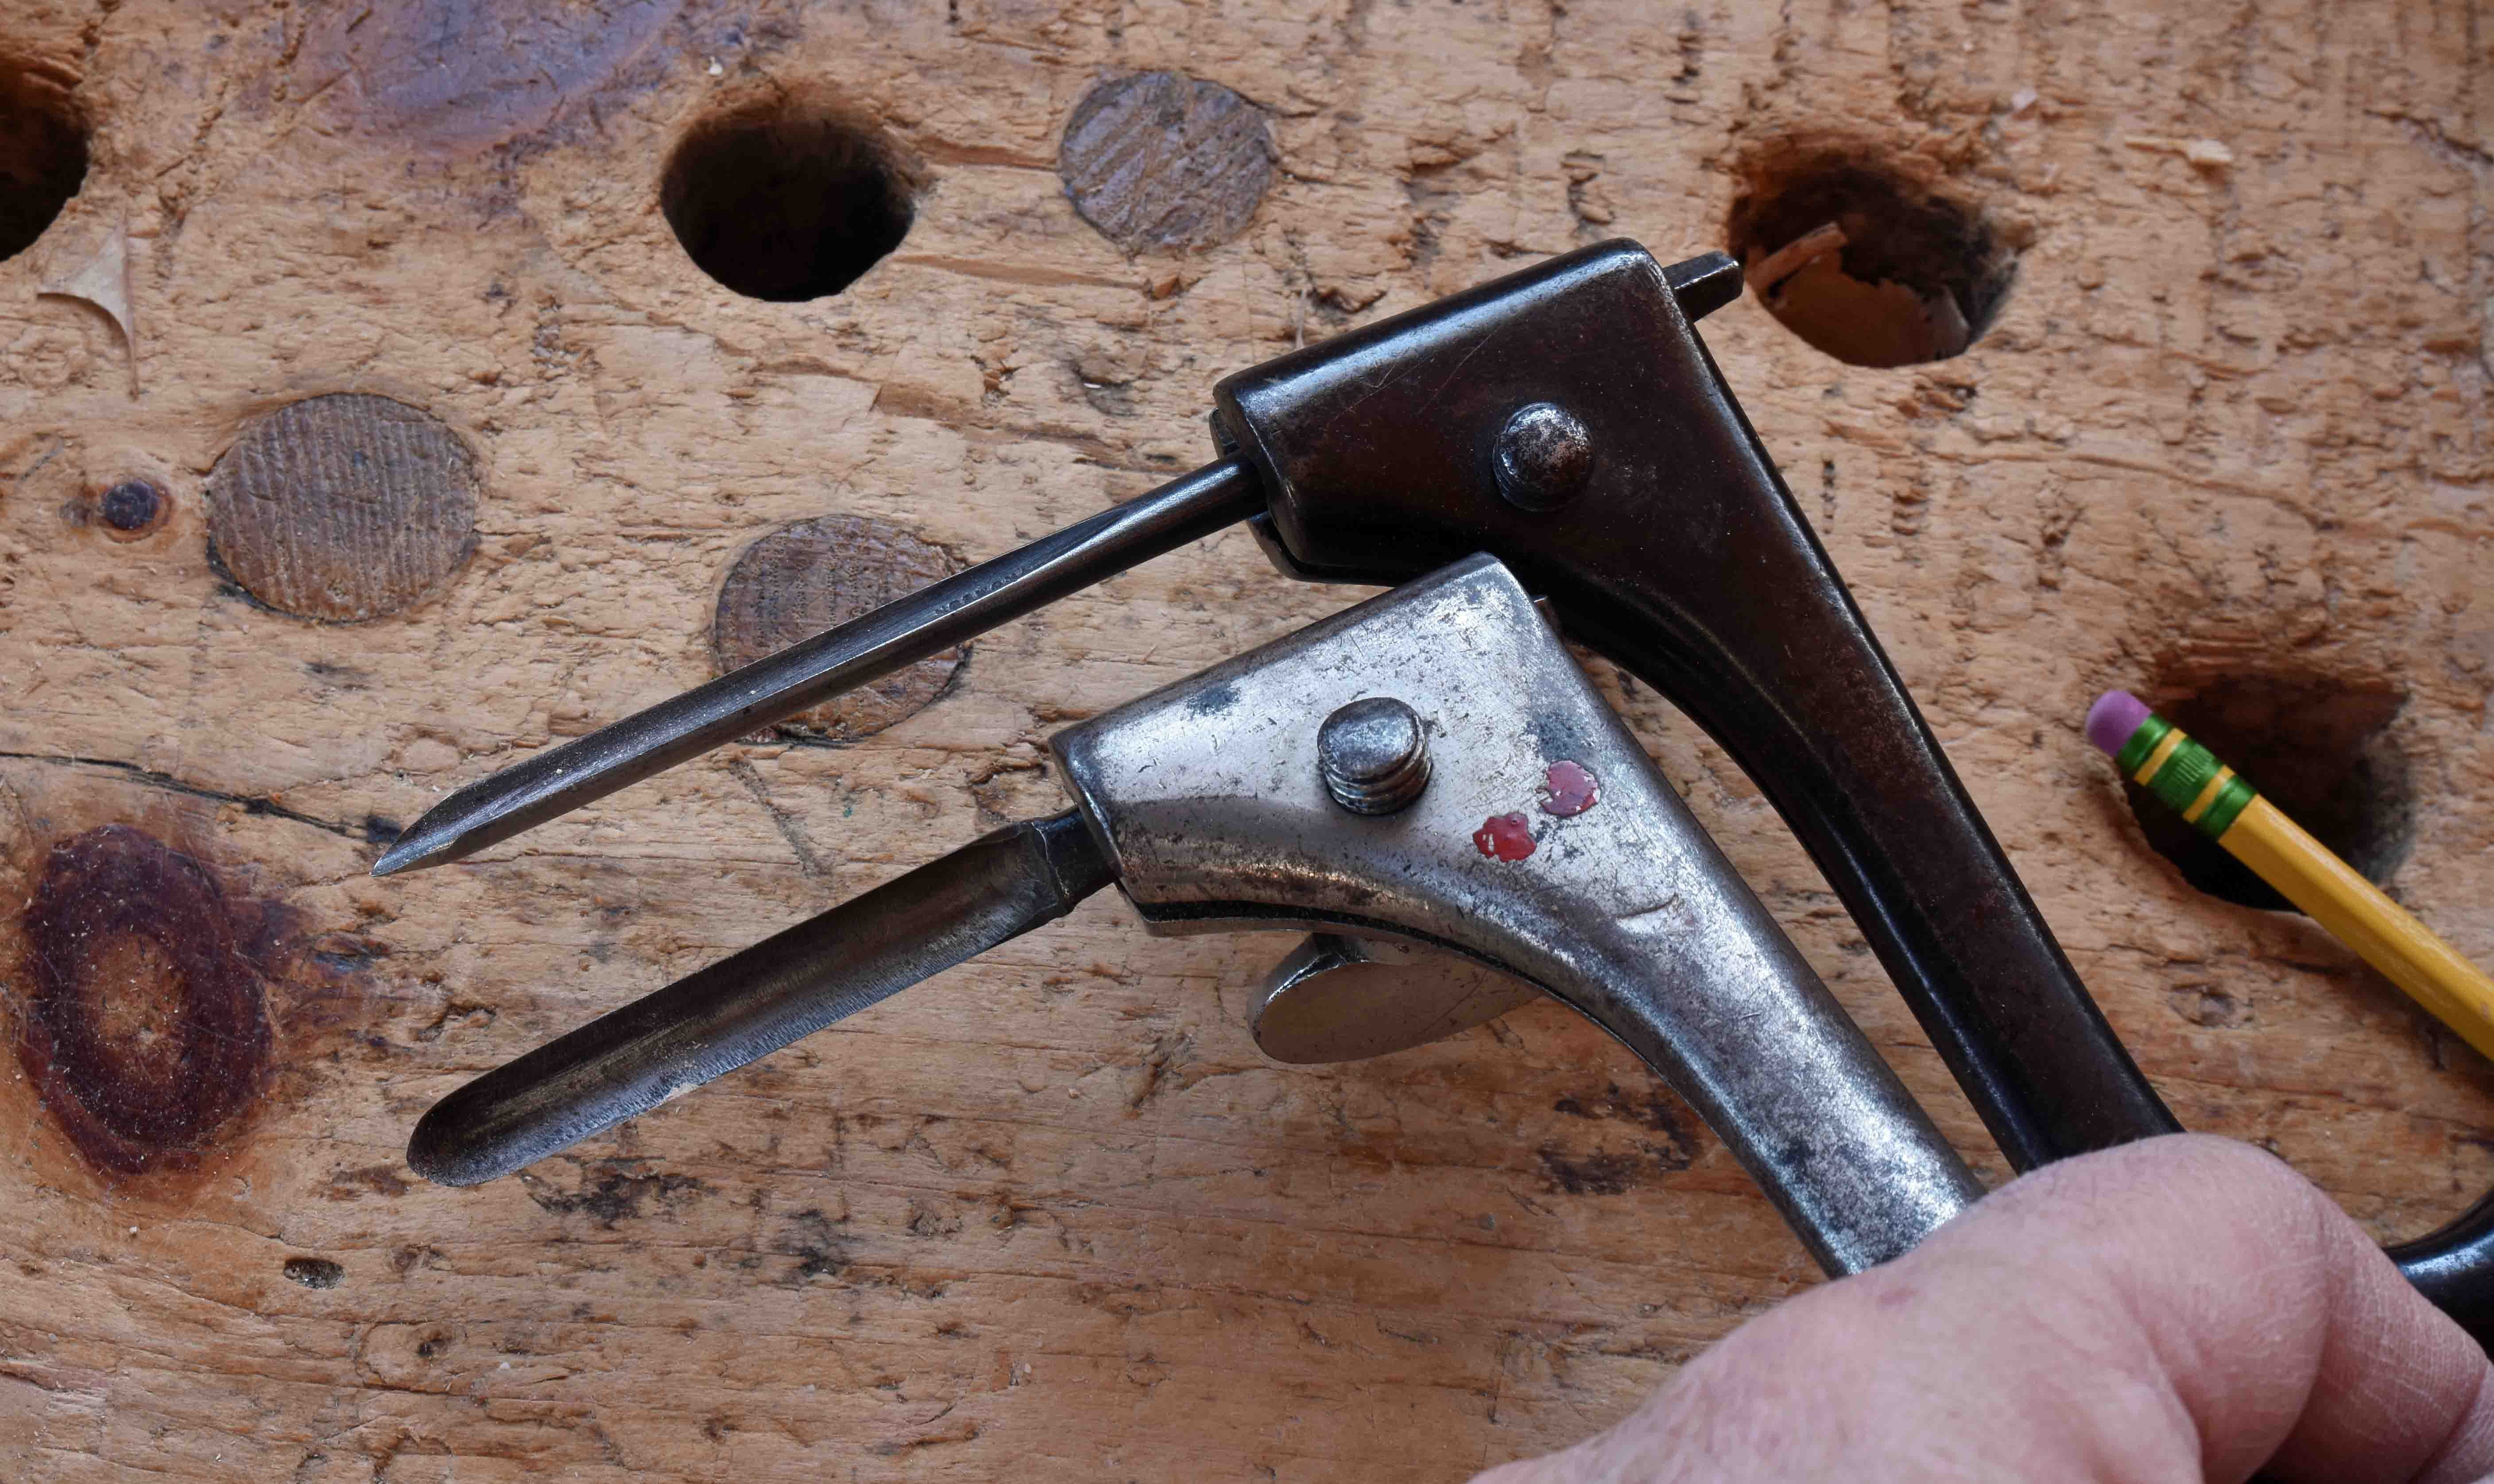
I manage maybe 3 Windsor chairs a year at this point. When I make one, some of the methods I use I learned from Curtis over 35 years ago. Others are things I’ve picked up from him, Pete Galbert and Elia Bizzarri & others in the past 10 years or so. Recently I was boring the mortises for the arm posts - these are a pretty steep angle.
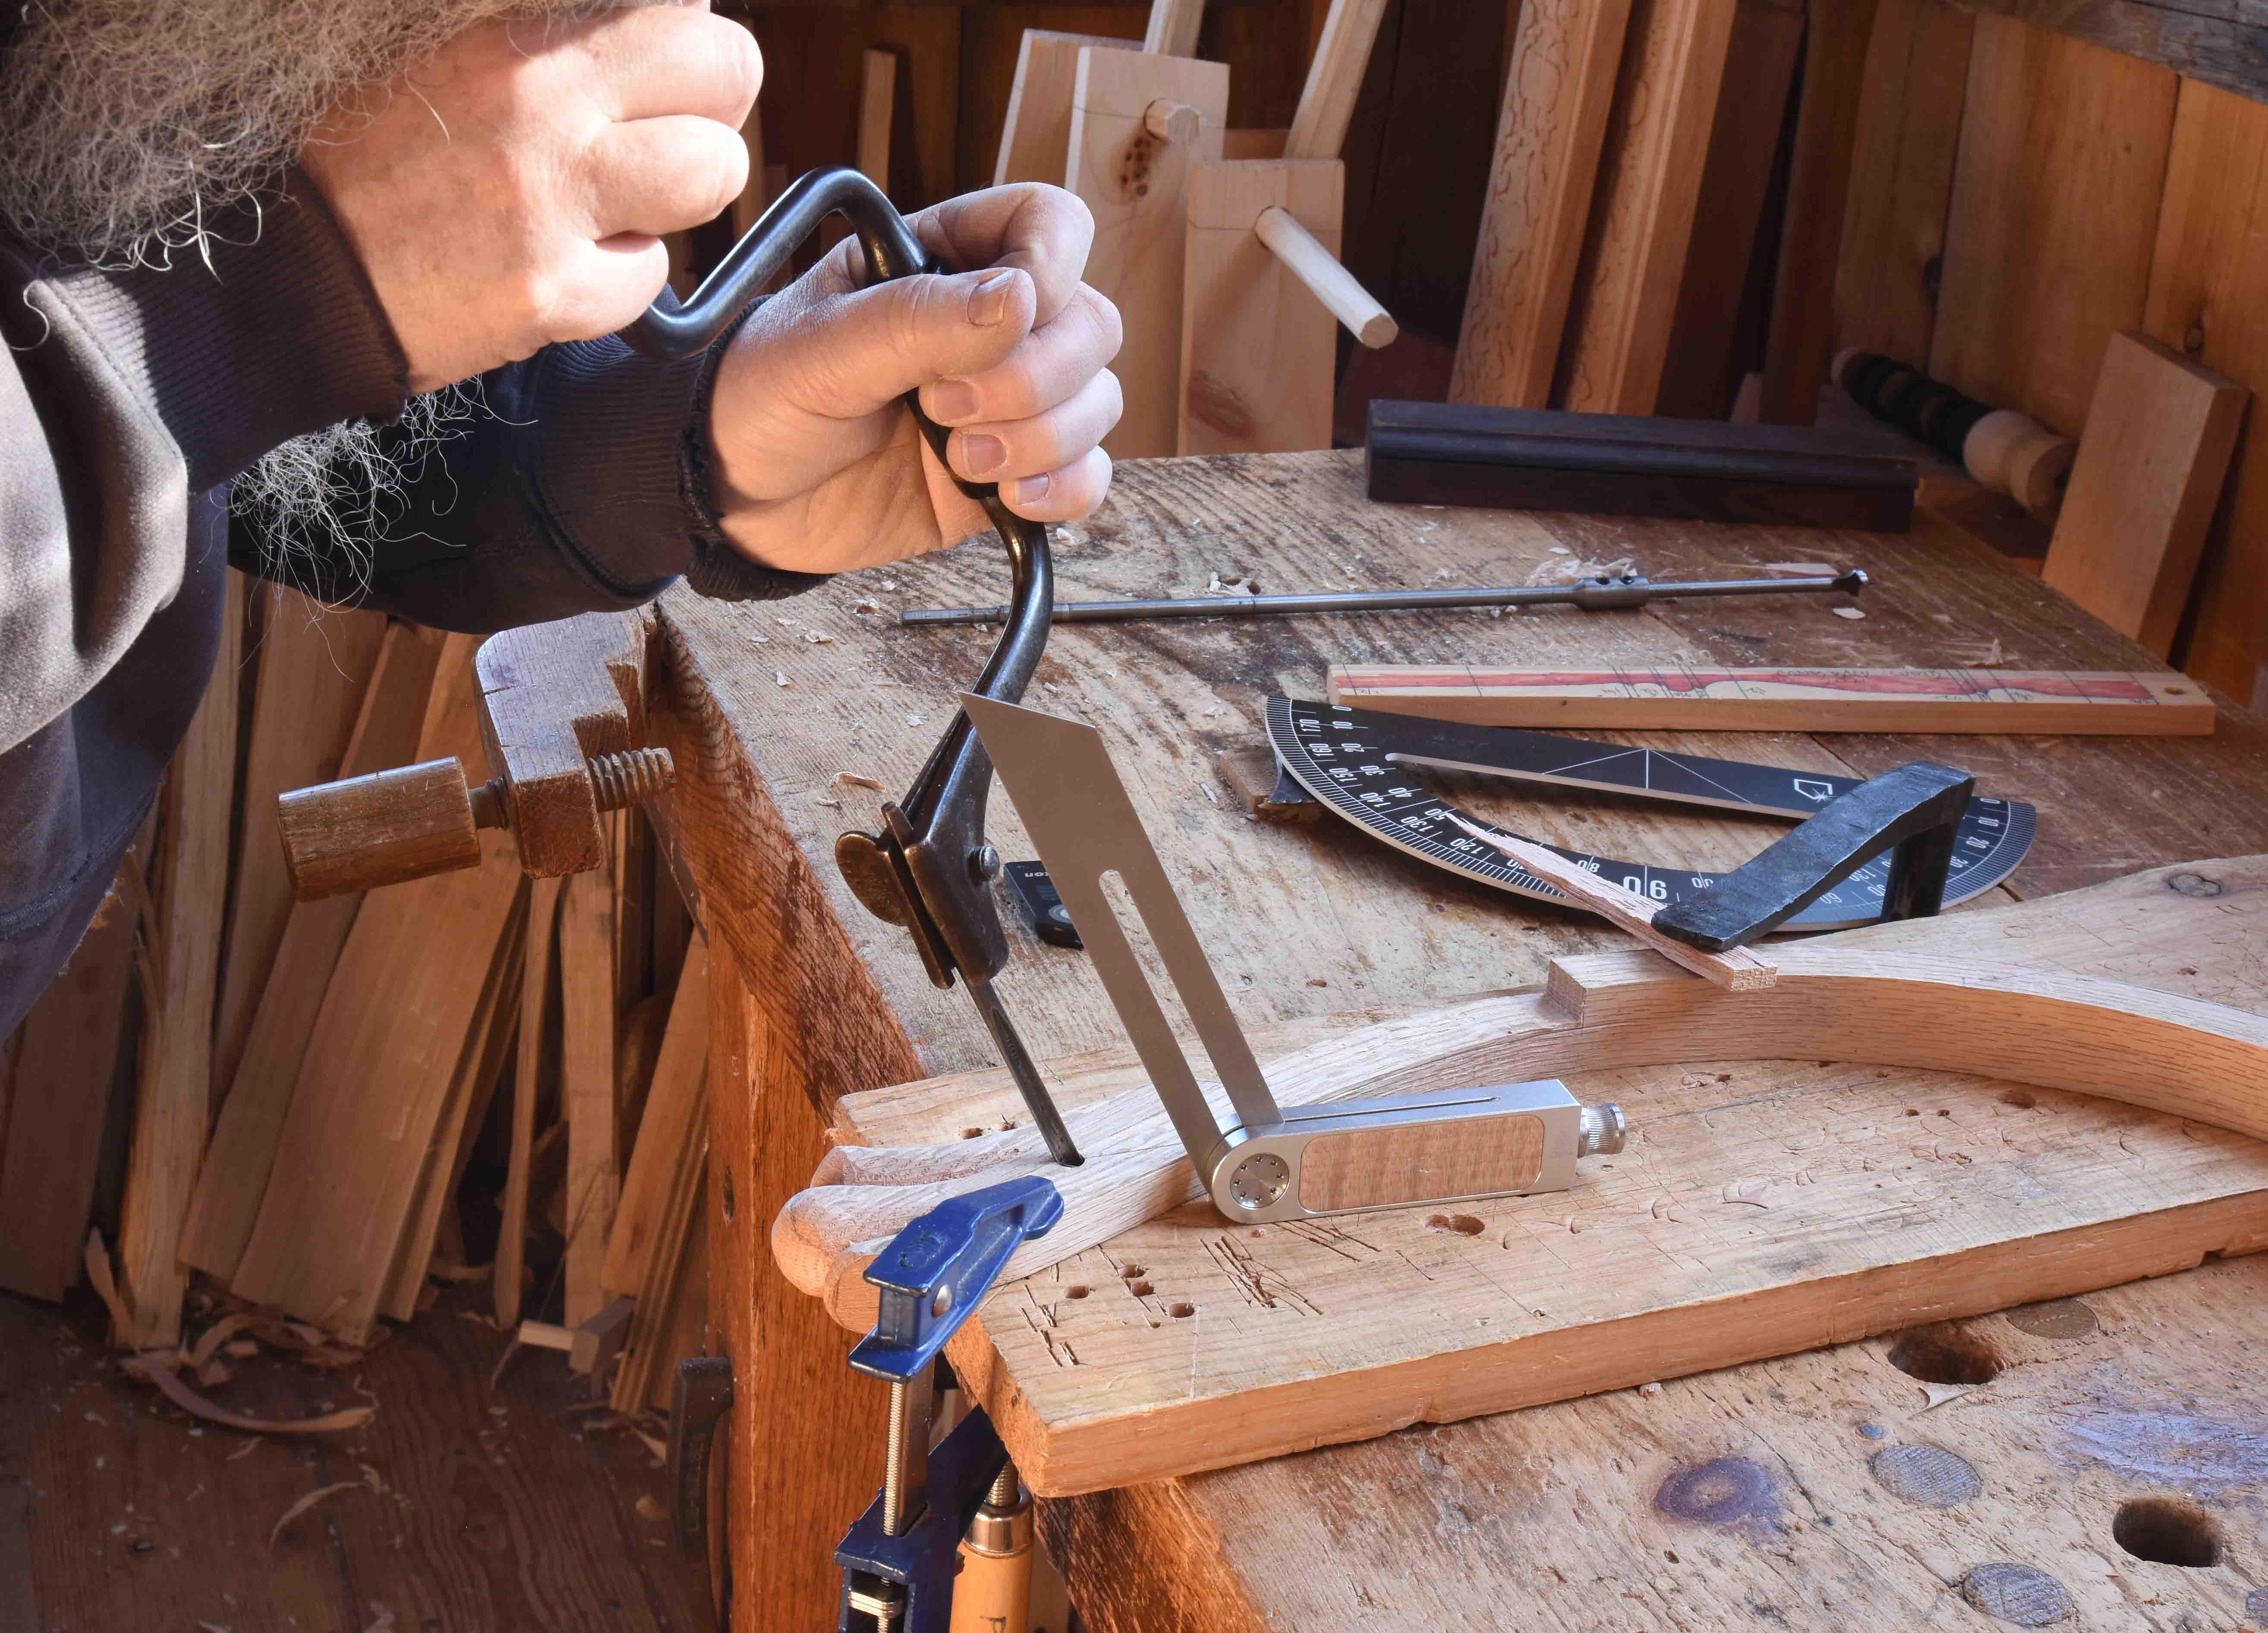
I used a small piercer bit first, maybe 1/4”, then re-bored it with a 3/8” spoon bit. The reason I used the piercer first is its sharp point - easier for my out-of-practice self to locate than the rounded nose of the spoon bit.
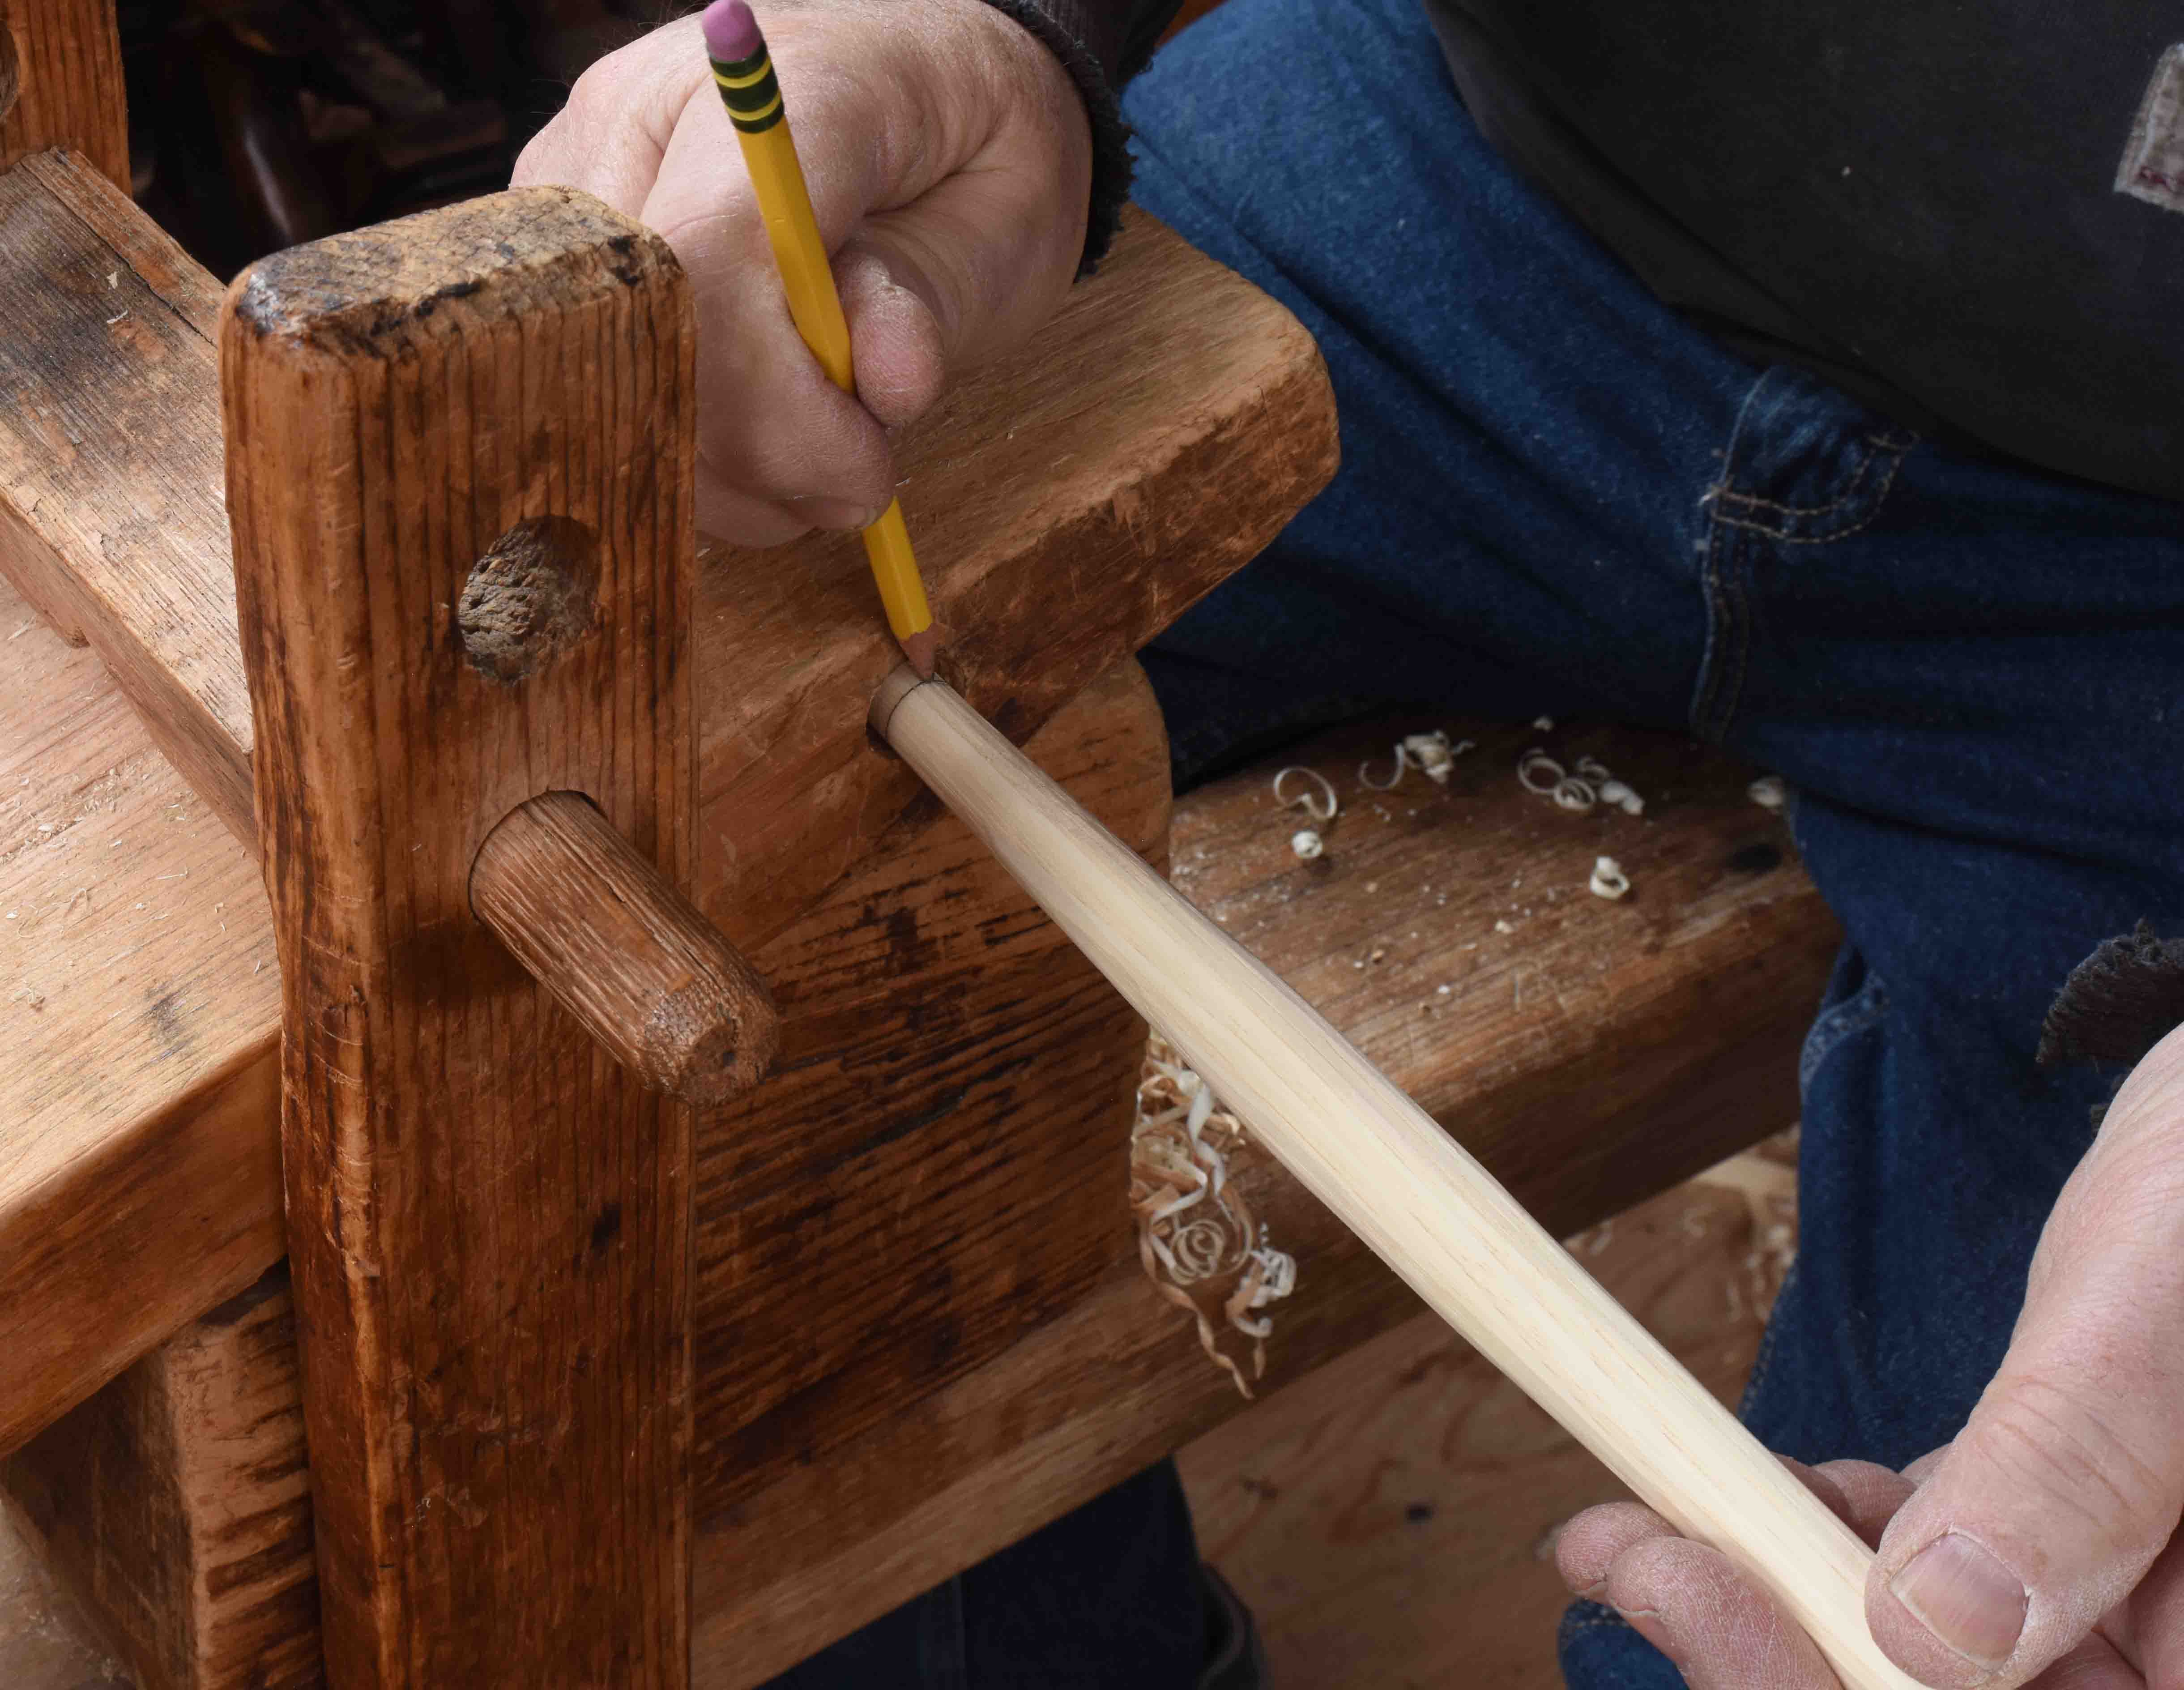
Yesterday I got to the long spindles - shaving them down to their final dimensions. I shave them with a spokeshave, slow, but it works. Once they’re close, I twist them into a test hole in a dry piece of hardwood - this embosses them to show me where to keep shaving.
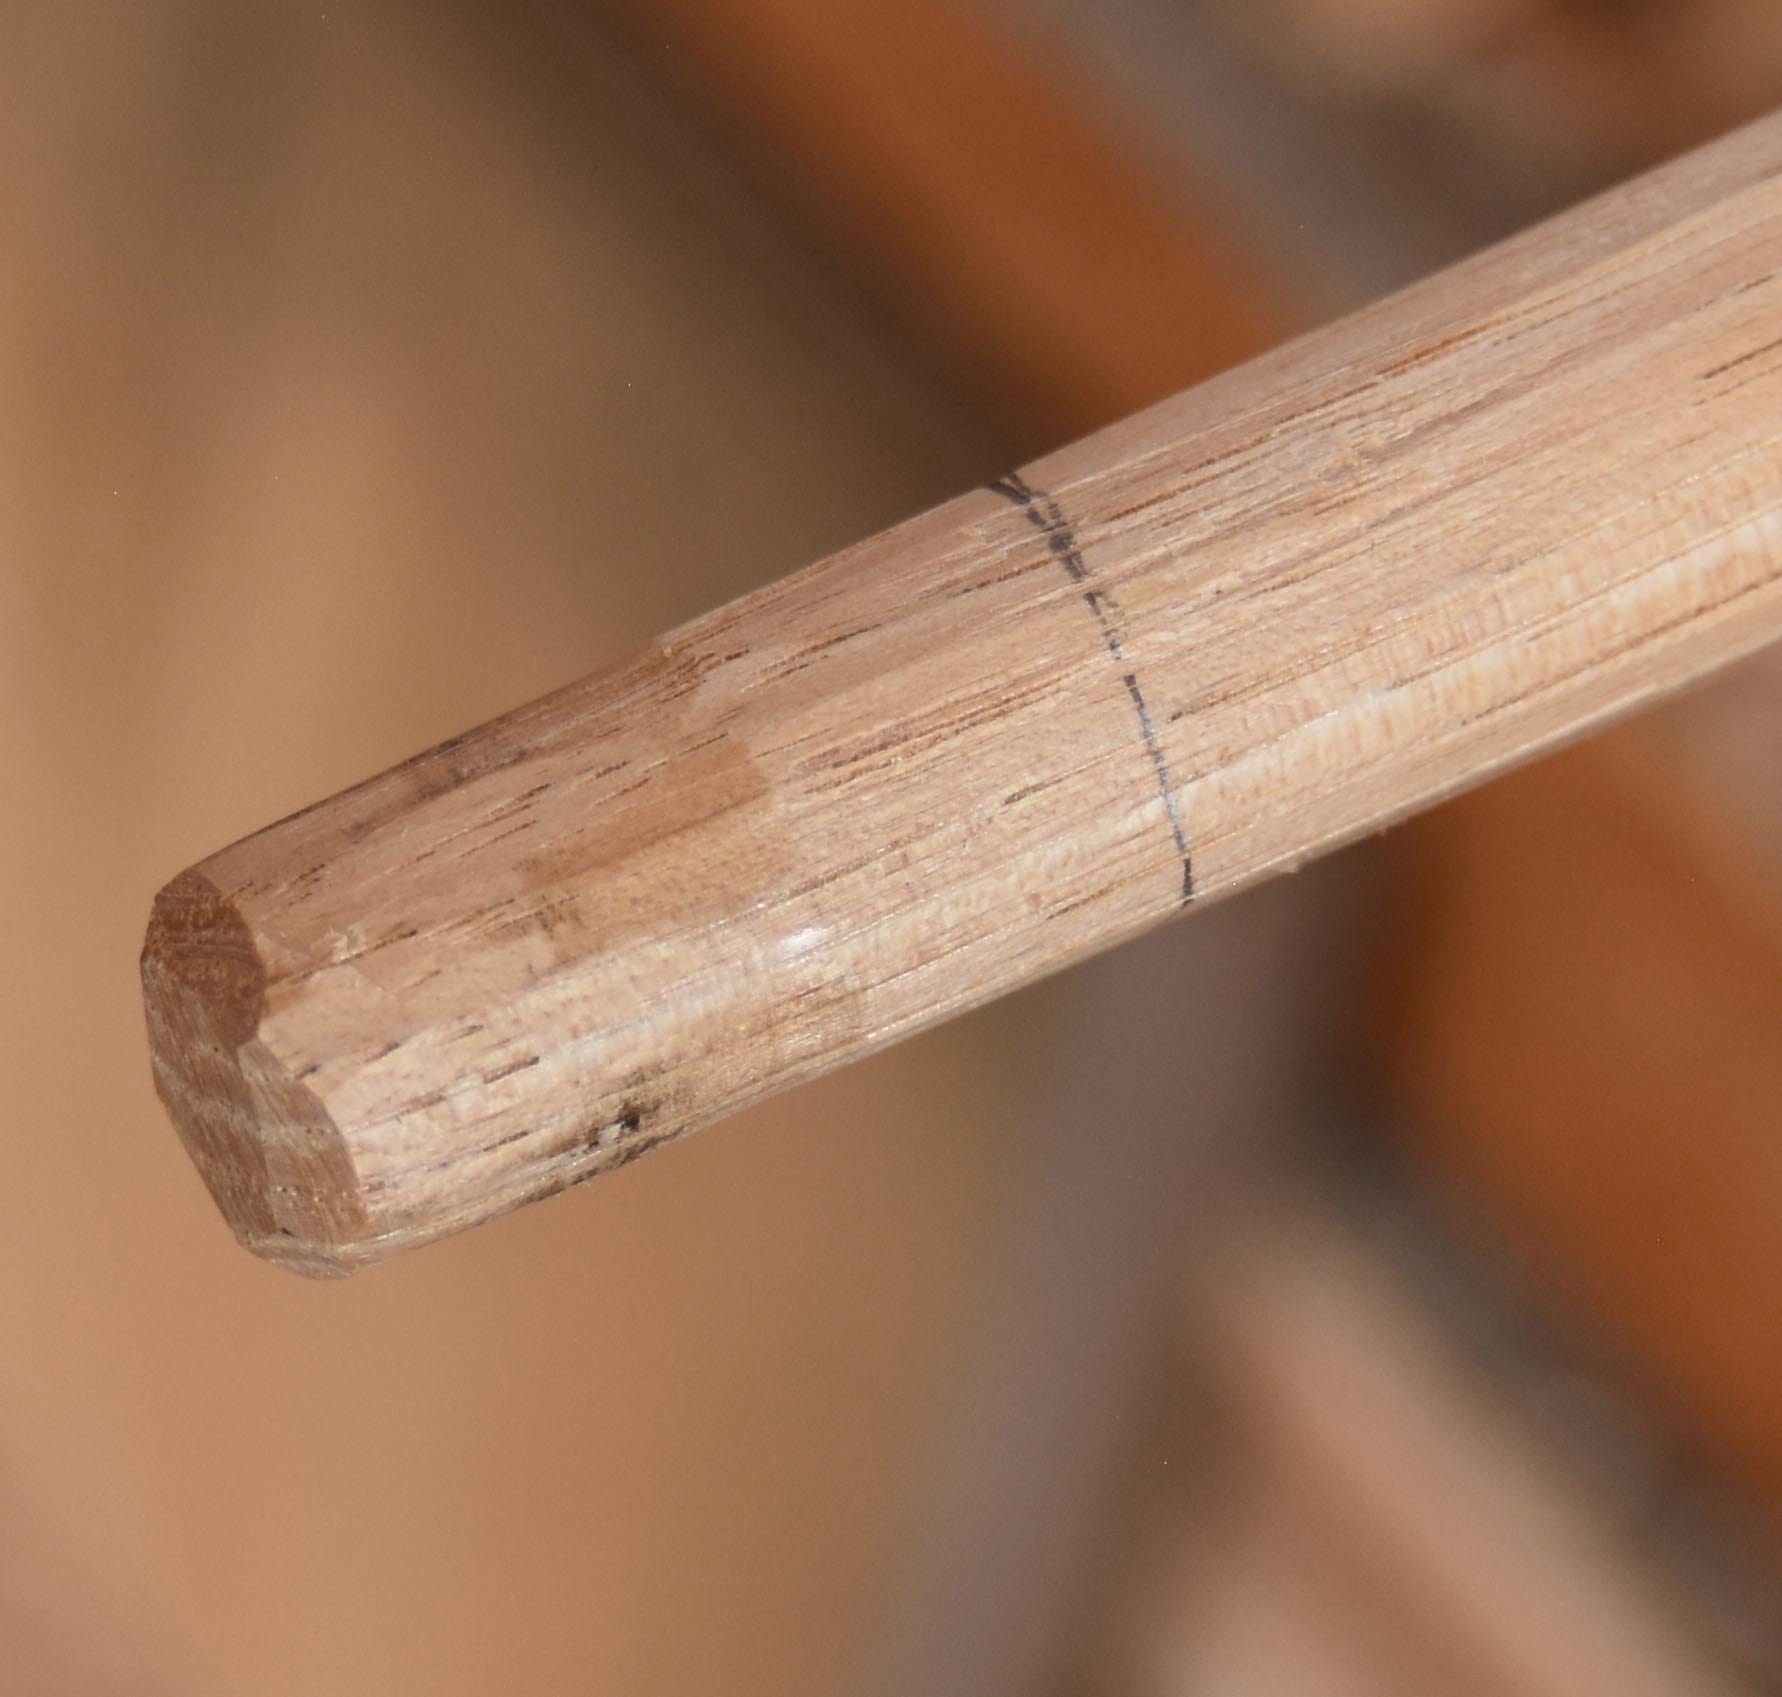
To get the depth mark/tenon length, I stick the tenon end into a 1” deep hole in my shaving horse to mark it.
These spindles are 30” long at first, and need to slip up through the arm - and get snug at just the right height. When I reviewed Curtis’s videos on this step, I was surprised to see him ream the arm holes for these spindles with a large rat-tail file held in a brace. I had never seen that before. I was not surprised to hear him say he learned that step from Dave Sawyer. Then maybe the next day I saw a blog post from Pete Galbert about drawing orthographic projections of a chair design. Subtitled “I had to be shown too.” No surprise there - it was Sawyer who showed him.
https://petergalbert.substack.com/p/drawing-chairs
Which gets me to my craft genealogy book project. As I’ve been working on this chair, I’ve been thinking about how Windsor chairs figure in my craft genealogy project. Prominently is the short version. But I don’t usually do short. So there’s a long version. Below this paywall is a draft of the section about Windsor chairs. It might end up longer/shorter/different, but this is some of it thus far.
Keep reading with a 7-day free trial
Subscribe to Follansbee's Substack to keep reading this post and get 7 days of free access to the full post archives.