
Side-hung drawer
Most of it, anyway. Includes a short video.

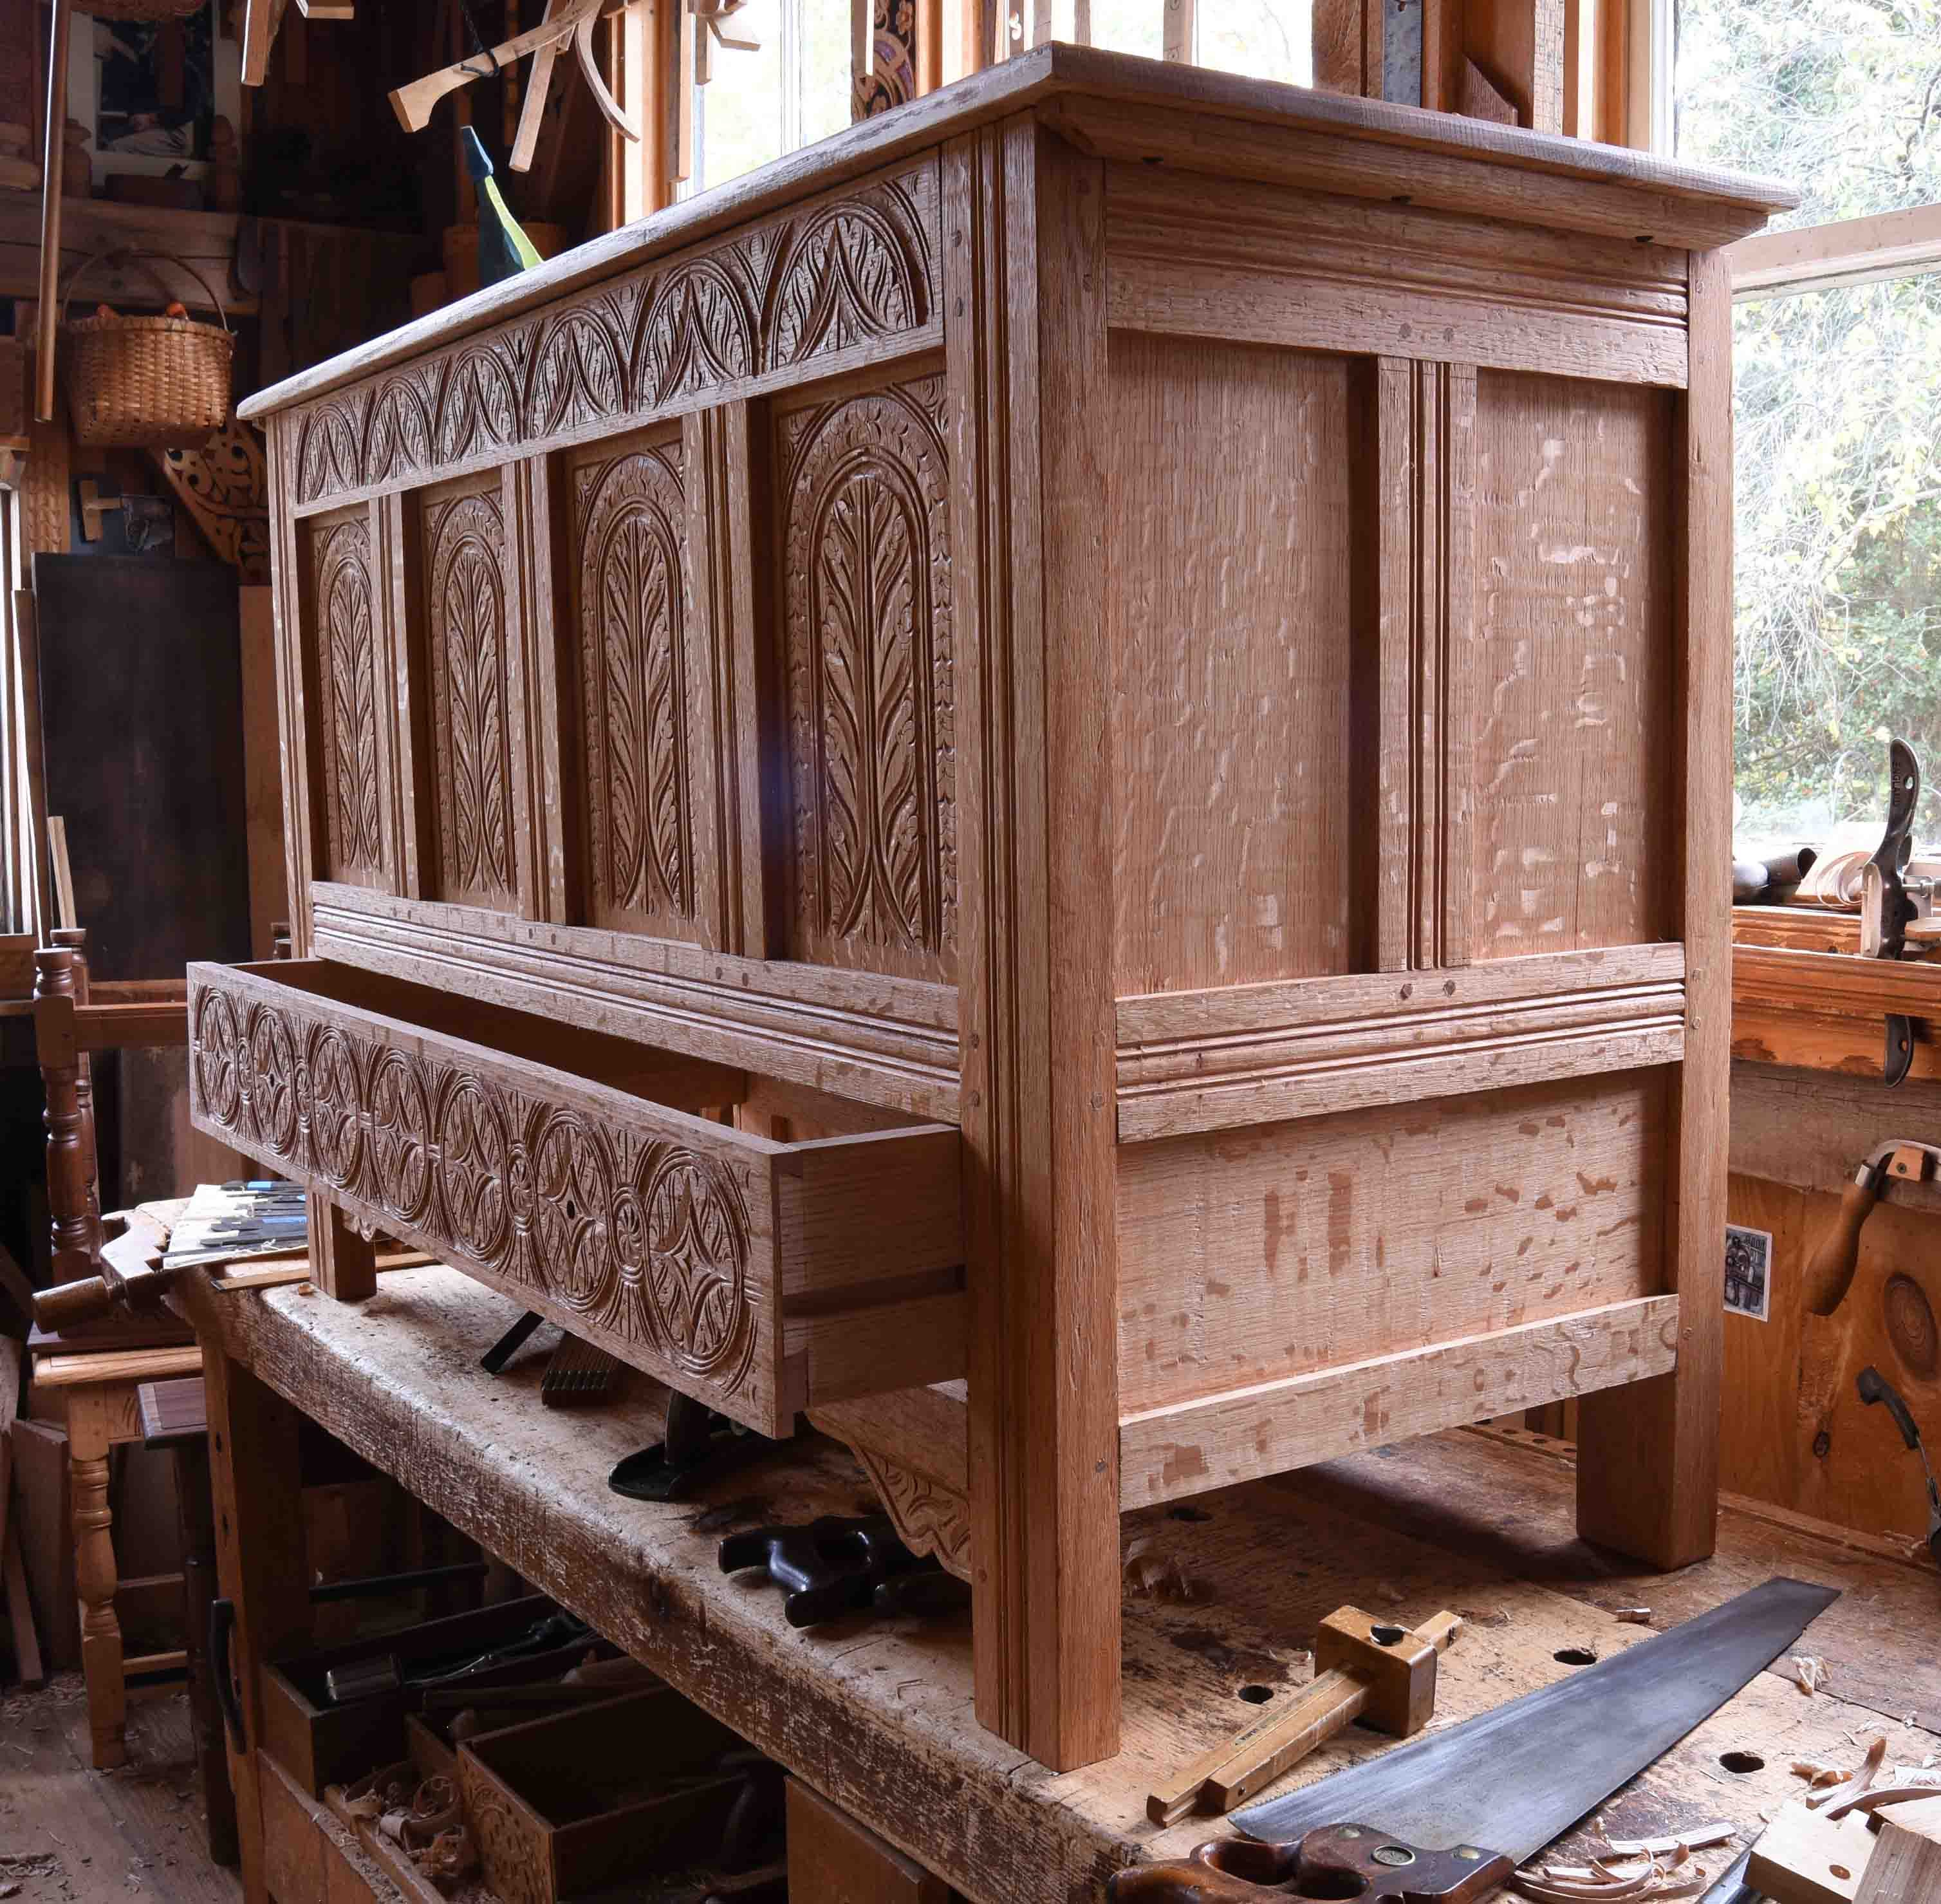
I remember reading about making drawers in the B&W era Fine Woodworking - I looked it up just now: “Drawer Bottoms: Six Variations on a theme” by Alan Marks, (FWW Winter 1977 ). Beginner that I was, I found it pretty daunting. Even six variations seemed like a lot. Thankfully, I learned chairmaking right after that & made exactly two drawers for a writing arm Windsor. That was it for about 15 years or so. By then, I was up to my eyeballs in 17th-century New England furniture - which has maybe 2 variations on drawer-making. Today I was making the side-hung drawer for the joined chest I’m finishing up. Here’s how it went.
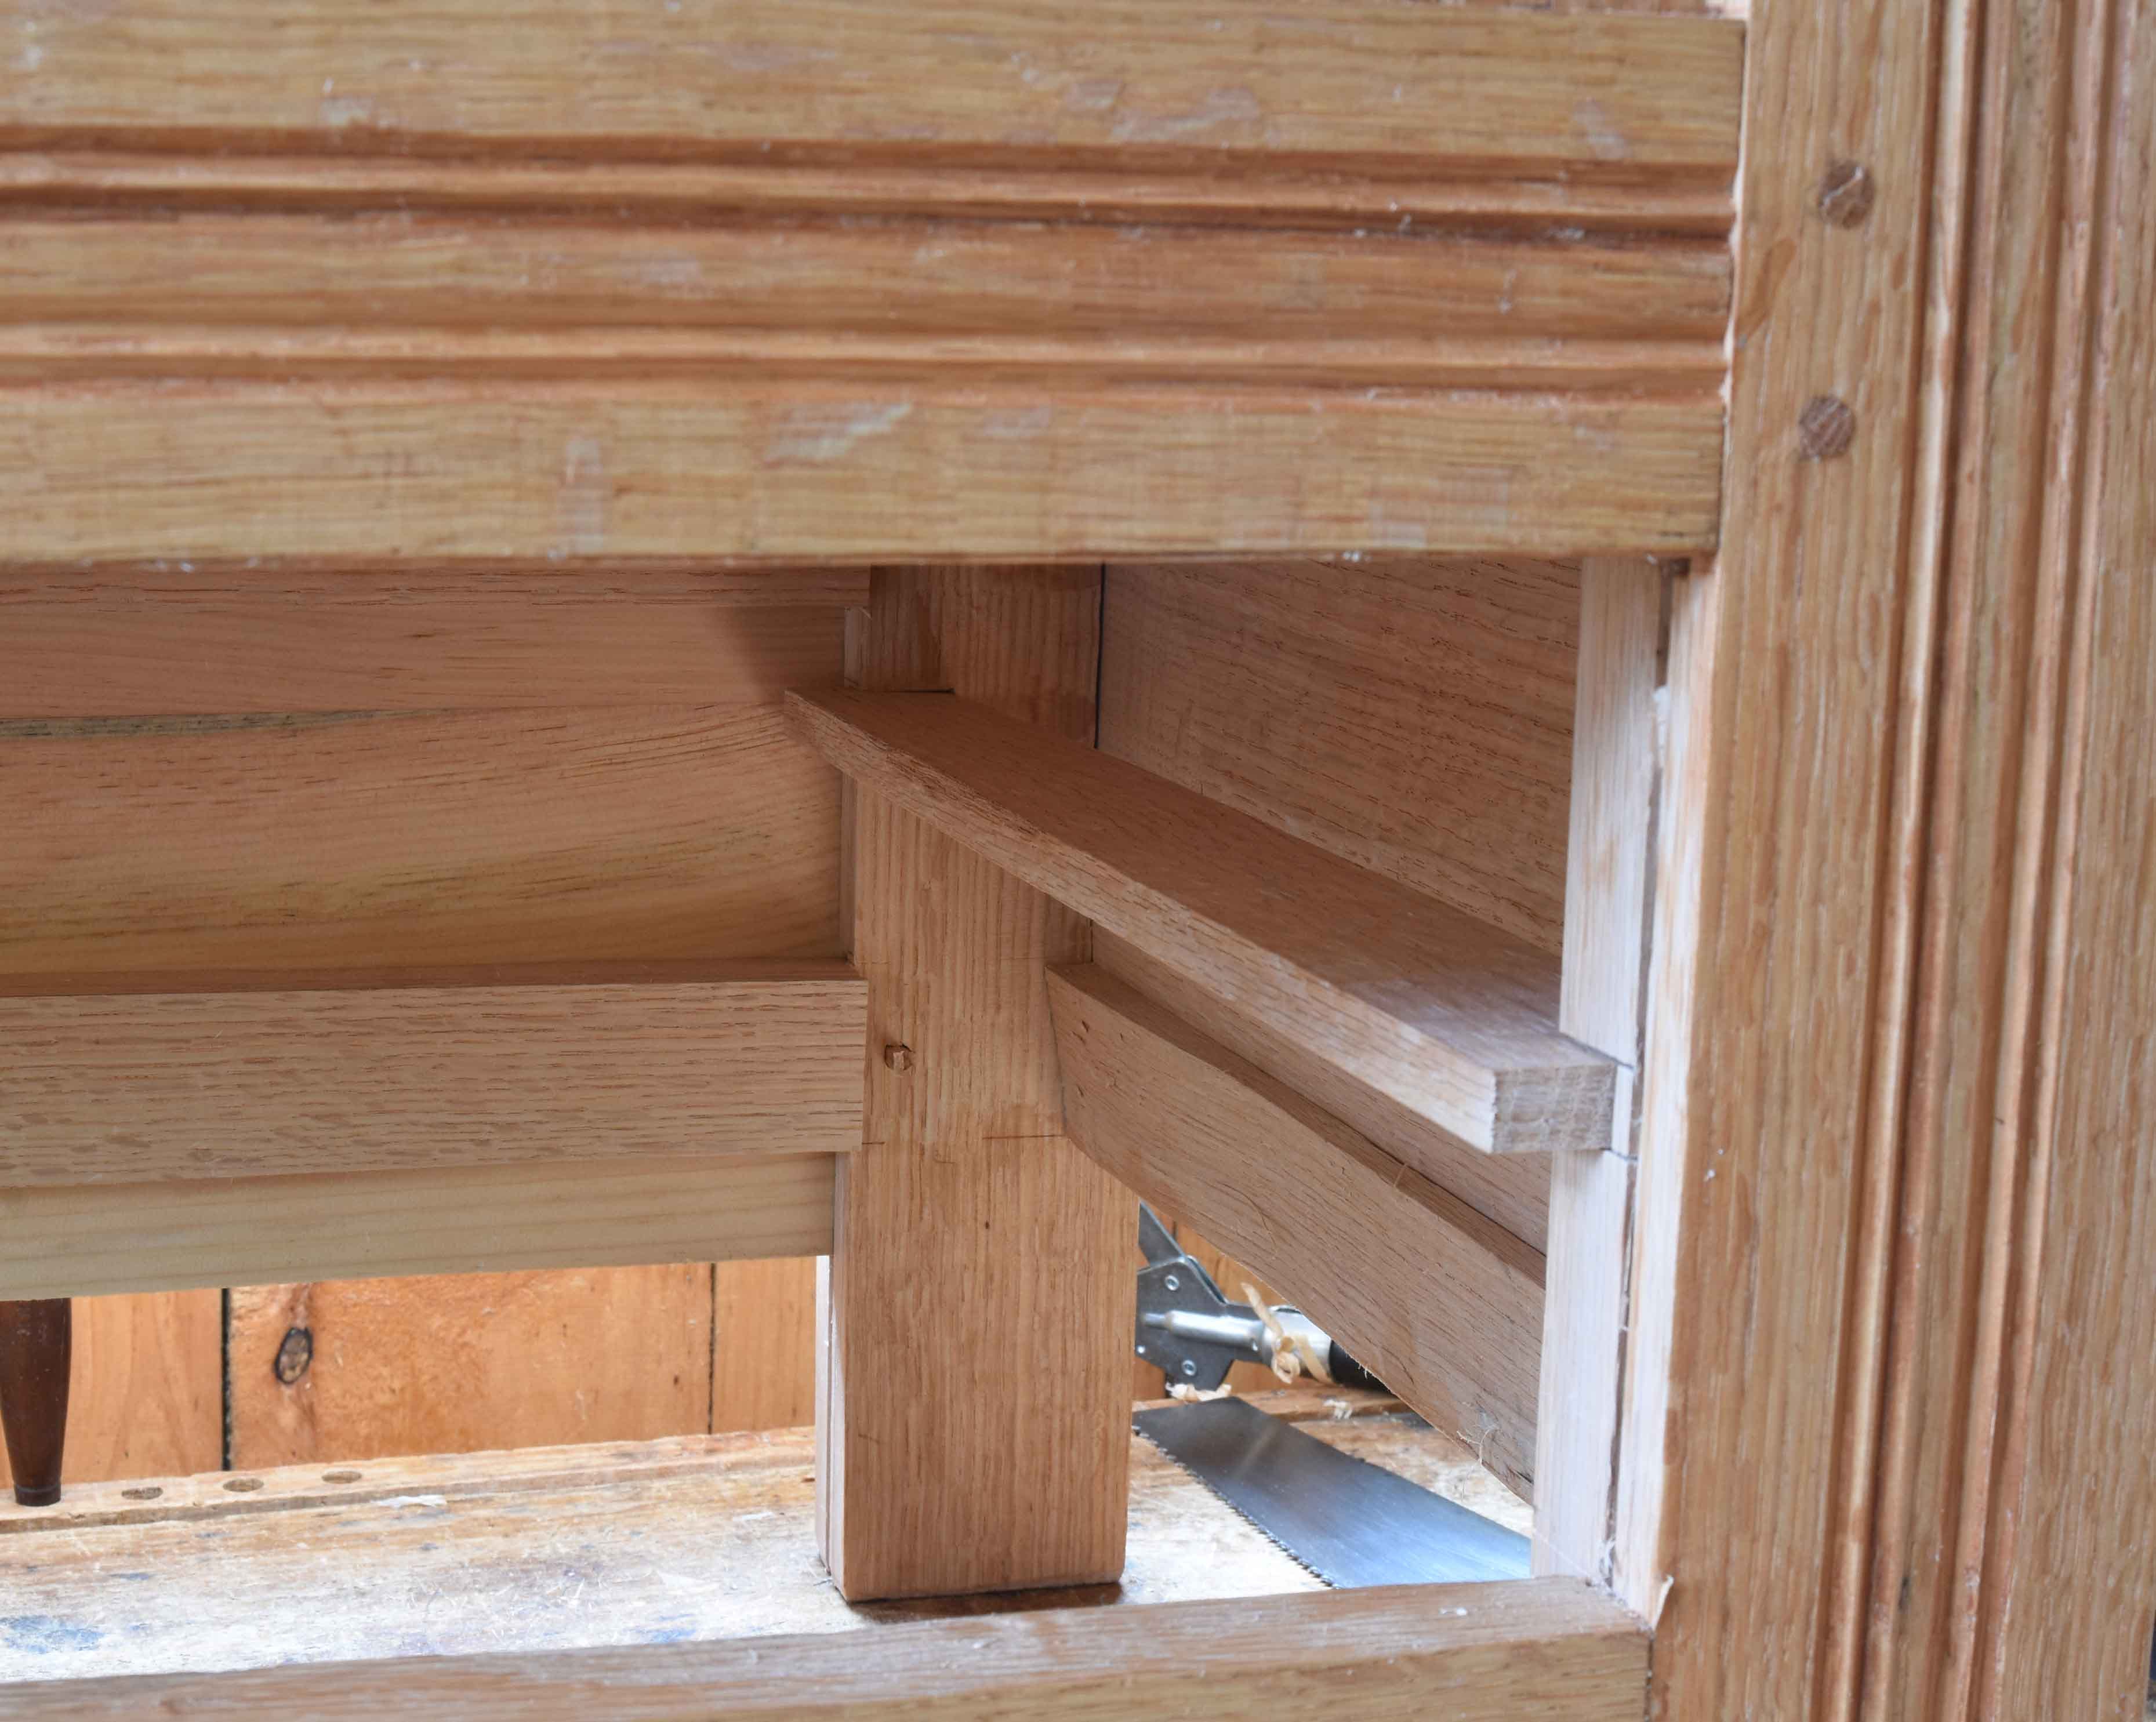
For those new to this drawer format, there’s a slat, or drawer runner, set into notches in the front and back stiles (legs) of the chest. The runner protrudes into the drawer opening enough to engage a groove cut into the drawer sides - so the finished drawer hangs on these runners - thus “side hung”.
When done right, they’re a nice way to make a drawer. But they are fussy. So are many drawers, I imagine. I don’t know - almost all of my drawer-experience is side-hung.
I already had the notches cut into the stiles, that’s done long before assembly. I chose a nice dry piece of tough oak, looking for something with thicker growth rings. Being more dense, it will wear more slowly than a more porous piece of oak. Dead-straight grain, but that’s what I’m always looking for anyway. I planed it slightly thicker & wide than needed, then trimmed its thickness first to be a tight fit in the notches. Then I marked on its width a point 3/8” into the drawer opening.
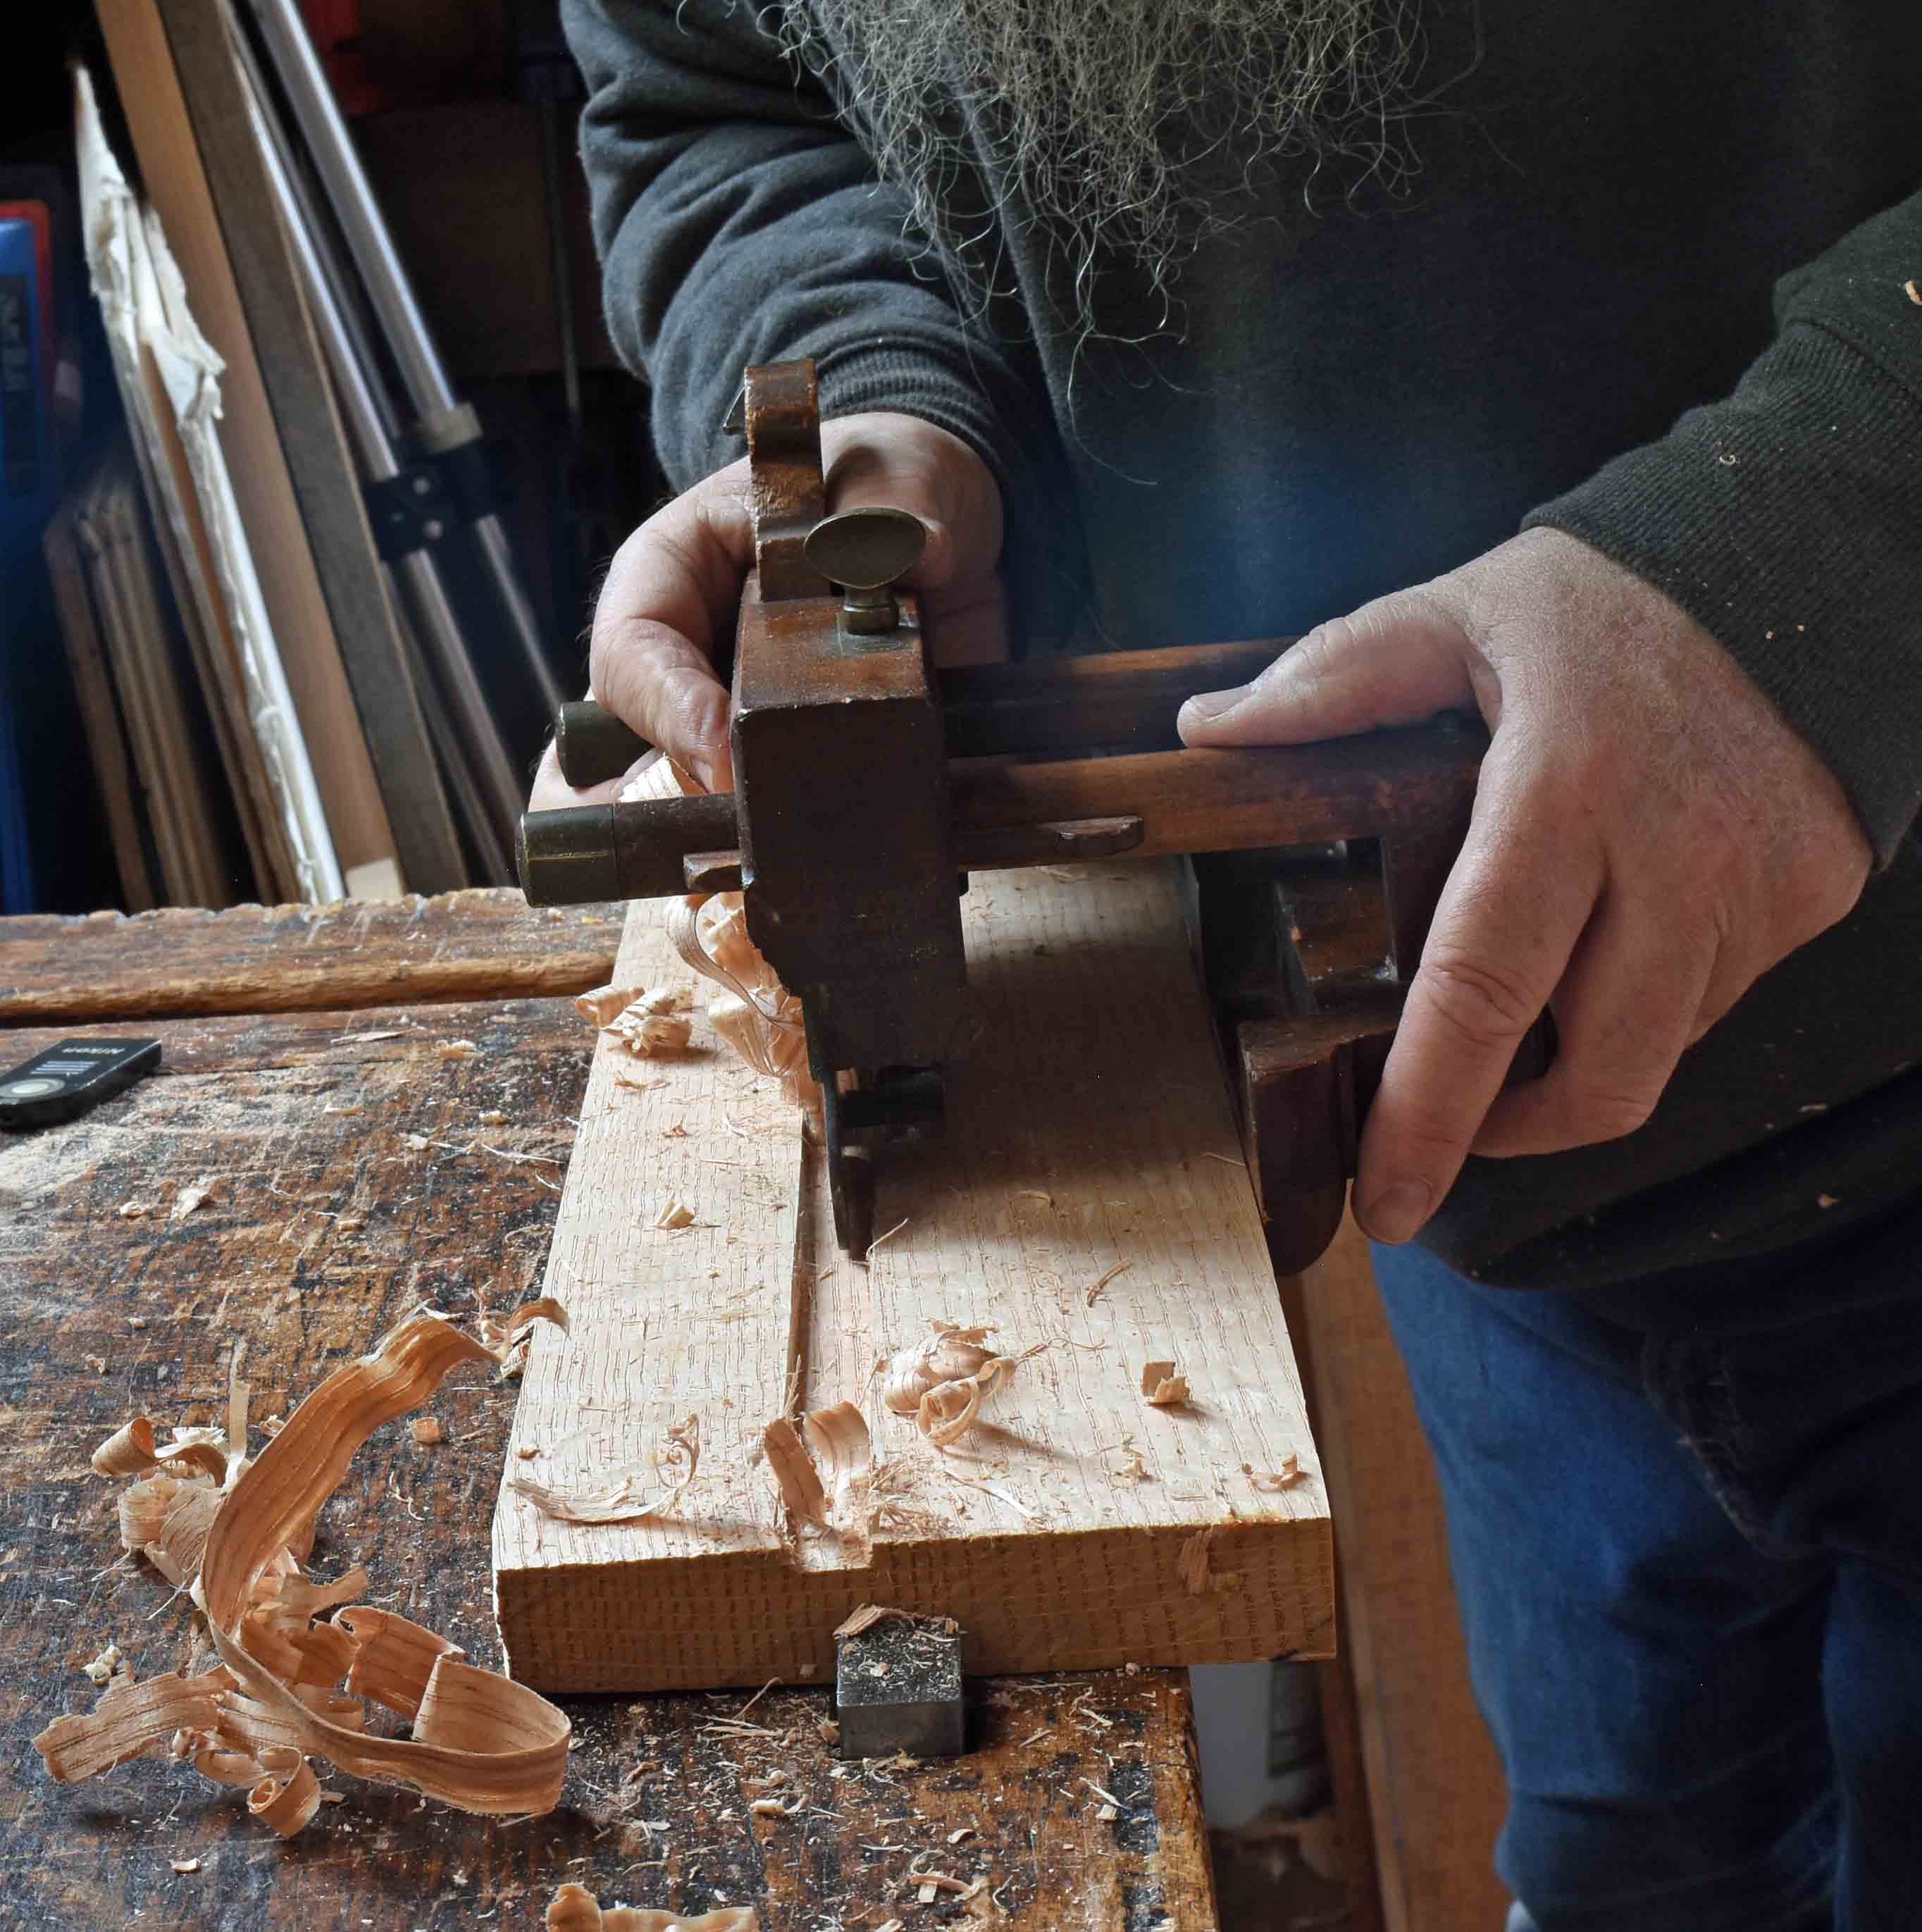
Pried it back out & planed it down to that width. Once those are set, time to work the drawer sides. I had some oak boards set aside for these - 7/8” thick, 5 1/2” wide. I held one in position inside the drawer opening and transferred the location of the stiles’ notch onto the drawer side. “In position” means I lined up its top edge with the top of the drawer opening - this drawer hangs, it doesn’t ride on its bottom. The drawer side is only 5 1/2” high - the drawer opening is 6” - allowing 1/2” for the drawer bottoms that come later. Marking the drawer side shows me where to plow the 1/2” wide groove along its outside face.
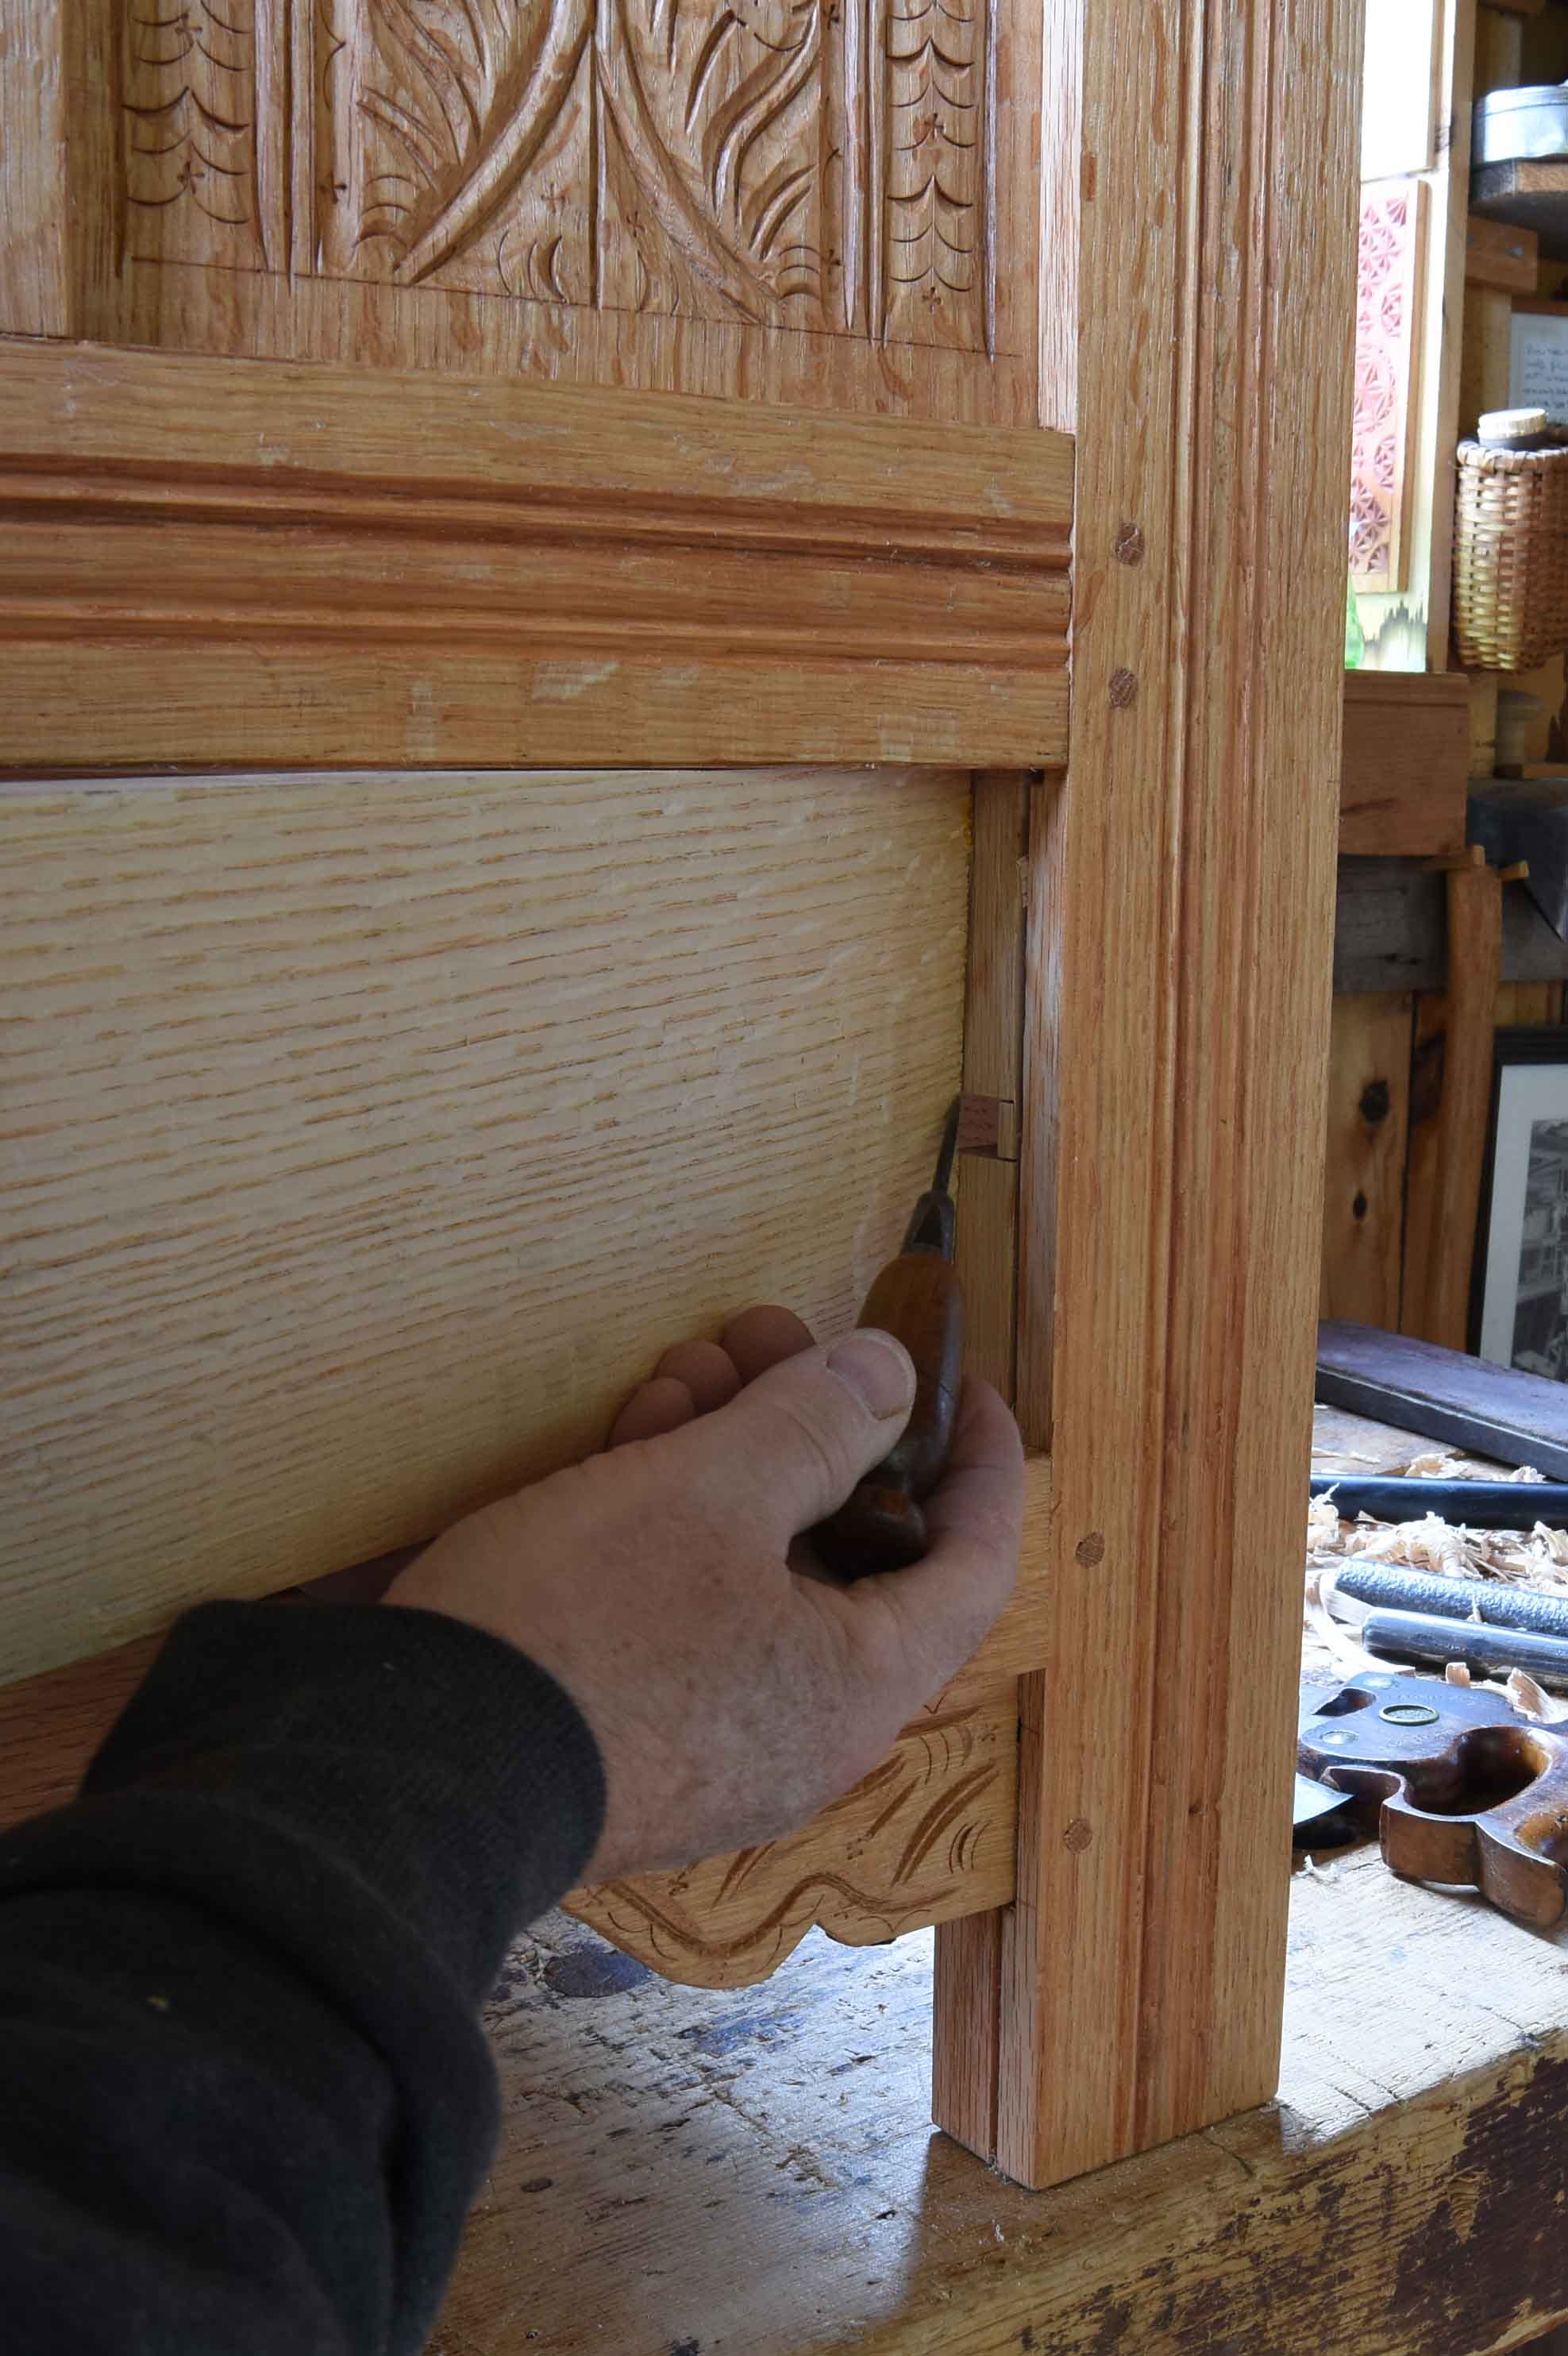
After plowing the 1/2” groove to a depth of 3/8” (nearly half the drawer side’s thickness) time to test it.
The goal is easy sliding along the runner and clear the top edge under the rail and under the chest floor. Don’t want anything binding there. I often plane the top edge of the drawer side down from the front end toward the rear. Just a couple of shavings, but it pretty much guarantees that the drawer won’t get stuck on anything above it. So I test this just with the drawer runner and drawer side - another thing to aim for is to have the outside of the drawer side just clear the inner edge of the chest’s stile. If it’s bumped into the drawer opening - either the groove is too shallow or the runner too wide. Raise the bridge, lower the water - either one.
