[a post I have long promised and never delivered. A look at how I sharpen carving tools. Sure to leave some unanswered questions, especially the whole business of fixing old, mis-shapen tools. but it’s a start. A video tacked onto the end as well.]
Sharpening carving gouges and the V-tool. I hate to talk about sharpening, mostly because I’m not that confident in teaching it. I think a big part of how I can get away with my sharpening of carving gouges is due to the quality of the wood I carve. That riven oak is so agreeable it barely presents any challenges to the tool’s edge. But that’s just a theory.
I’ll show you what I do to sharpen them and then point to some sources that I’ve found helpful. I shot some photos and then some video - first I’ll explain it, then stick the video at the end.
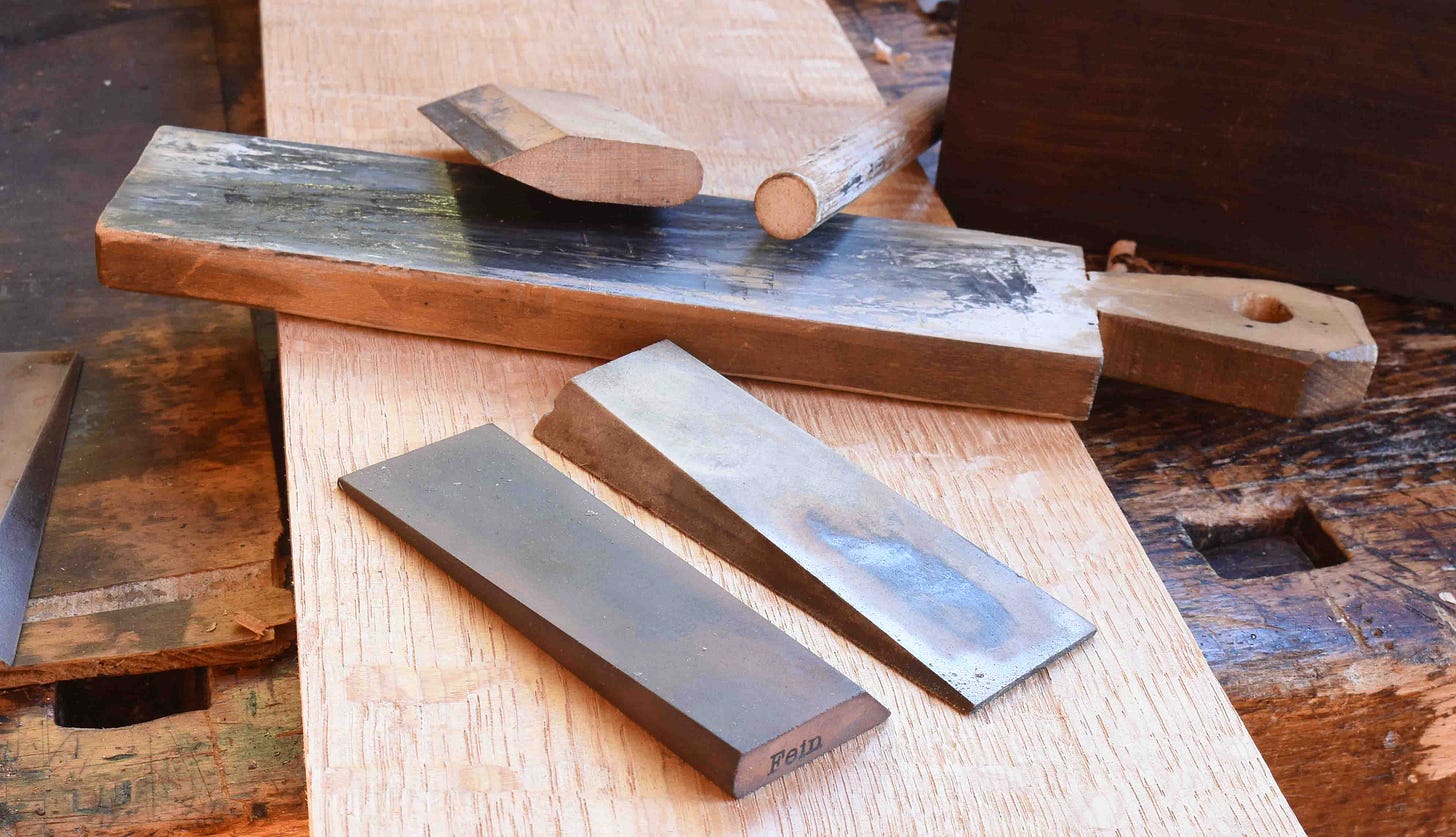
This isn’t about reconditioning carving tools - that’s another story. If the tools are properly shaped then it’s just a matter of maintenance. I use slipstones and strops for these tools, not the water stones I use on chisels and plane irons. These tools would groove the softer water stones, as it is they can wear these harder stones over time. The slipstones (a medium and fine stone) are tapered in thickness and have one edge rounded and the other a tapered bevel (to get inside the V-tool.)
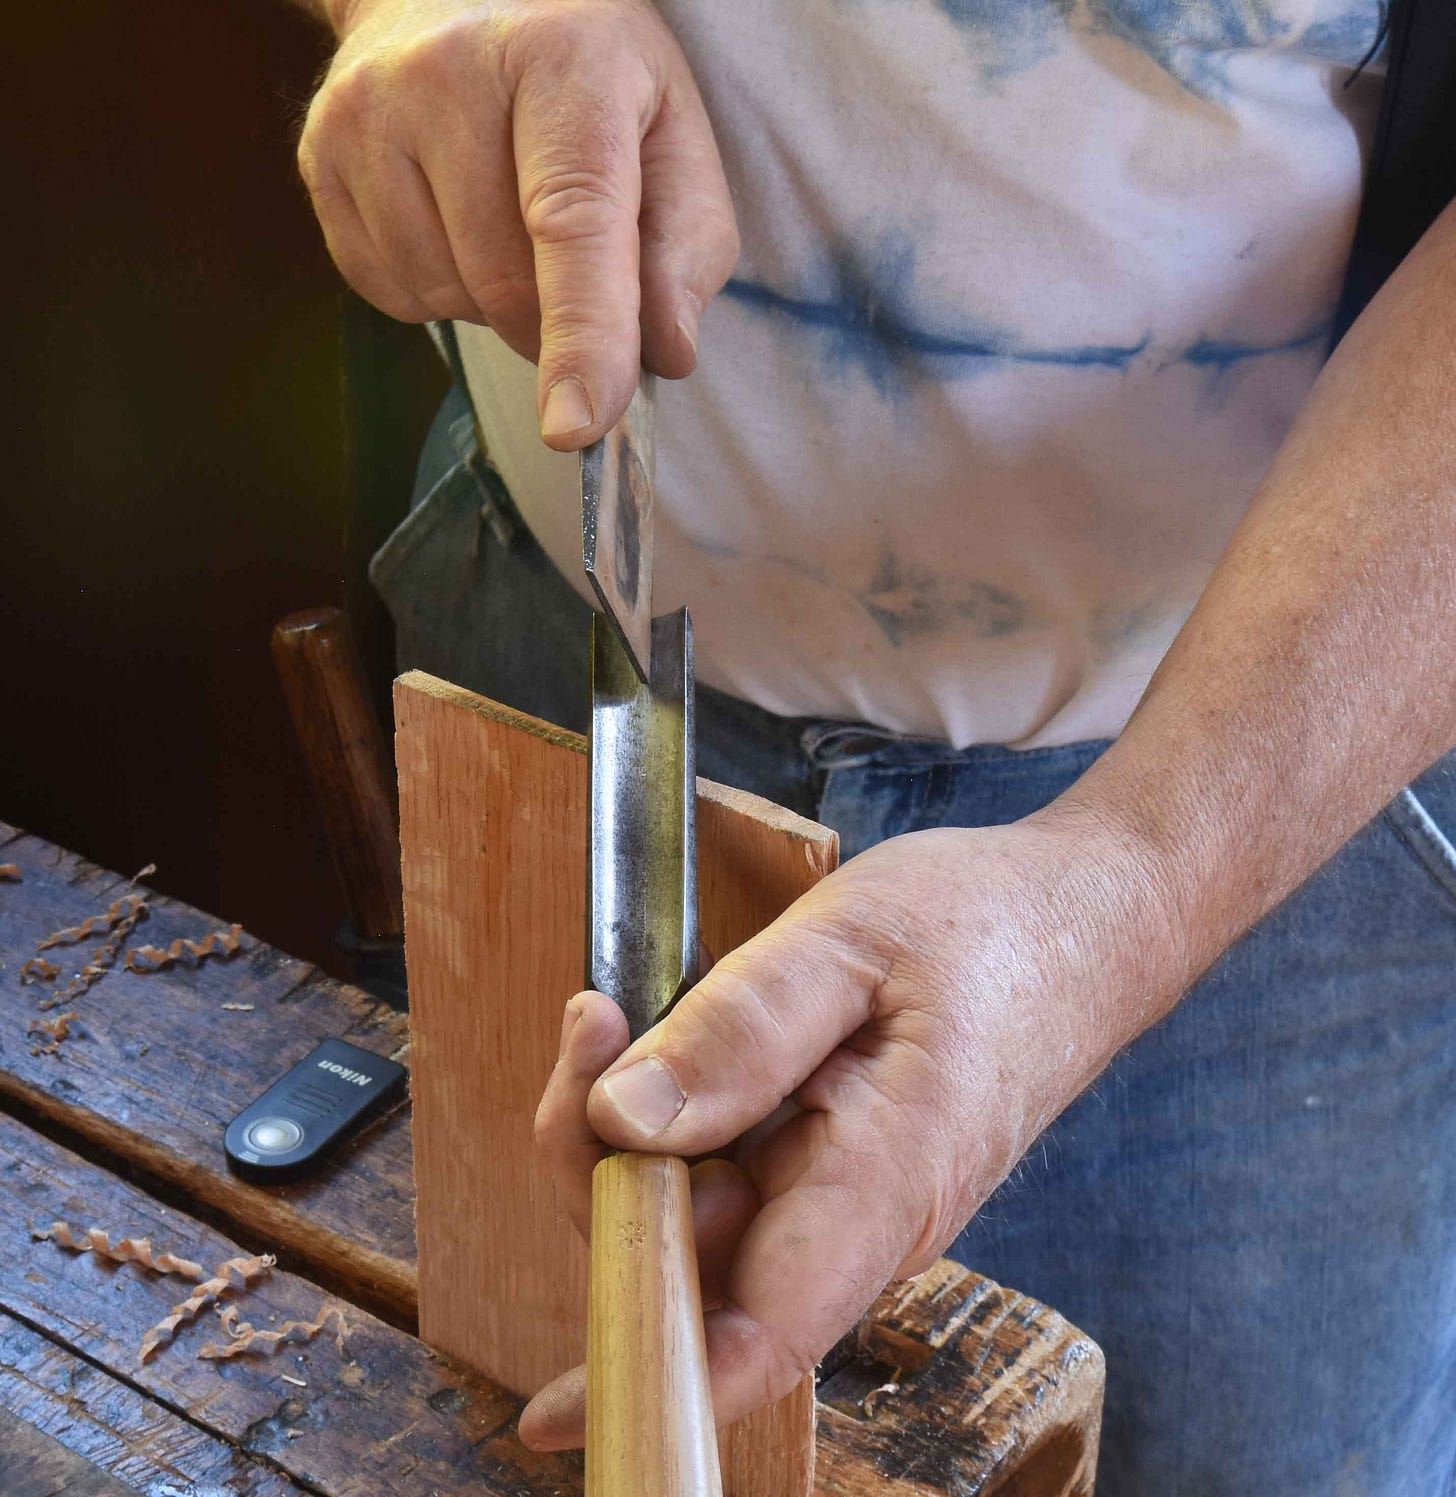
I do this work freehand, but prop the stone and the gouge on the end of a board held in a vise. This brings the action up to a comfortable height. I can see it clearly at this height too.
I drop some oil on the stone - (I had no oil around when I shot the video, so used WD-40 - probably a poor substitute). I hold the stone with its edge riding on top of the board, its face plumb pretty much. Its motion is strictly back and forth, back and forth. The gouge rests on the board too, angled so its bevel sits on the face of the stone. Then as I move the stone in & out, I roll the gouge by turning my wrist. This gets the stone working the whole bevel.
My view is right at the point of contact between the stone and the bevel. Then it’s simply a matter of working the stone back and forth while rolling the gouge - trying to keep all the motion smooth. There’s not a lot of pressure applied. My arms are tucked against my body to keep things stable.
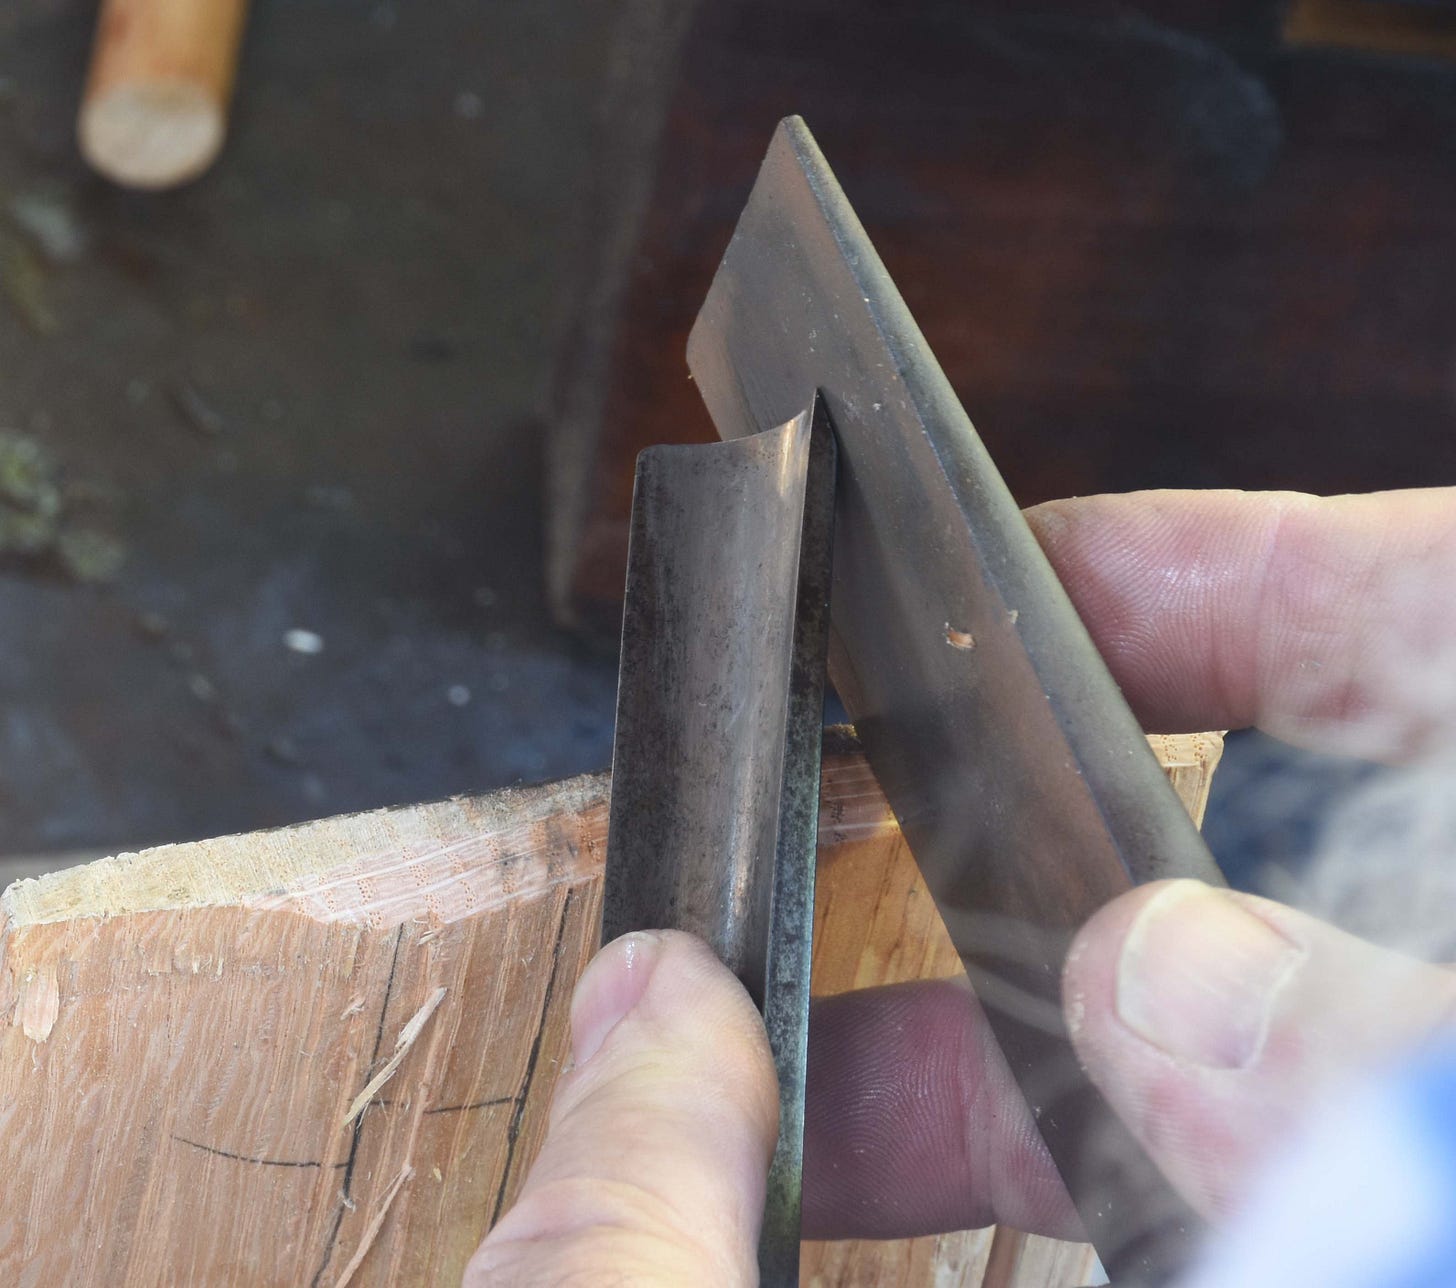
I work the first stone until I can feel a slight burr on the inside of the gouge. Then I switch to the finer stone - it might be a hard Arkansas. Same shape, same steps. Then it’s time to work the inside of the gouge with the rounded, tapered edge of the stone. For this, I commit the sin of working towards the cutting edge - CAREFULLY.
The stroke is decidedly shorter now. I hold the tool still and run the stone to and fro and swipe side-to-side as well. Once I stone that inside surface a bit I go back and forth from the outer bevel to the inside, just a stroke or two on each to get the edge ready for the next step.
Inner bevel/secondary bevel or not? Some are dead-set against it. I don’t particularly care, unless it’s a large interior bevel. A very slight one won’t bother me. I try to keep stoning that inside “flute” flat, but I know I tend to lean a little, which will create that inner bevel. Keep it slight.
Keep reading with a 7-day free trial
Subscribe to Follansbee's Substack to keep reading this post and get 7 days of free access to the full post archives.


