
New oak log

I’m rich. In oak at least. Got a new log yesterday - 24”-25” in diameter at the small end, 8’ long. The middle one in this photo - with the ugly bottom. I’m told it’s a black oak (quercus velutina), which I once knew as yellow-bark.
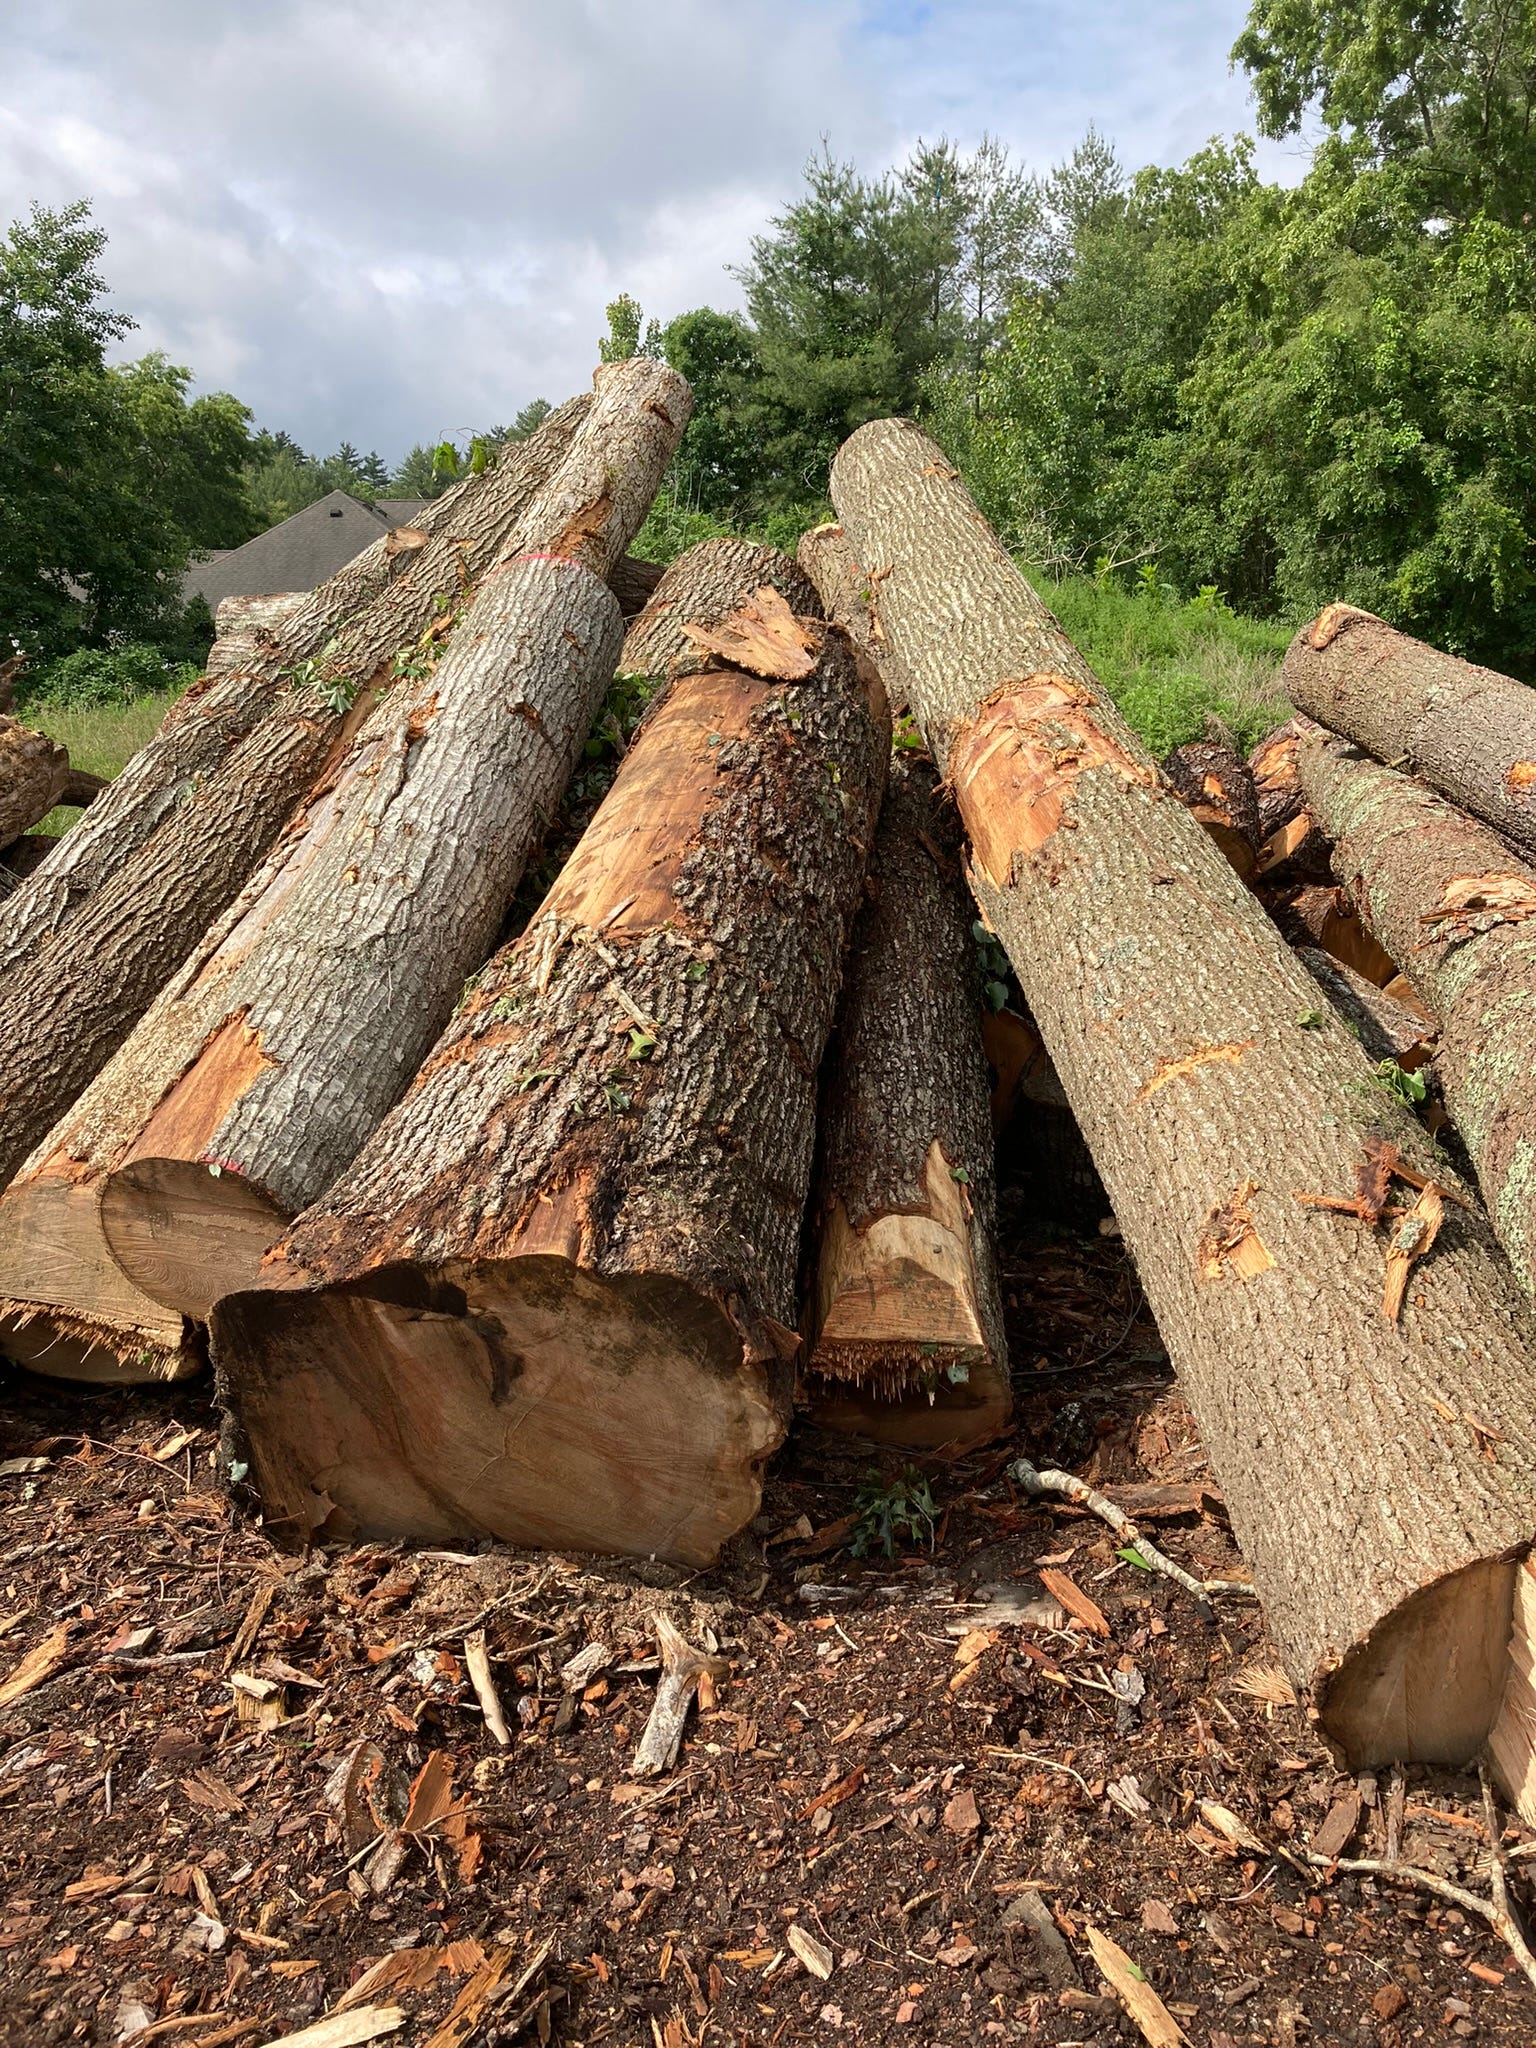
A friend made a couple of cuts in the full round log for me, chopping off the flared bell at the bottom then making a section just over 2’ long and leaving me with a 5’ 6” log. I have to split them where I get them, there’s no way to get a truck down to my shop. I started with the longer one - figuring I’d rather not split than when I’m tired.
There was some weather while I was spitting it so I didn’t get photos of that process. I start at the small end and split it in half, then half again, etc. Here’s eighths - the one on our right I’ve split off the inner juvenile wood - then I split this section again - the eighths are still too heavy for me to be moving many of them.
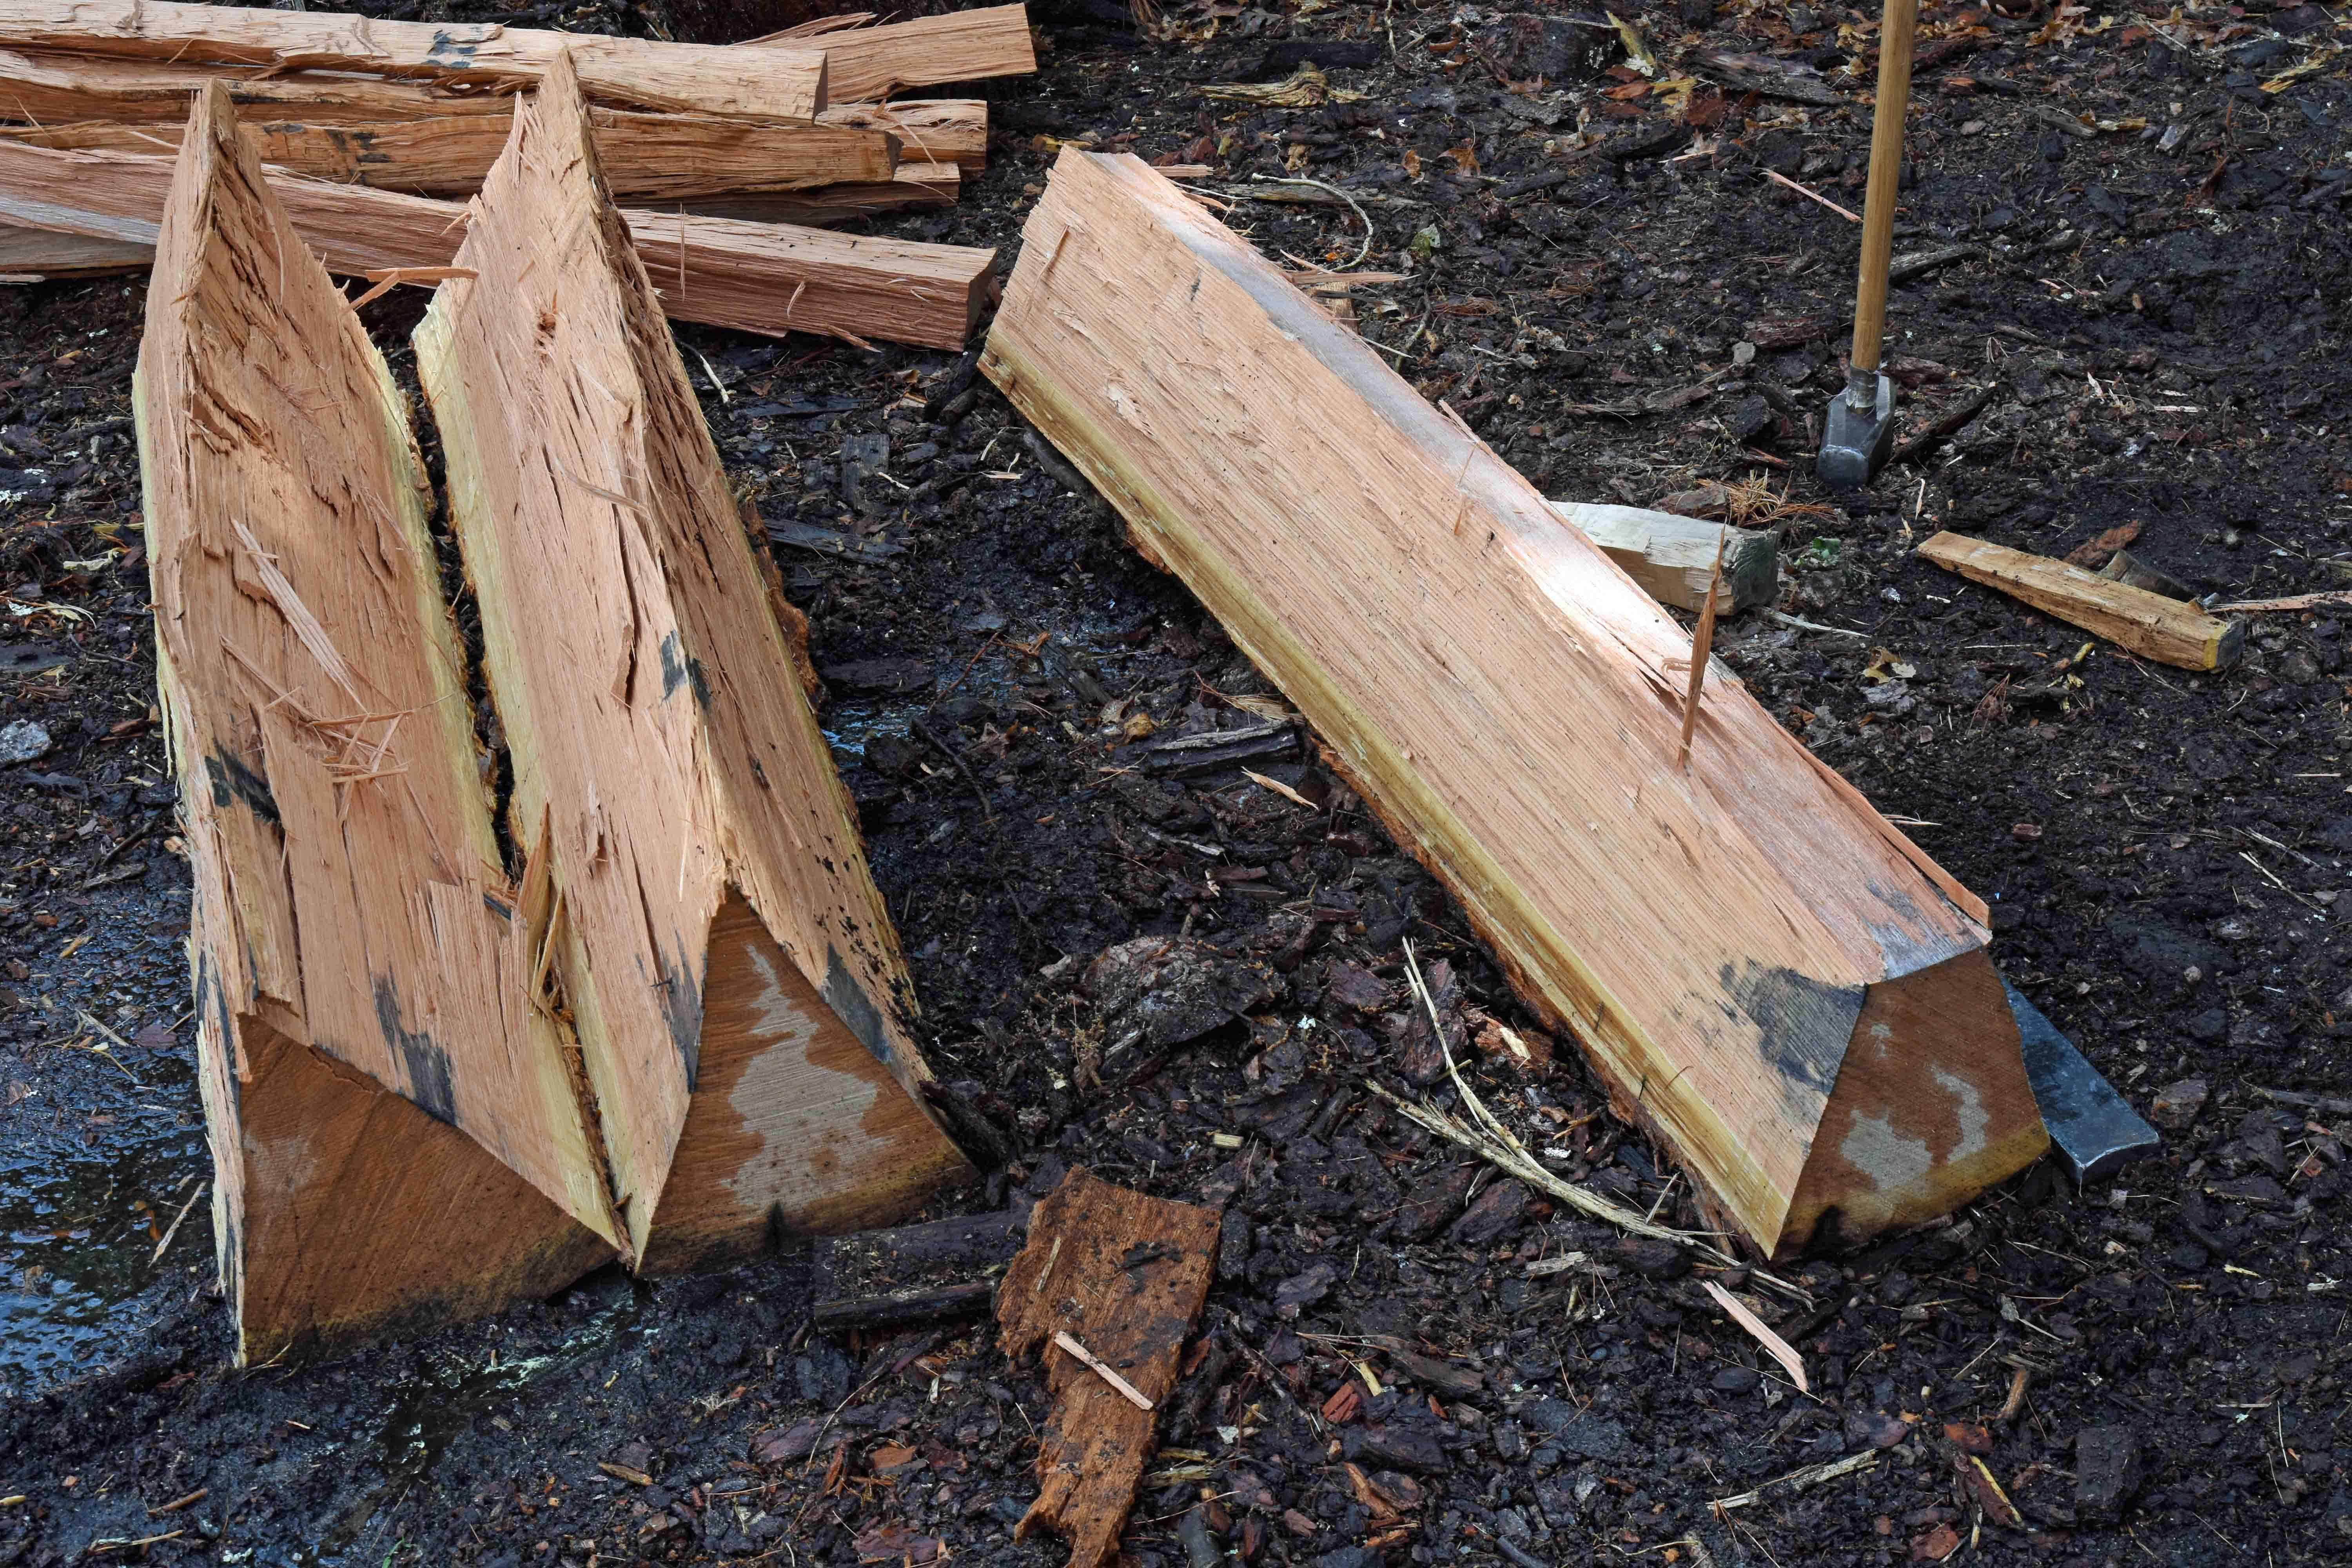
So the log gets broken down to 1/16ths which end up about 5”-6” across the heartwood on the ends. And they’re still mighty heavy. Moving one or two isn’t bad - but moving 16 makes you feel like you’ve done some work.
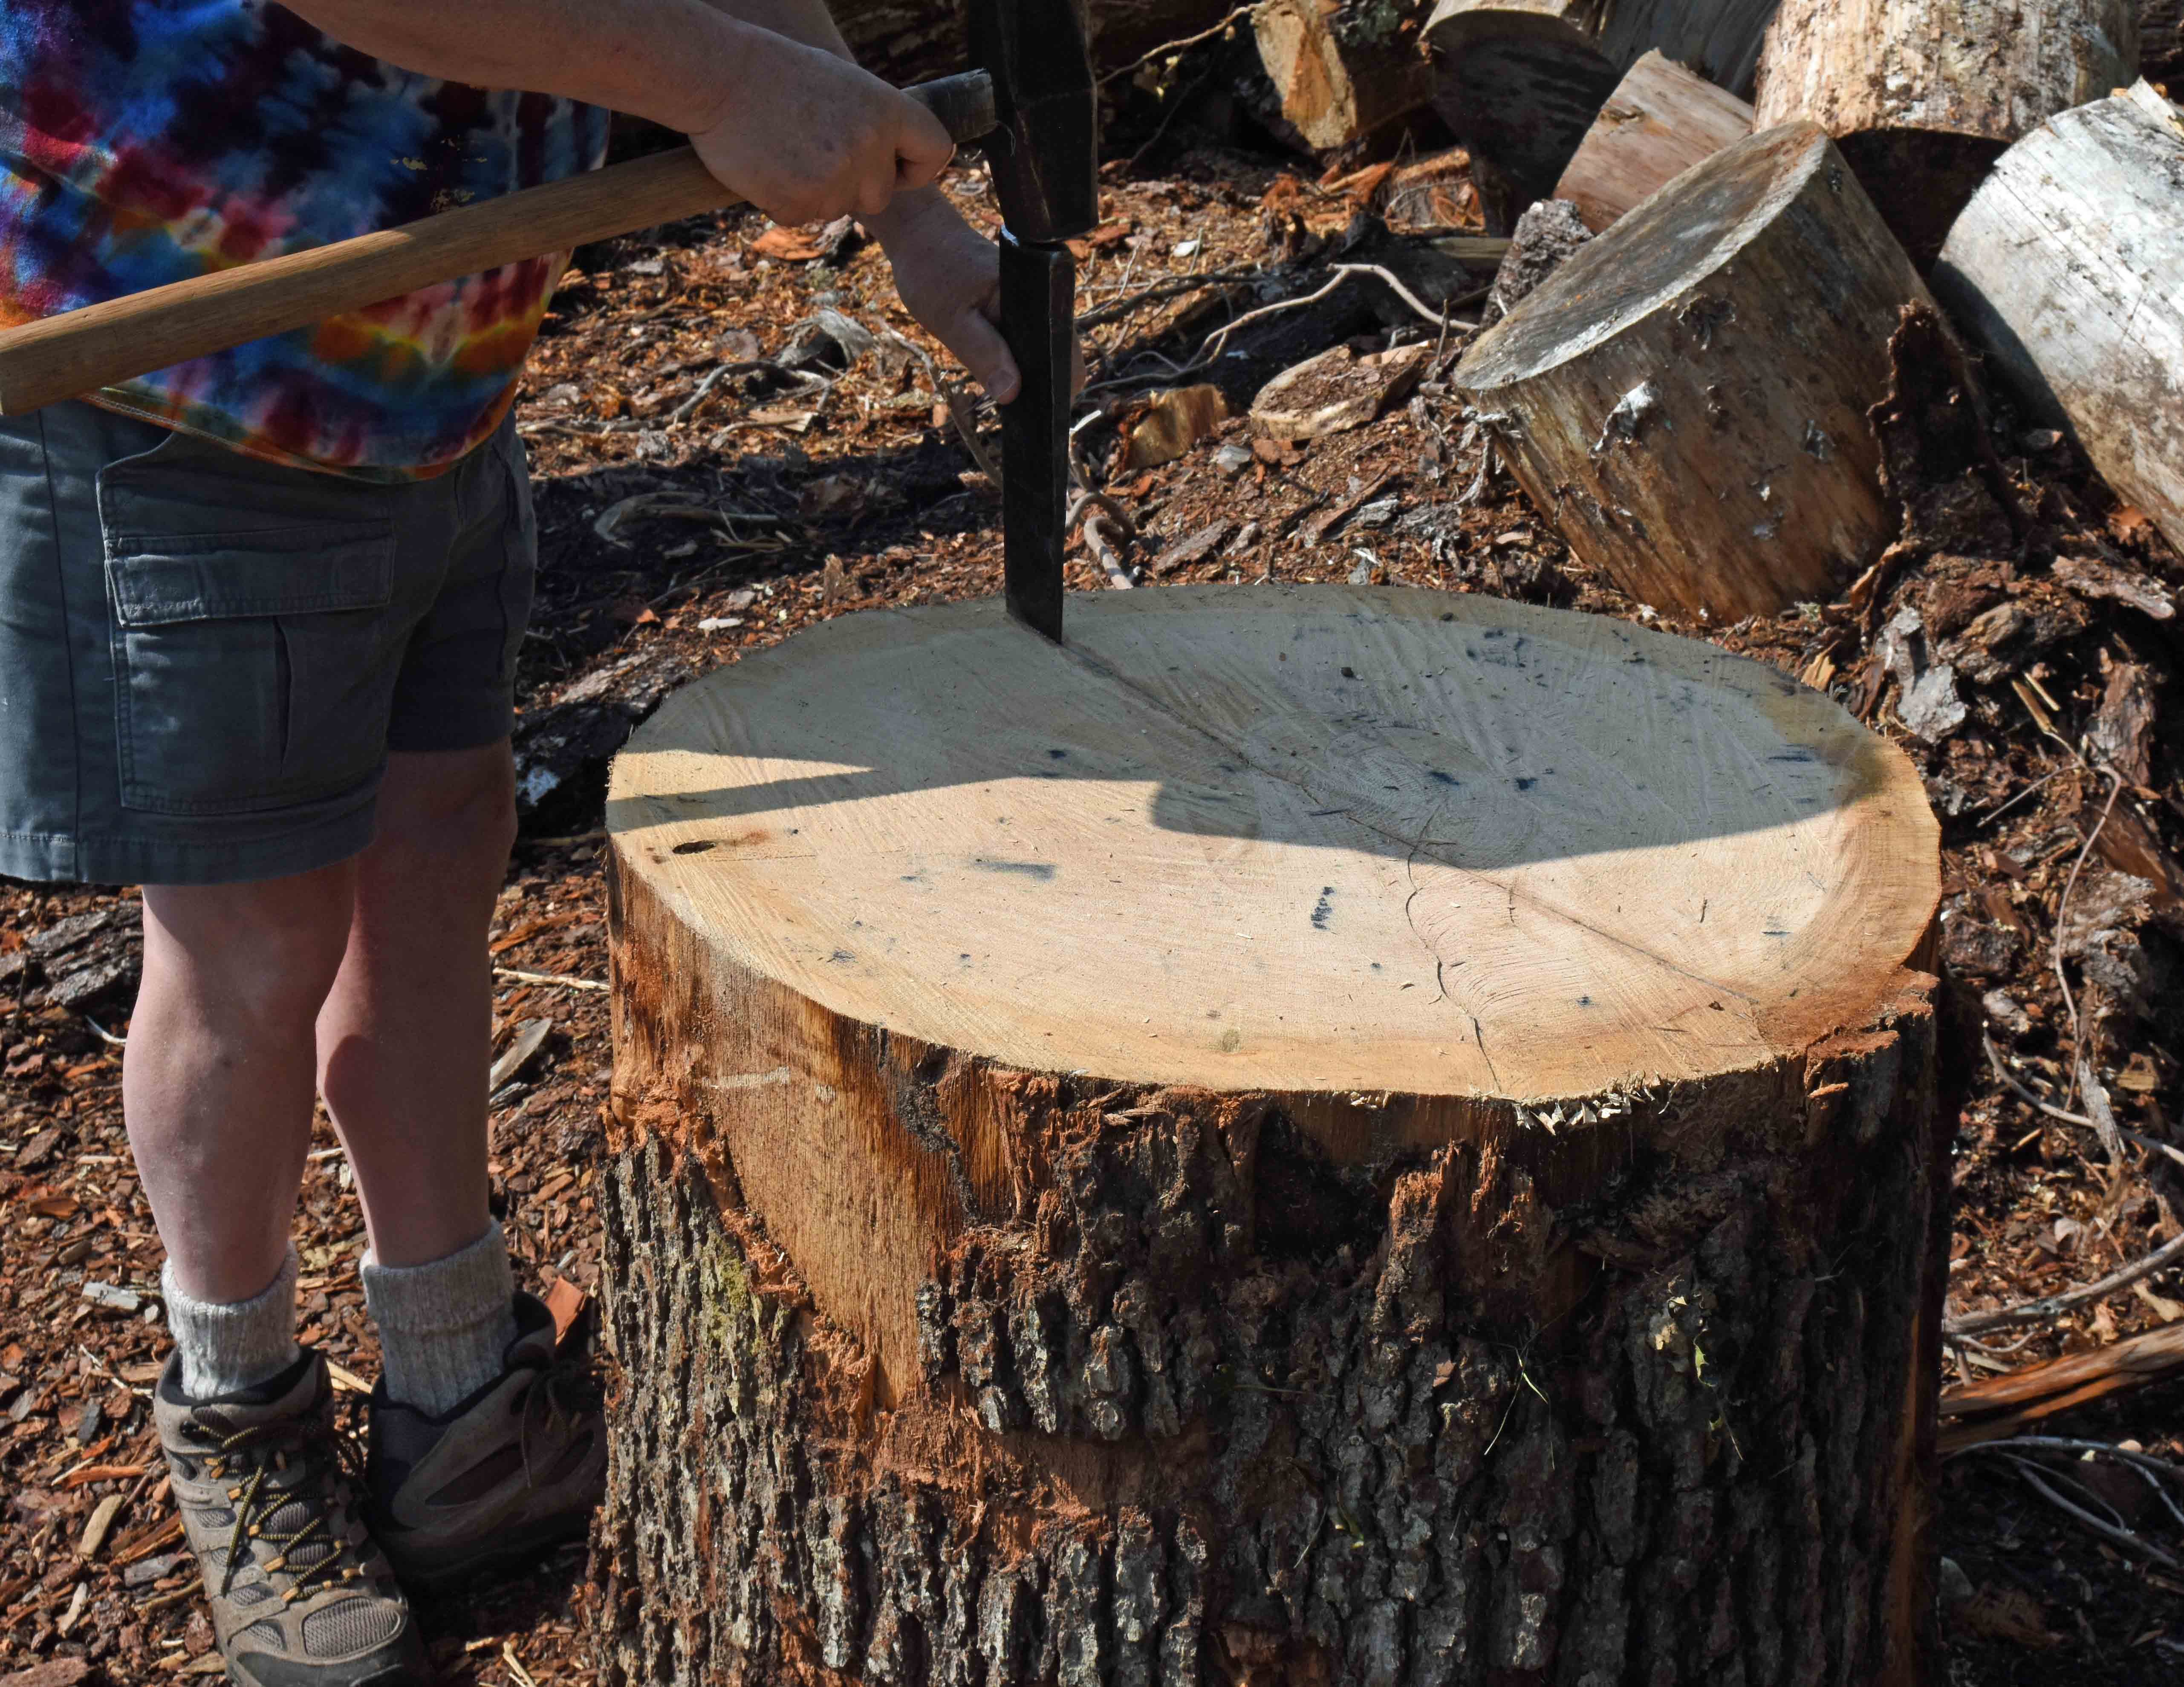
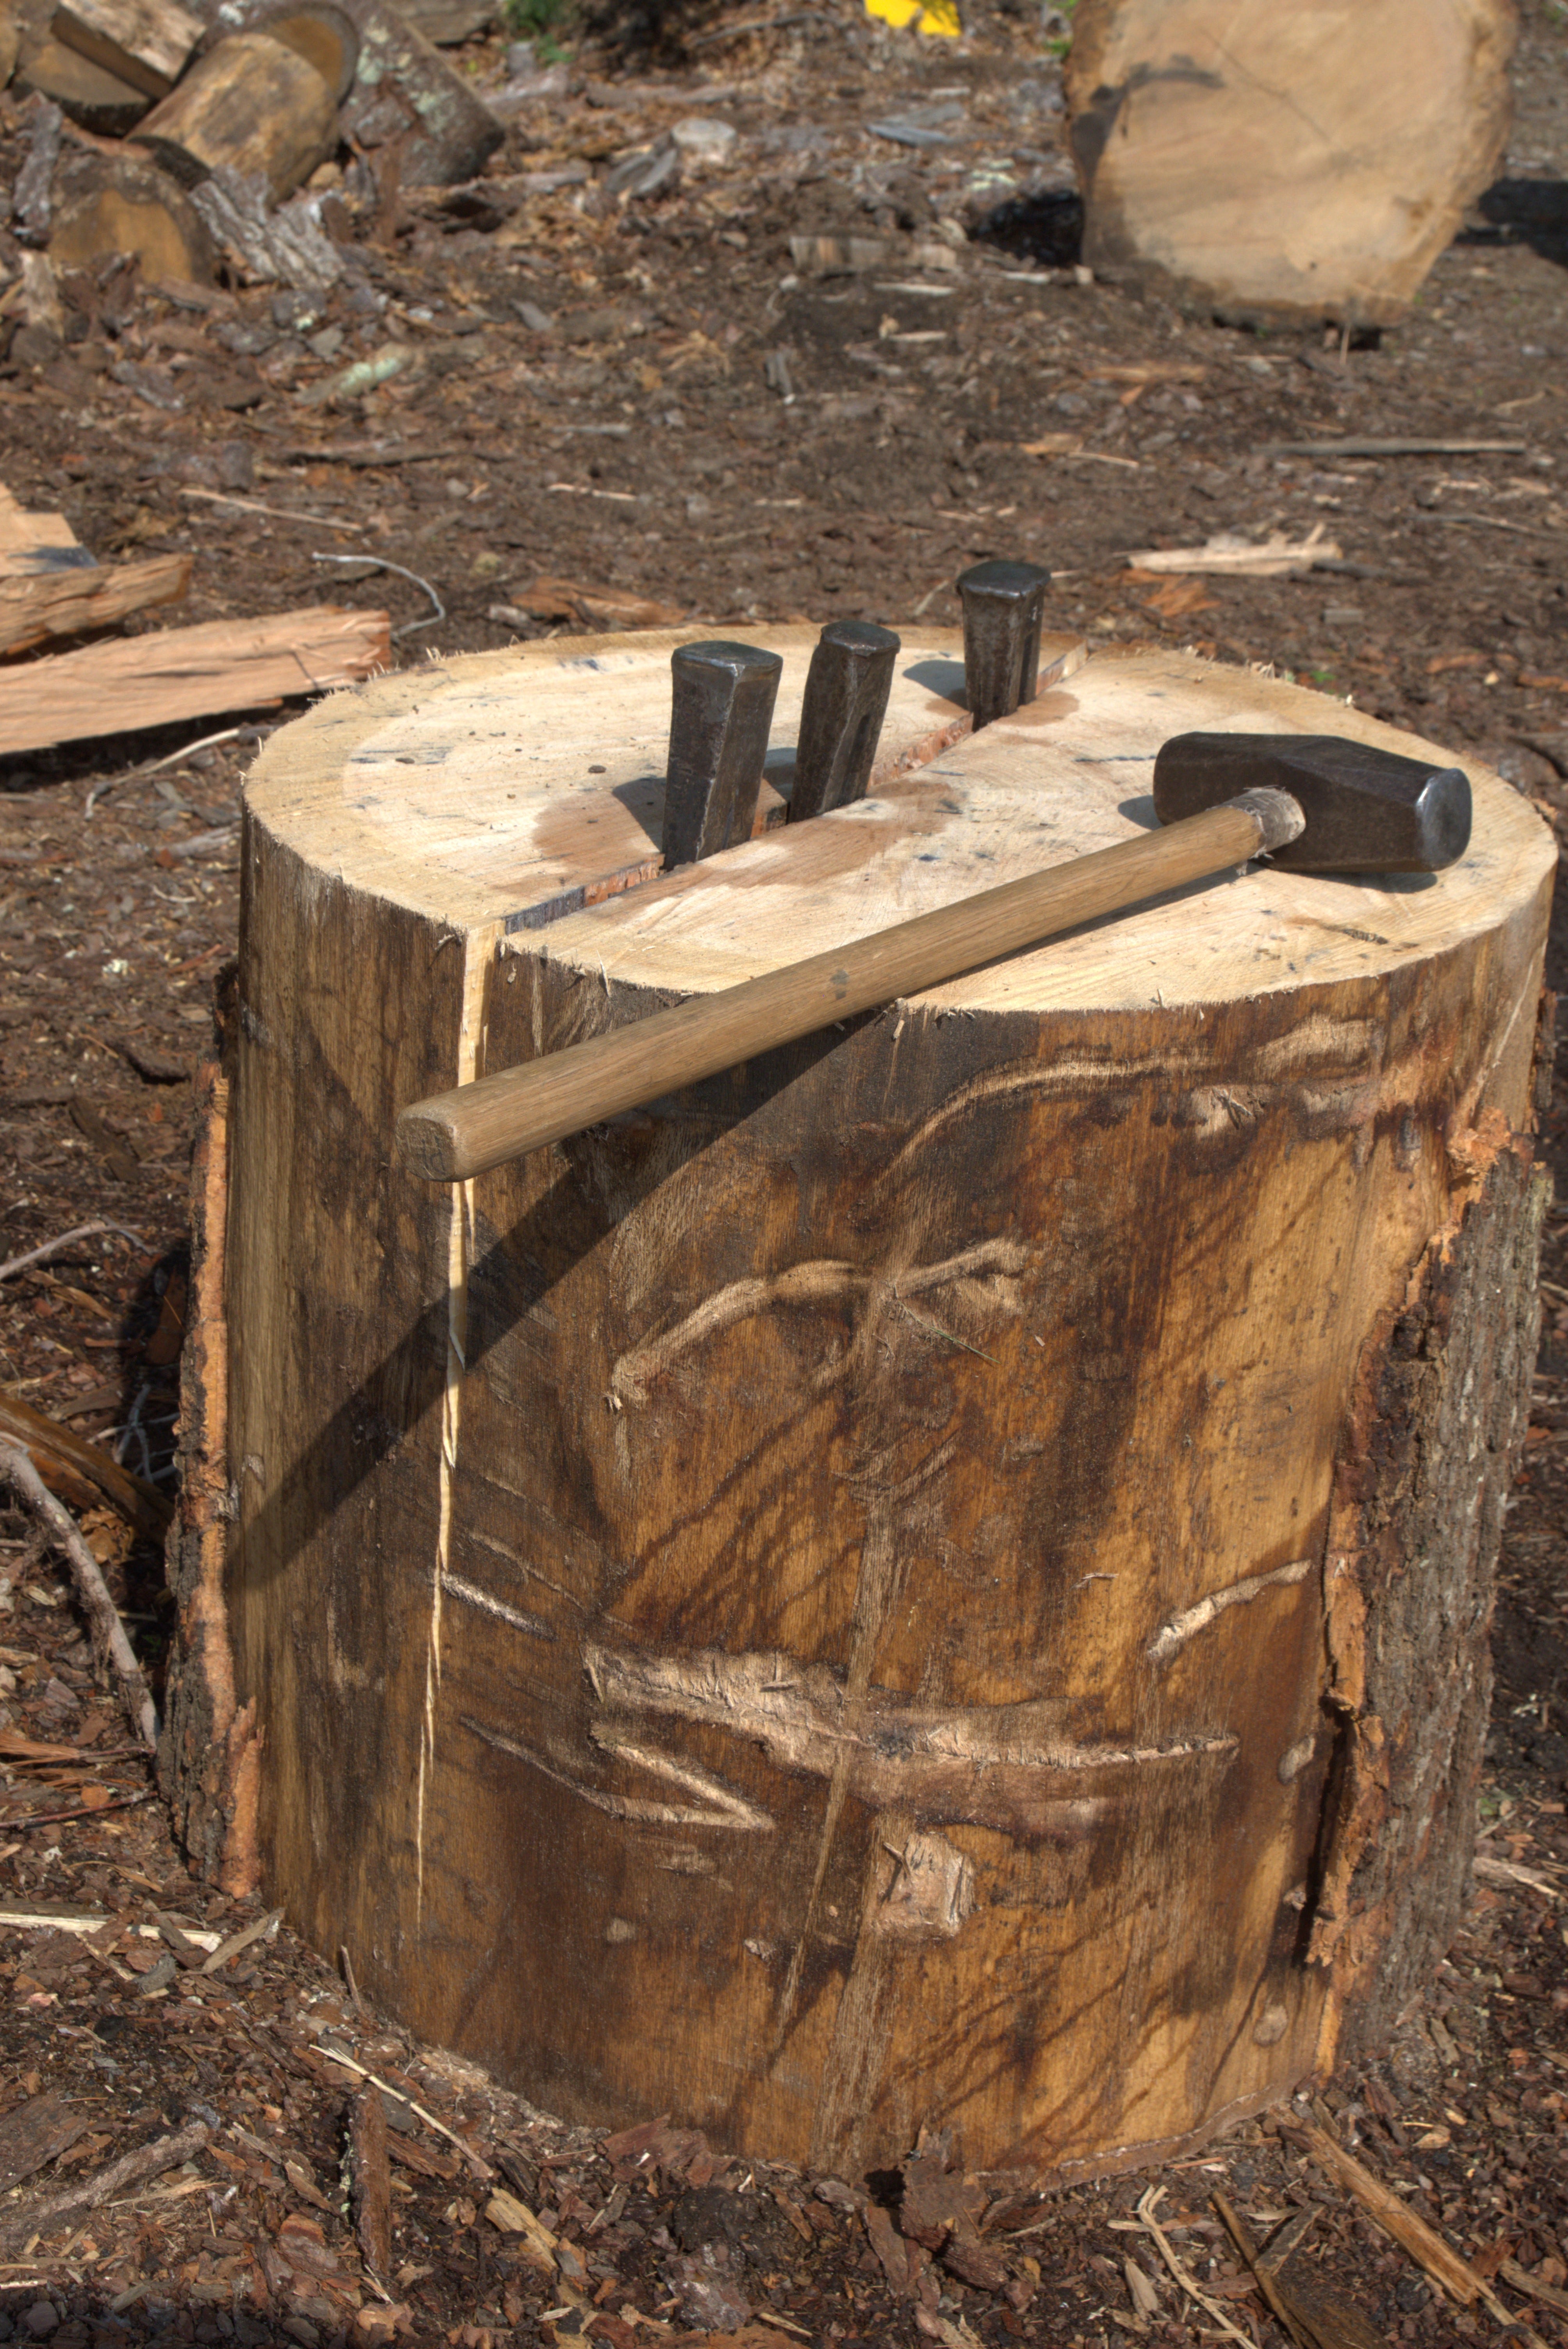
The shorter log I split standing up - easier on your back, just not practical for a 5-footer. This was 29” in diameter and 26” tall. I estimated it to be more than 8 cubic feet - which might translate to more than 500 pounds. No wonder I’m tired, this was the small one.
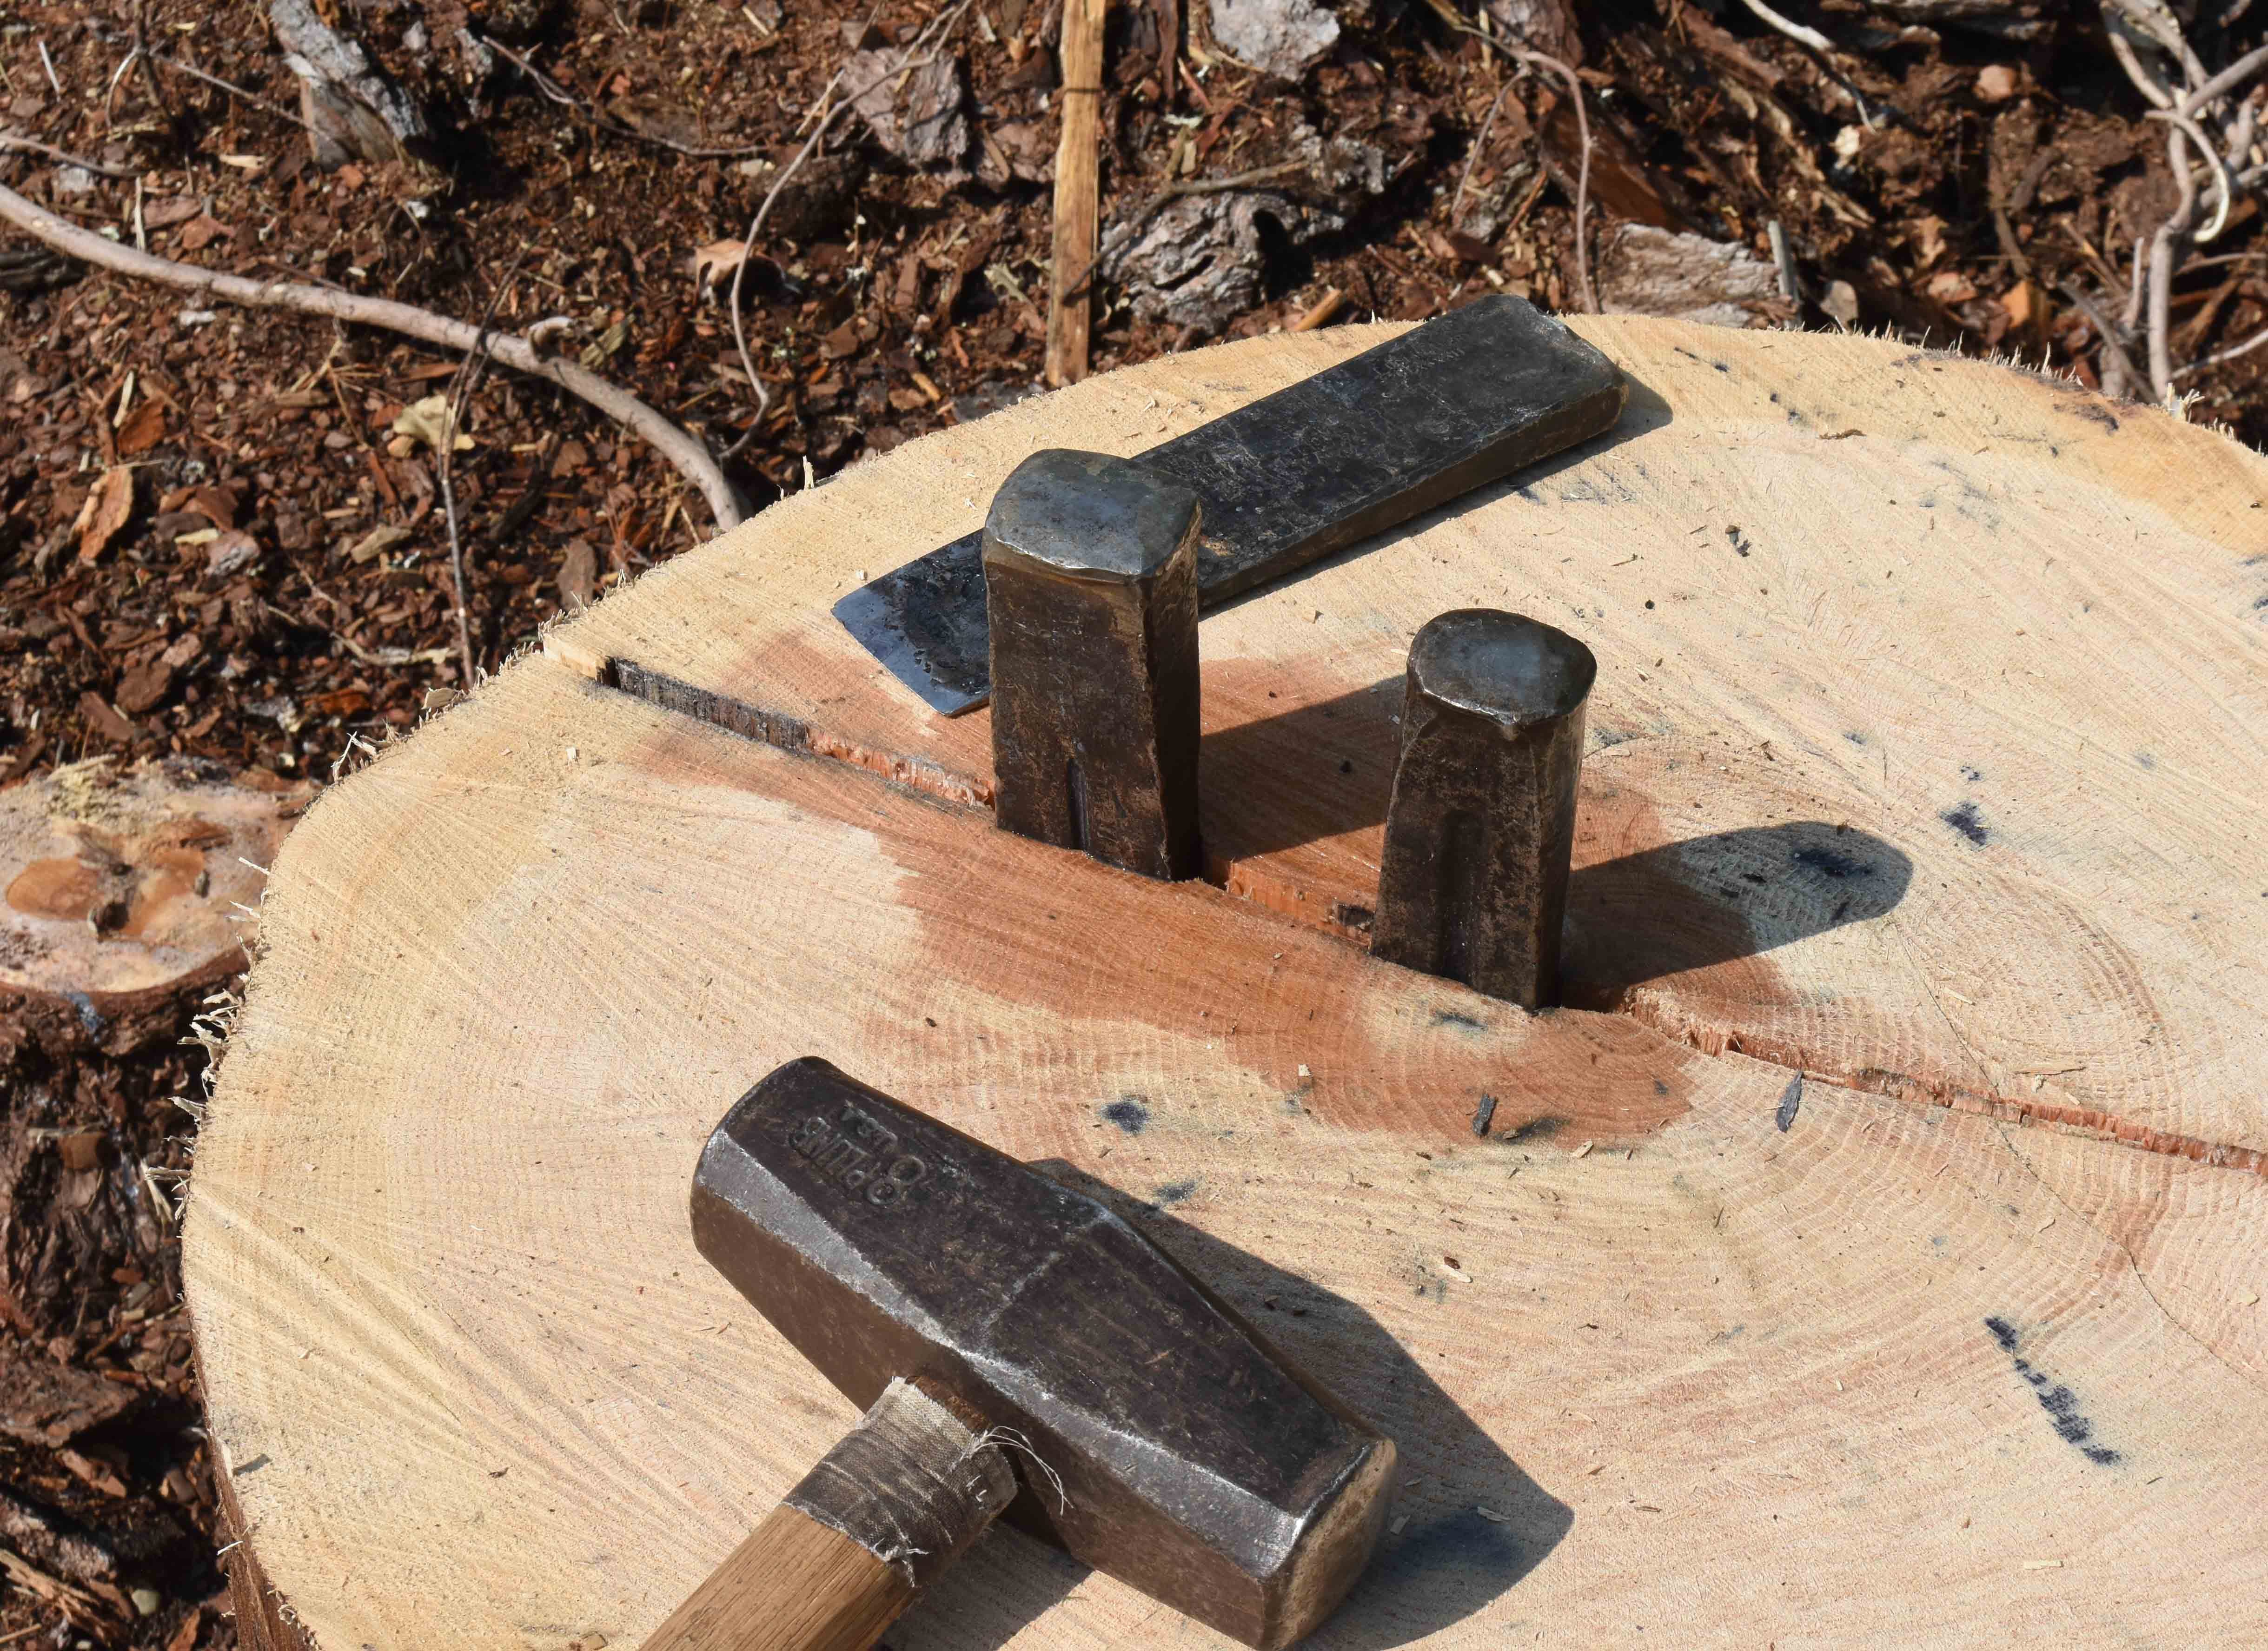
I start with a very thin wedge, scoring a line directly across the middle of the log. If there’s a check started on the log (usually there is) I follow that check Then work two wedges in tandem, usually out toward the outer edge of the log. You can see the water being squeezed out as the wedges are driven in.
This log was just about perfect, the medullary rays were dead straight as were the furrows in the bark along the log. Those two indicators usually point to a log that will split flat in the radial plane. This one was outstandingly good. See the crack running down the side of the log here.
I kept busting it into halves, quarters, then eighths. At that point, I knocked off the small triangular bit near the middle, then split the eighths into sixteenths.
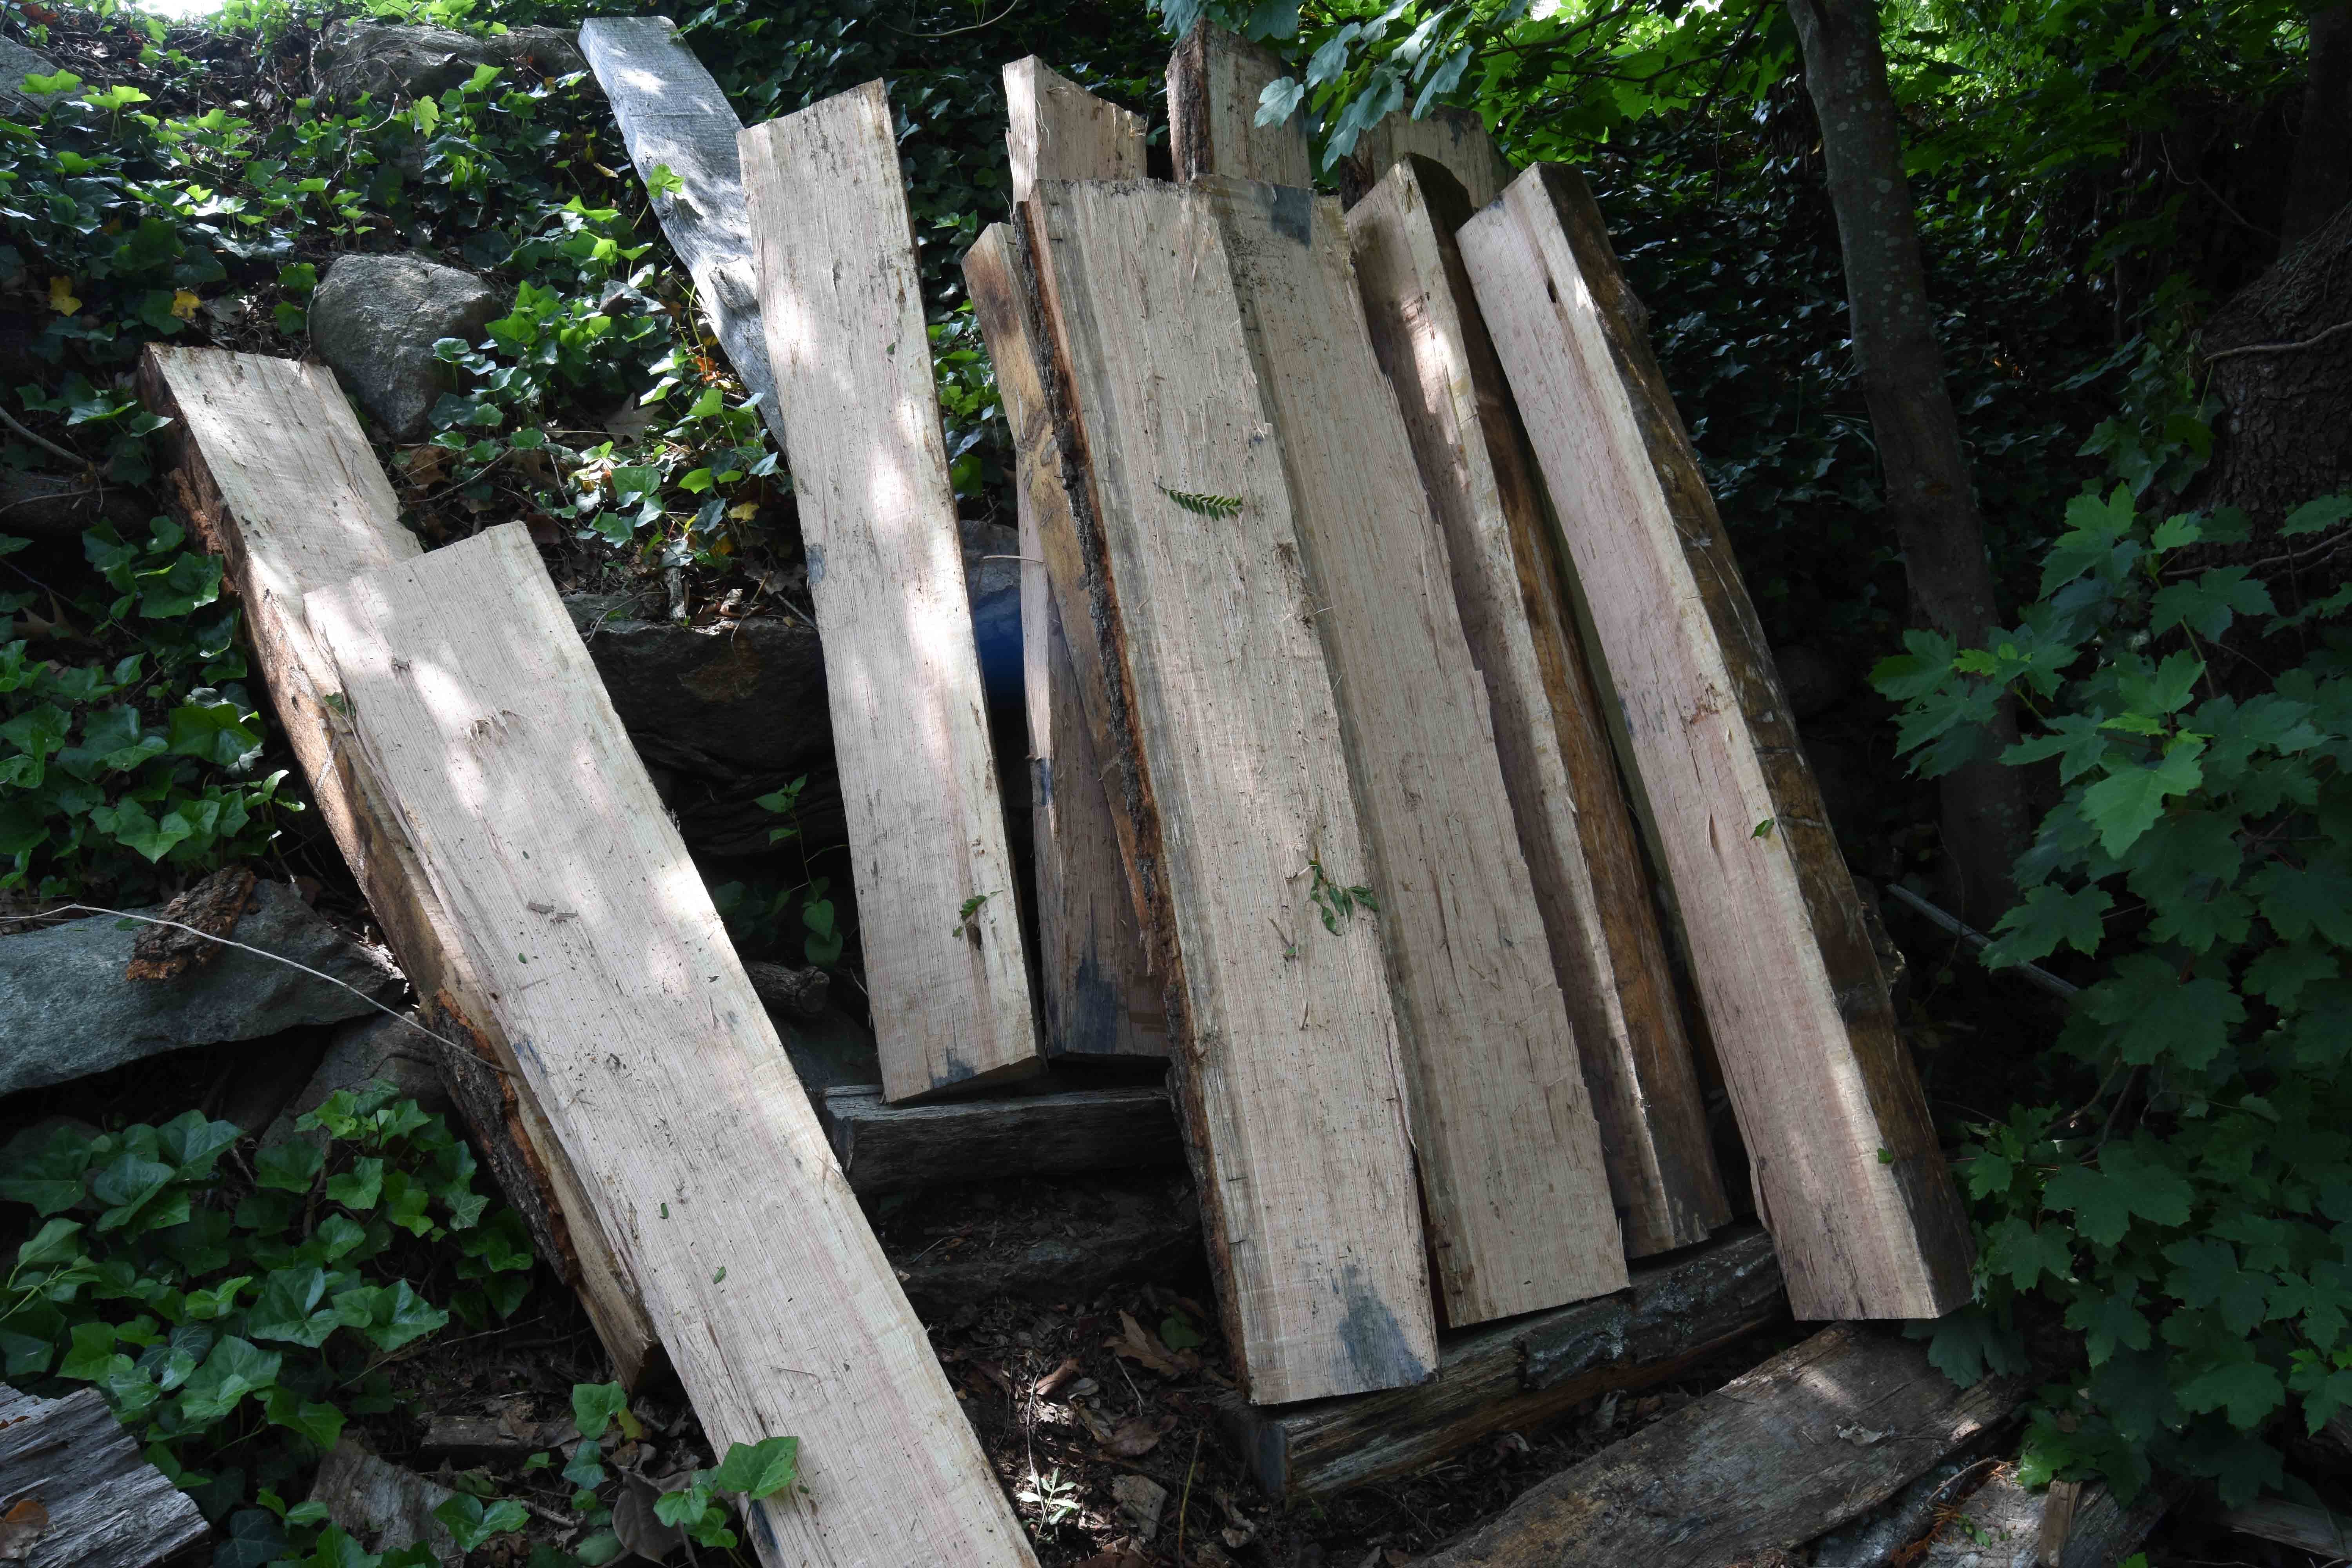
Now at the shop, the long ones are stored under a tree, up against a stone wall. I like storing them upright, then I can just tilt one or two out at a time to work up further. When they’re stacked lying down there’s a tendency to want the one on the bottom of the stack. I don’t seal the ends or take any special measures to prevent checking. I try to work this stuff up in a timely fashion. But there will be some checks - I just make a fresh end cut and get on with it.
The shorter ones, which I’ll work up first, are stored flat. Up off the ground. That way they don’t get all slimy and further, I don’t have to bend all the way down to fetch them.
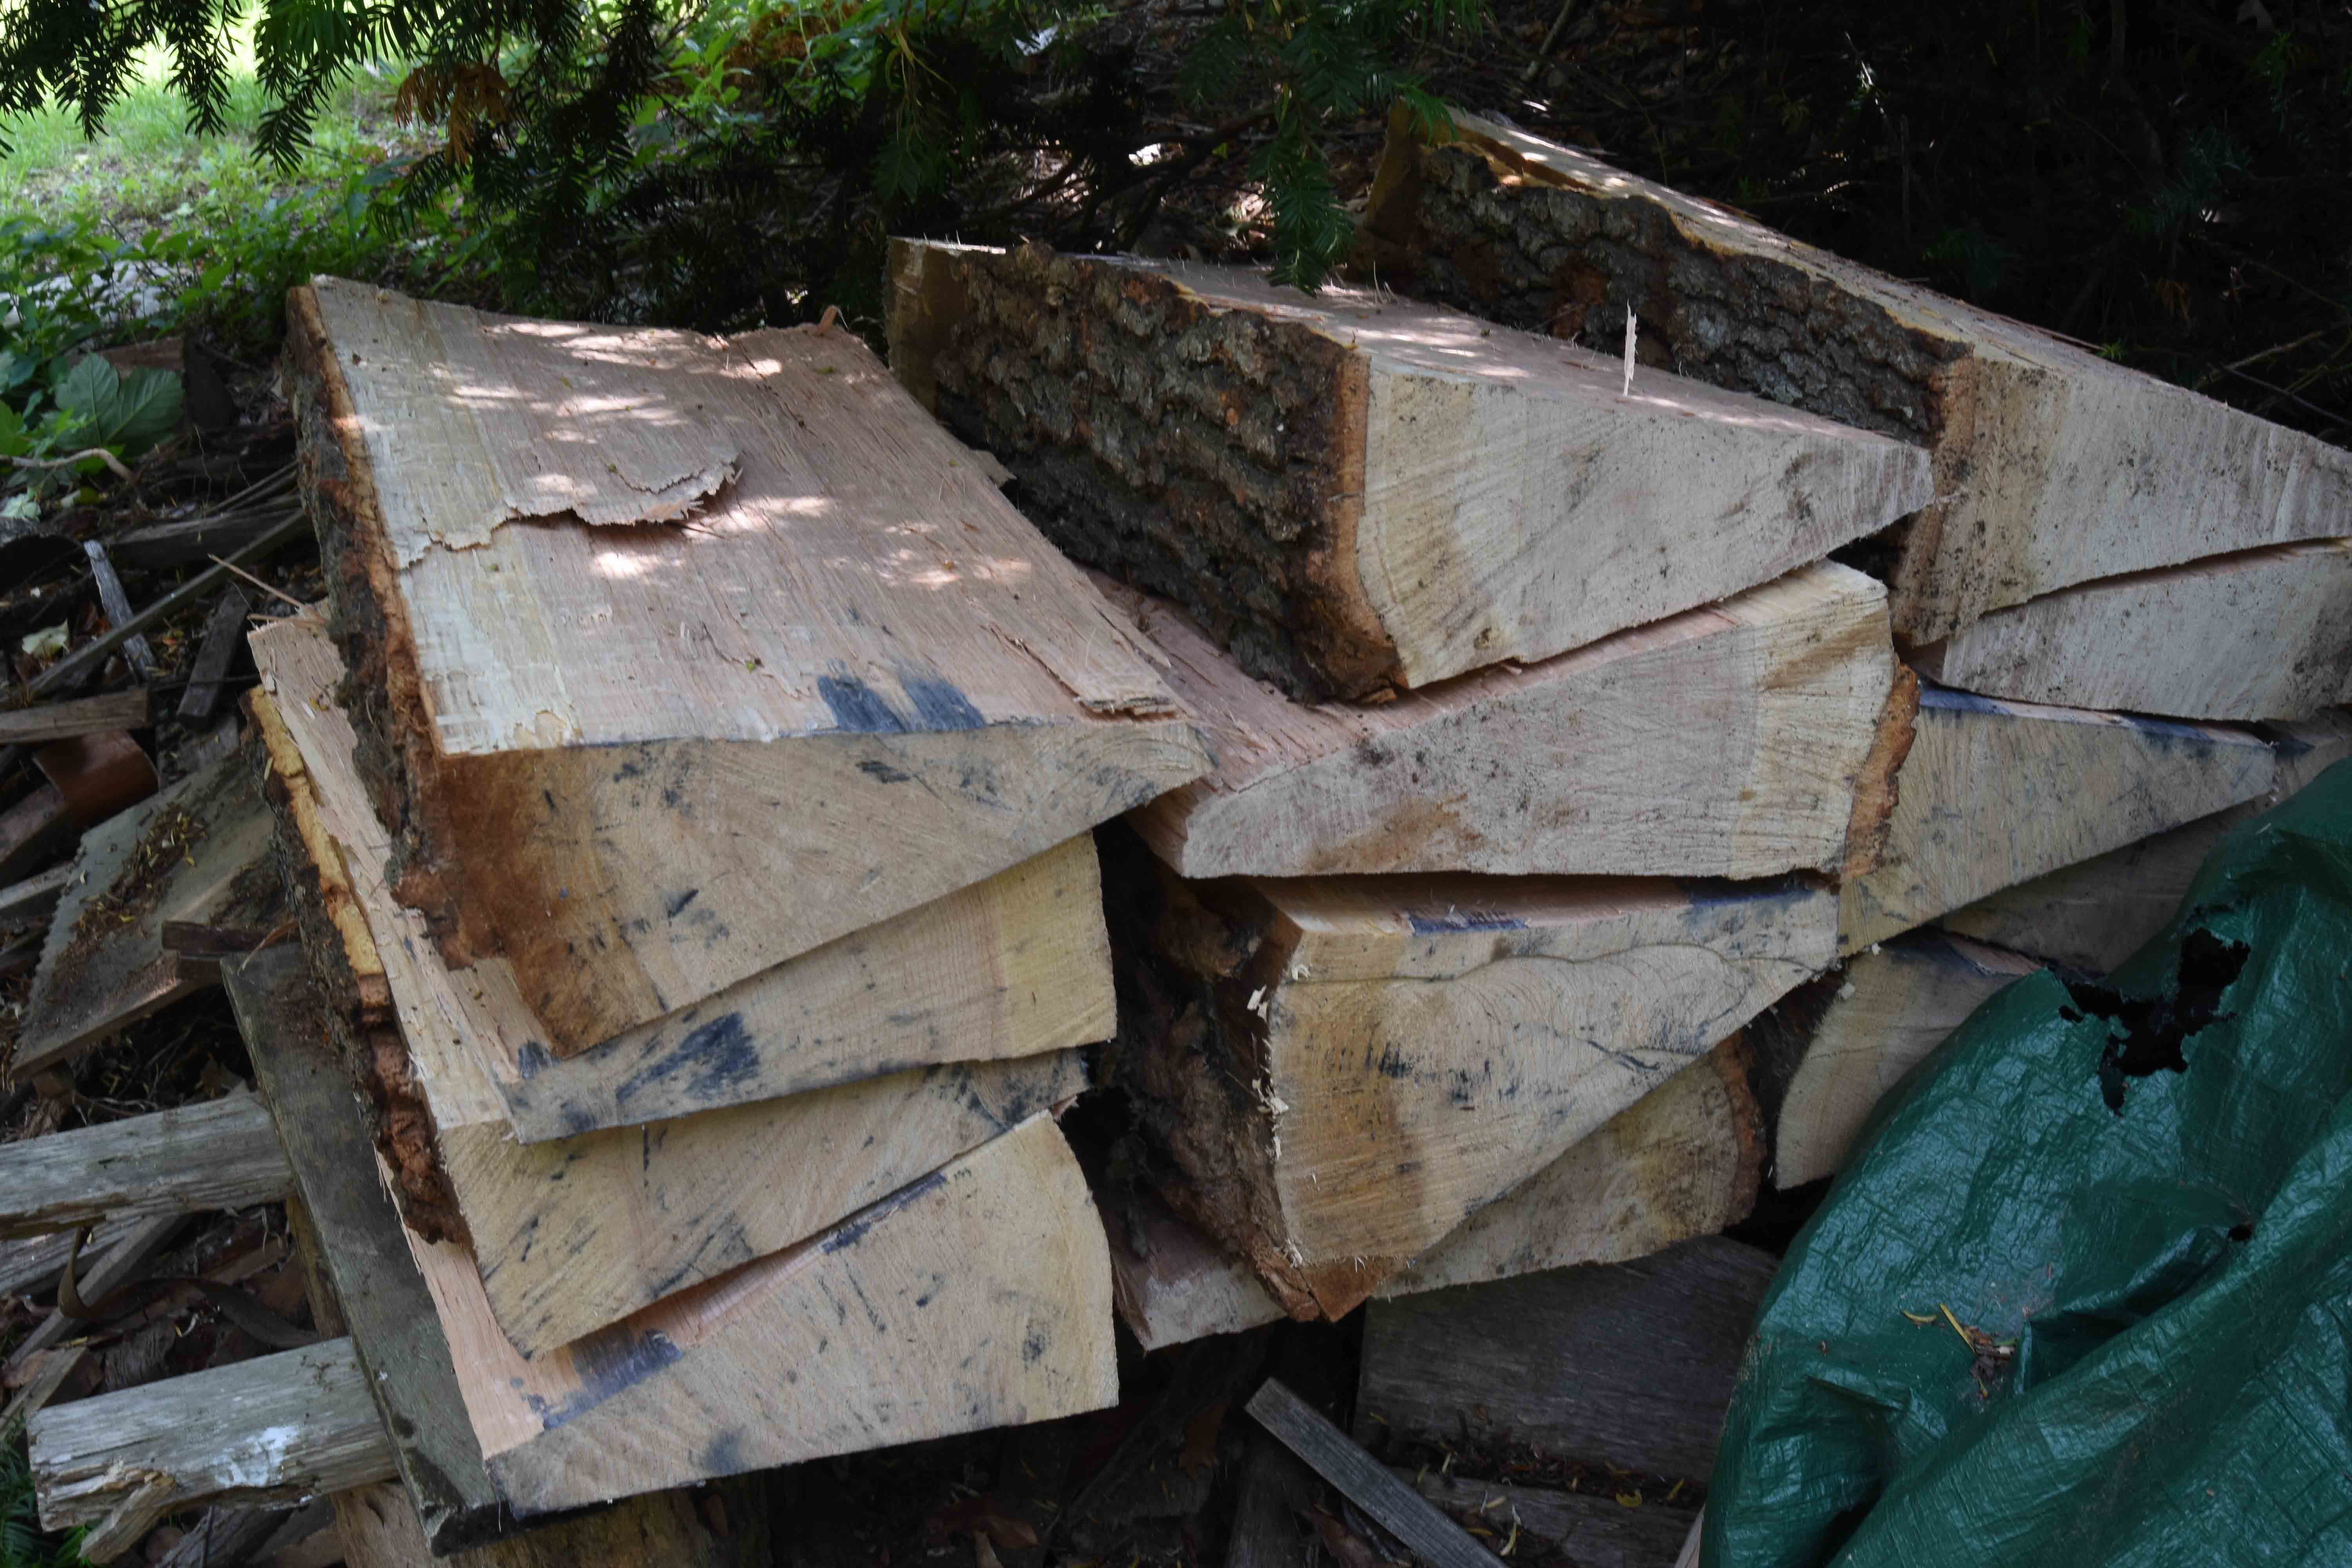
These are destined for drawer bottoms, soffit boards and floor boards for the cupboard I’m making. I’ll split and plane them to just under 1/2” thick. I’ll do that in stages - first as these dead-green boards, then let them dry a month or so and finish-plane them to final specs. Finally, here’s two of those thin panels, split and ready for planing. Couldn’t be better than this.

As I get older, I really dislike things at ground lever. Knee height is good. Waist high is better.
There is more planning about those things than when I was younger.
I bought a white oak log once from a mill for $60, for your “Make a Joint Stool” book. Had them cut it into 3’ sections, transported them one at a time in the back of my Subaru wagon. Even then I pretty much wrecked the suspension. The guys at the mill thought it was great fun, watching a clueless idiot like me try and wrangle a 500lb log. Now I’m too embarrassed to go back to the mill. The joint stool turned out great though!