[PF: this post is free to all subscribers - a look back at an article I wrote for Popular Woodworking some years ago. I re-hashed it and added some stuff to it.]
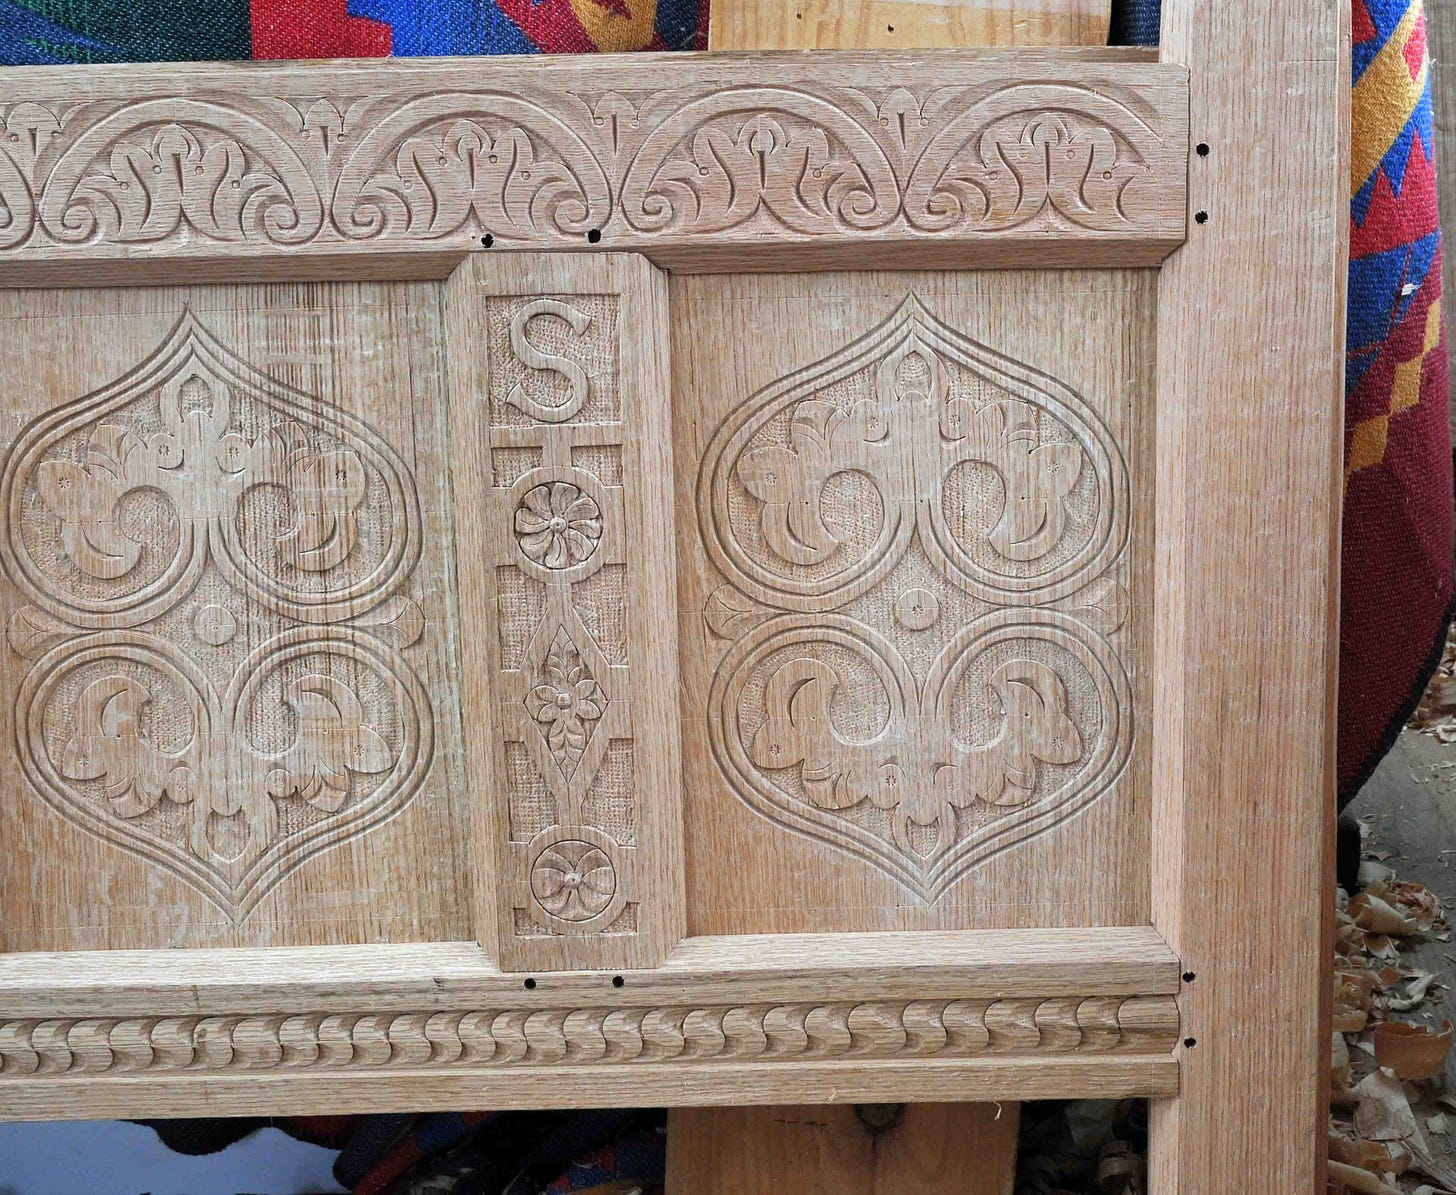
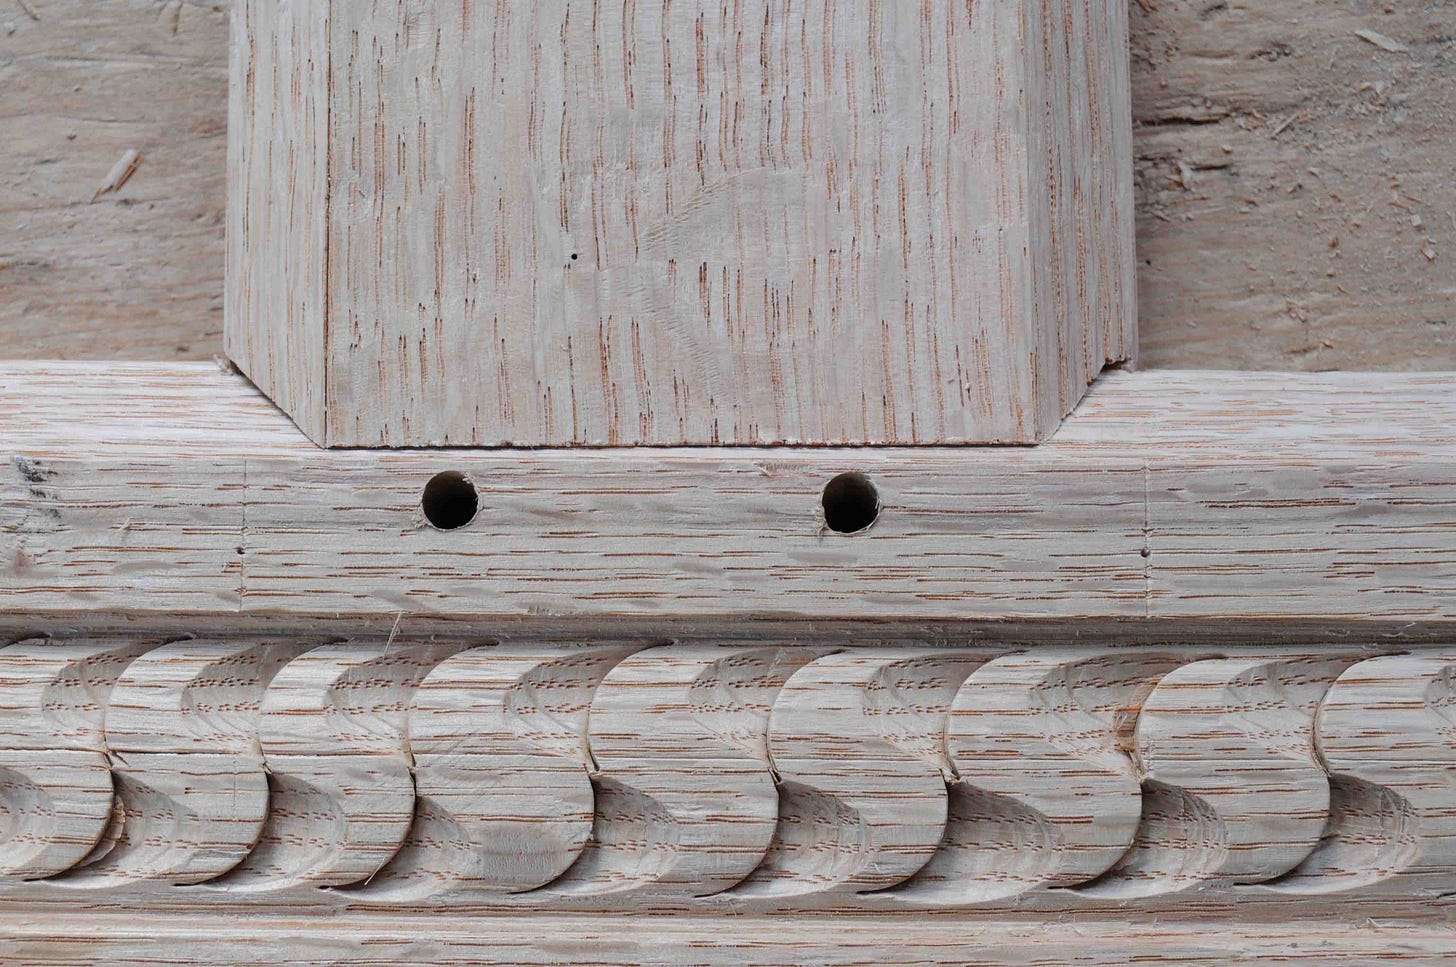
A chest I built a few years back (above) used a joint I see a lot and cut rarely. But I wonder about it from time to time. The chest is not a copy of any particular example, but just a generic version. I decided to add an English flair to it (as opposed to New England, my usual vantage point) by using a mitered shoulders on the tenons that overlap a beveled edge on the mortised parts. The full effect of this format is to create a beveled frame around each carved panel. Not at all unusual in old England, this technique stands out like a sore thumb when we find it on New England chests. I know of one very large group of chests, referred to as “Hadley” chests, that always feature this joint on the chest front.
The framing on the sides and back have 90-degree tenon shoulders meeting square-edged mortised members. There’s perhaps 200 or more of these chests, and I’ve never seen one of them without the mitered front joints. Other than the Hadley chests, I know of exactly one other New England chest that uses this joint. Not one other group of chests, one chest. All the others use square-edge framing, 90-degree shoulders. Sometimes these have stopped bevels around the panel openings, sometimes molded edges fading in and out around the panel openings. But always 90-degrees at the joint.
I haven’t cut this joint in maybe 10 years. So I practiced a couple to get the hang of it. It’s frustrating, because I’m so used to my joints going together right off the saw and chisel, with nary a test-fit. This joint has me back to square one almost.
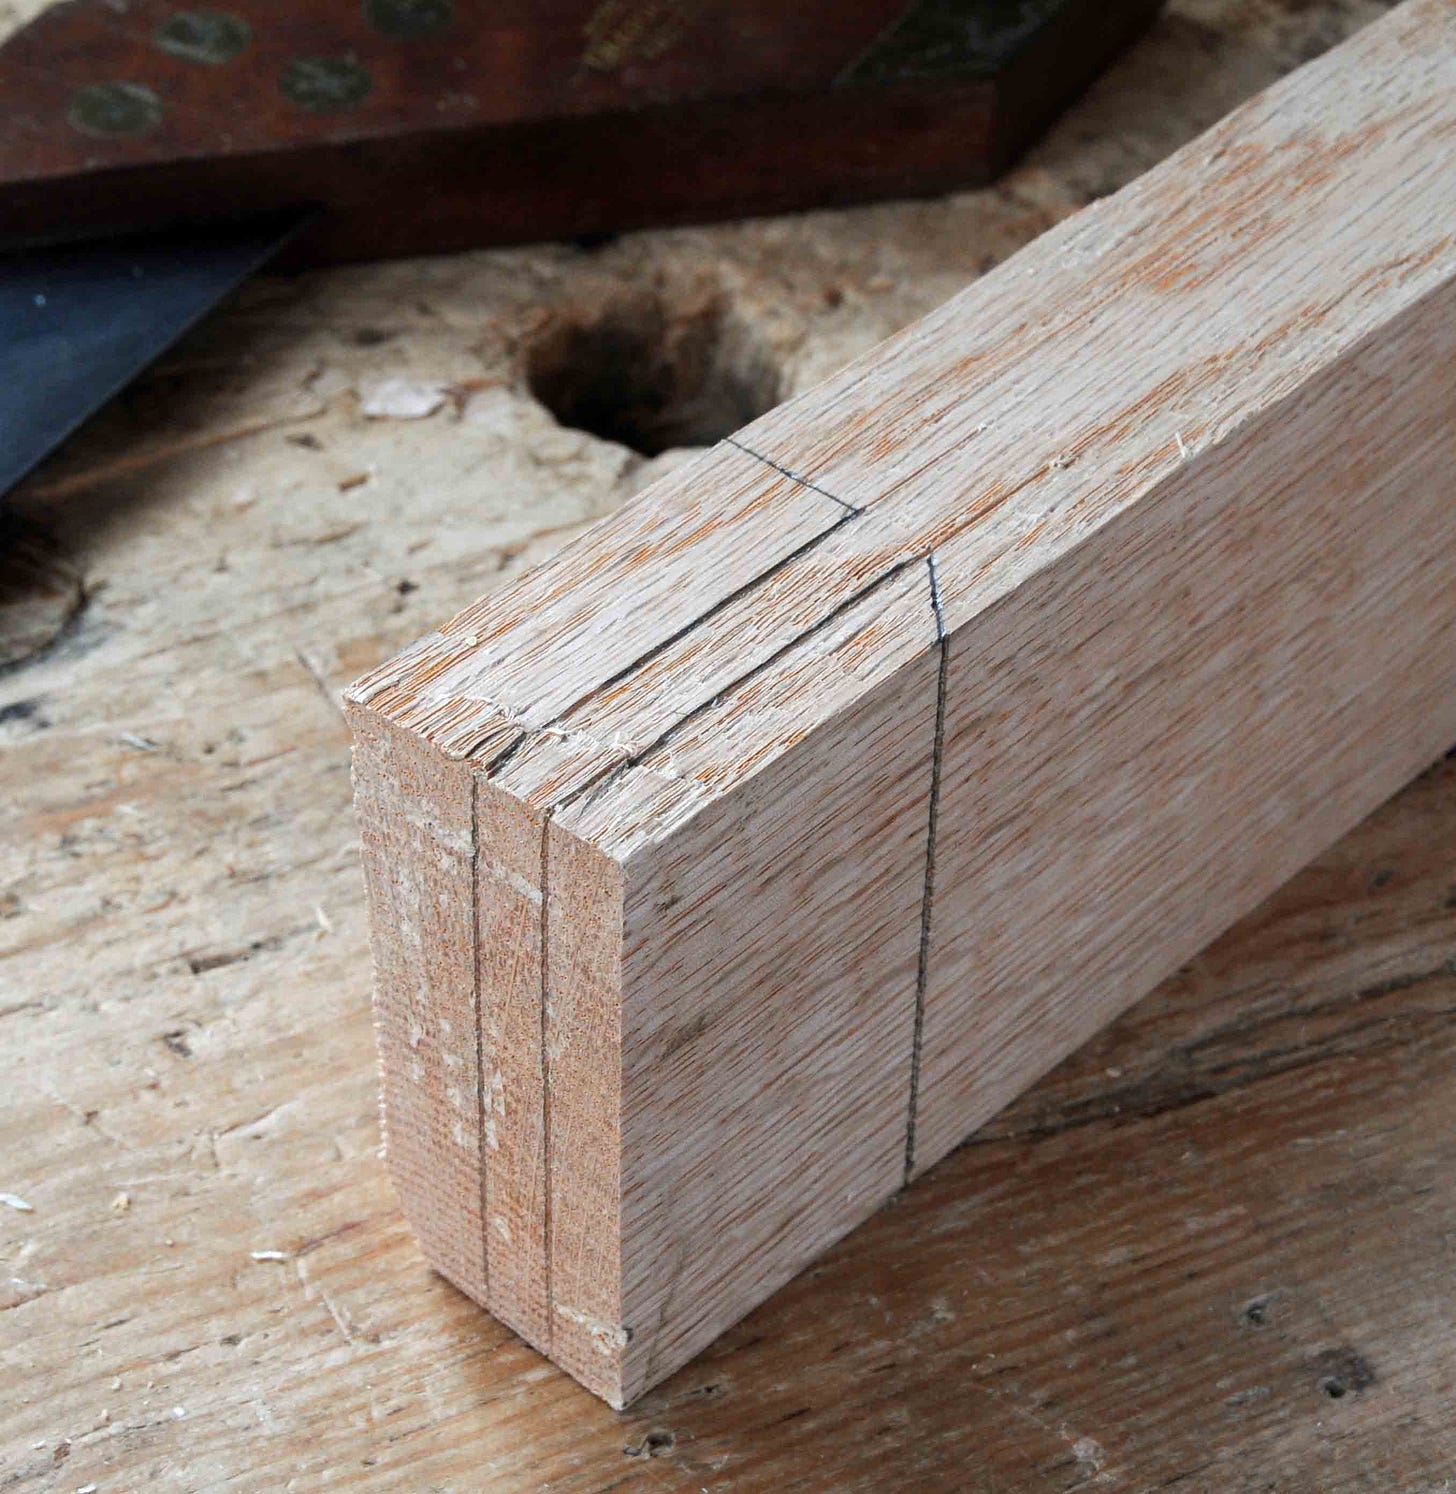
First I layout the front shoulder across the muntin. Then I use a mortise gauge to strike the thickness and “setback” of the tenon, in this case the tenon is 5/16” thick, set back from the rail’s face 3/8”. Now I use a miter gauge, or an adjustable bevel set at 45-degrees to strike from the front shoulder to the front of the tenon. Then I use a square to carry this point back to create the rear shoulder.
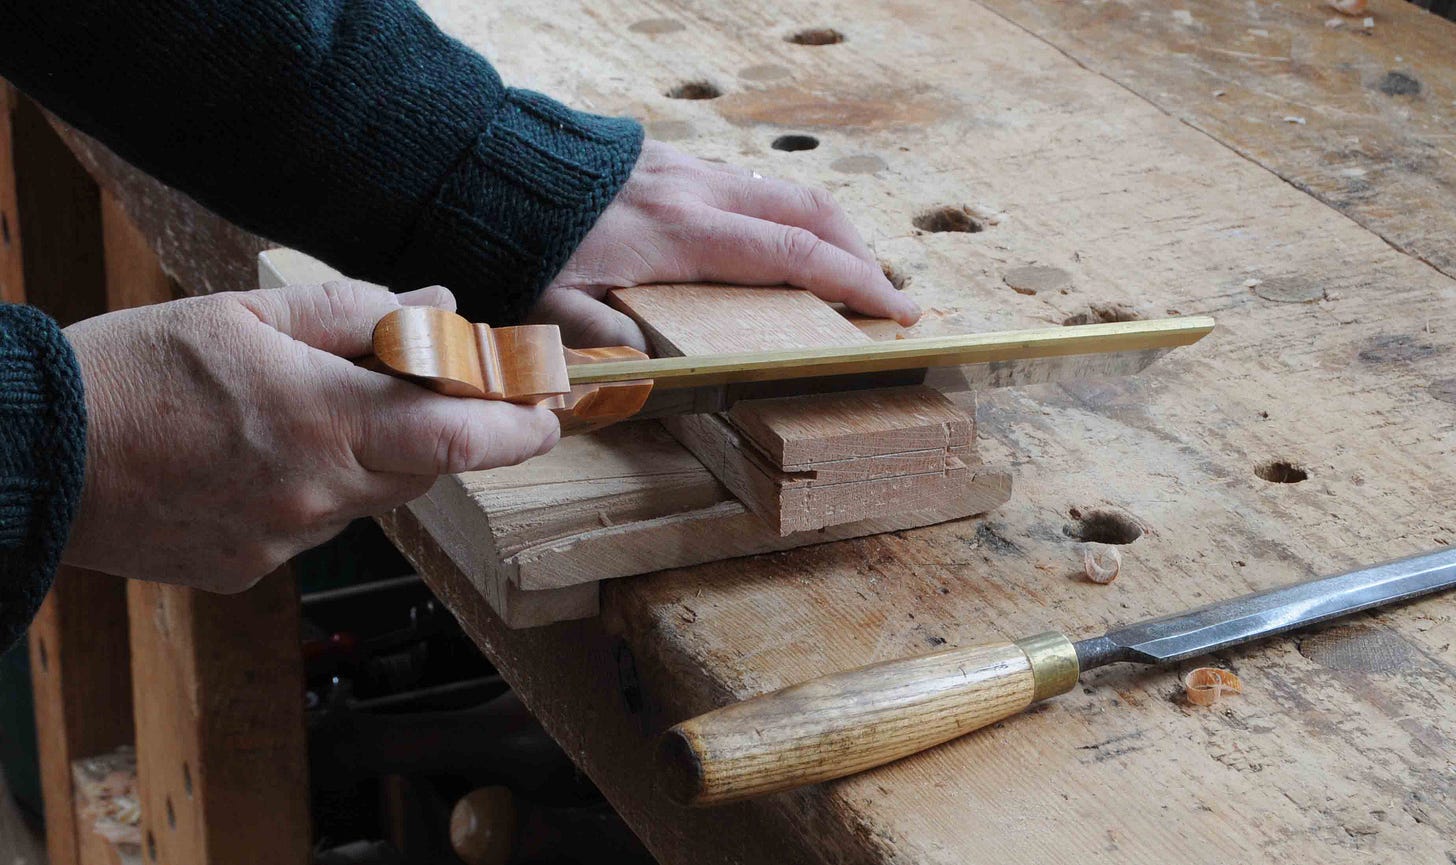
Undercutting that front shoulder is the kicker. It’s really tilting the saw over a good bit. More than I think. I score across the shoulder with a knife, then pare behind this line with a chisel to make a slight trench for the saw to lean in while I’m cutting this shoulder.
Then the rear shoulder is back to normal. I always cut these just behind the line, so they don’t hit the mortised part. Then I split the cheeks and pare across the tenon faces to bring the tenon to its final thickness. I lay out the planed bevel with a marking gauge. I usually set it so the bevel almost but not quite reaches the panel groove. You have to tilt the plane over more than you think, same as sawing the shoulder. I keep checking my progress with the miter gauge, or an adjustable bevel.
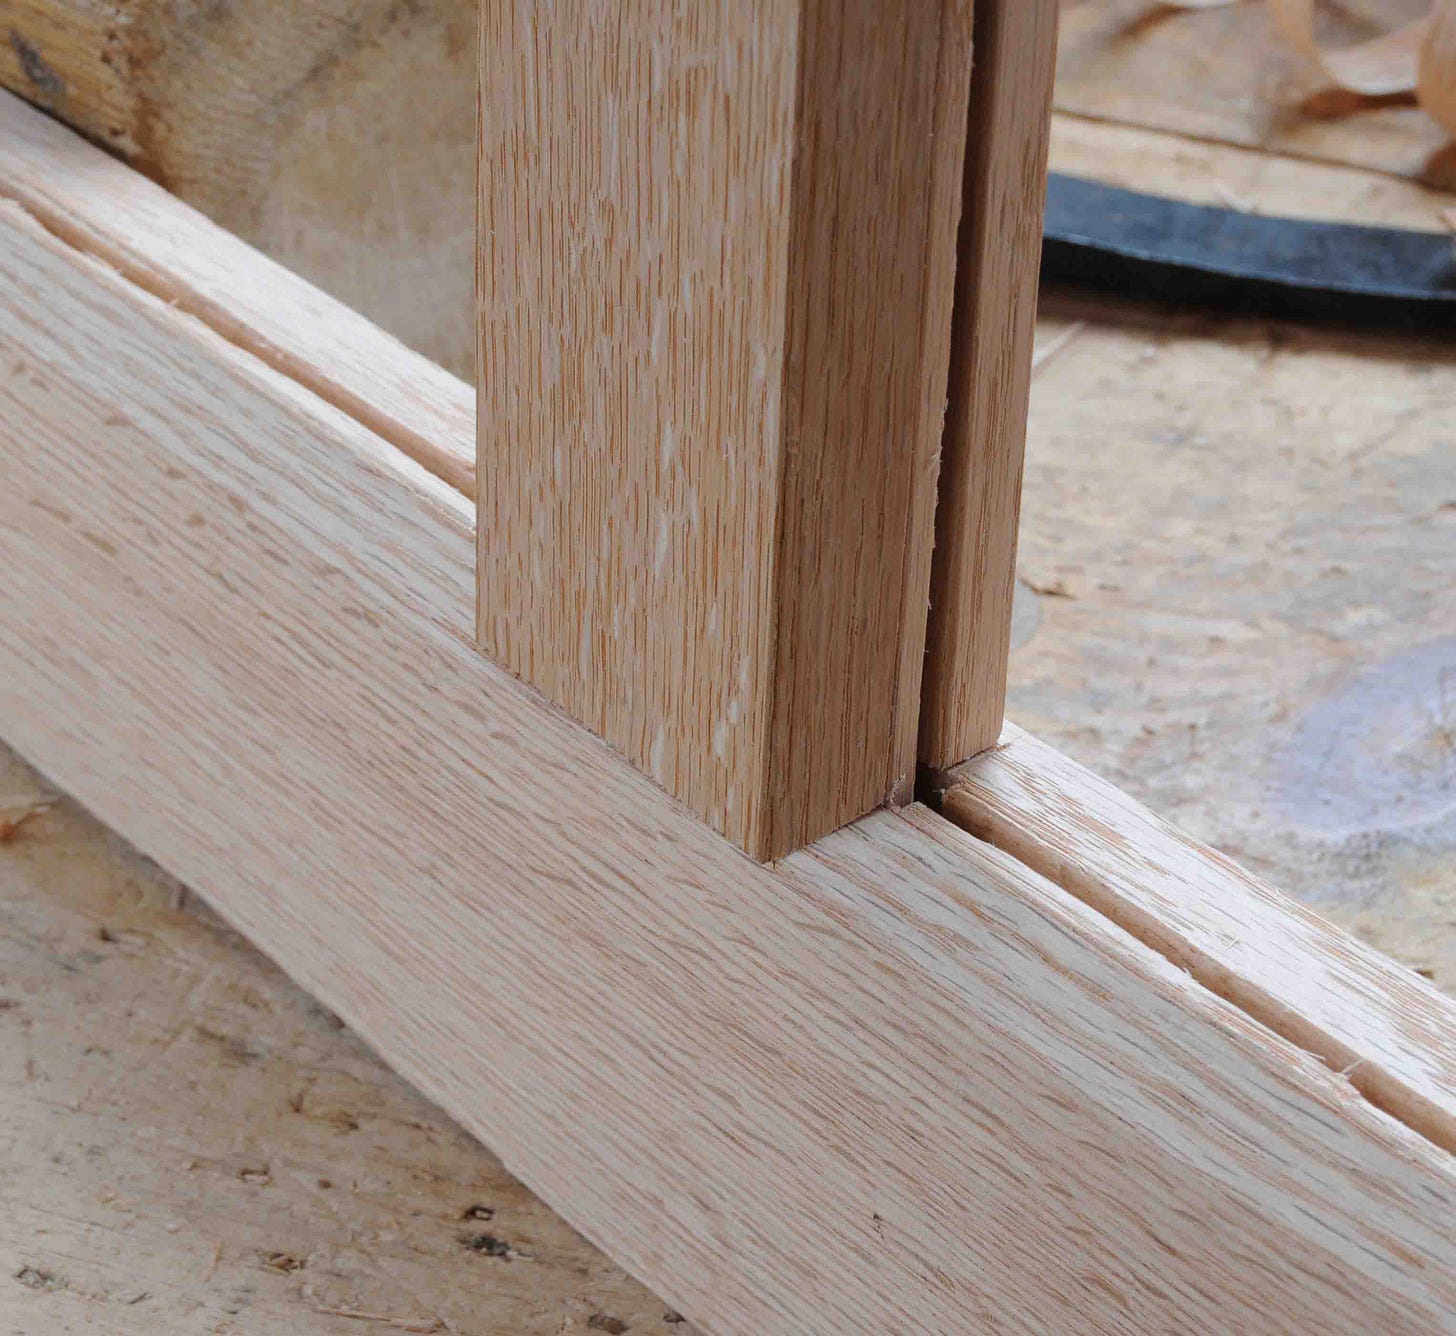
I chop the mortise with a 5/16” mortise chisel and a mallet. After chopping the mortise, I plow the panel groove and then plane the bevel. When I’m planing this bevel, I keep checking the progress by inserting the tenon and seeing how the beveled shoulder is meeting the bevel on the mortise. Check often, make small adjustments.
It takes me some fiddling around as I test-fit this joint to get it the way I want it. Ideally the tenon’s long sloping shoulder slips right over the bevel on the mortised member.
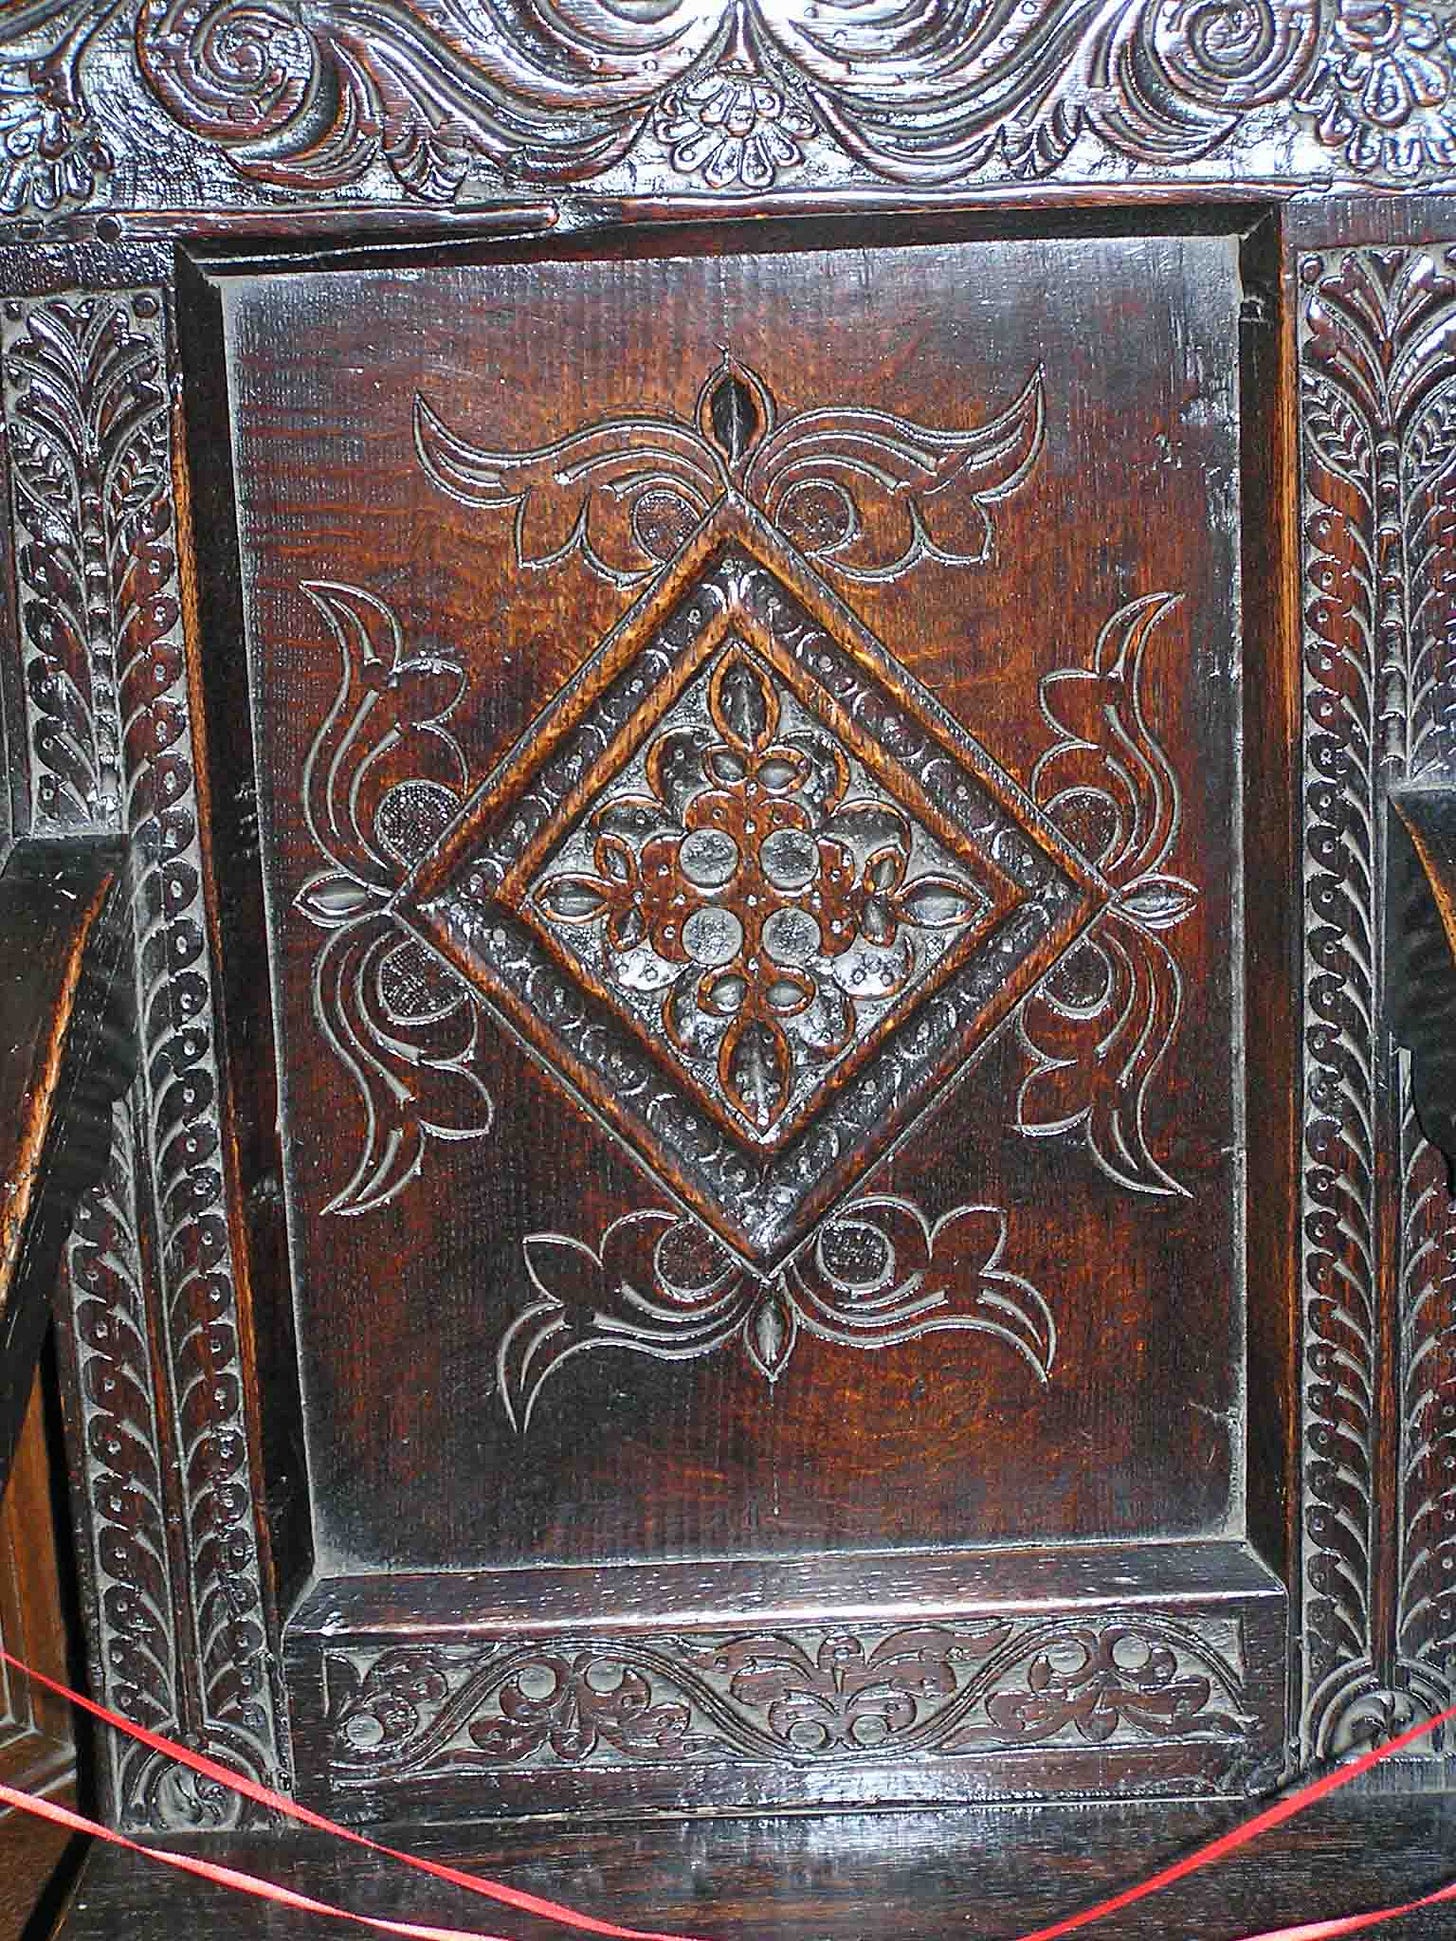
For me, the puzzle of this joint is why is it so common in old England - and so rare here in New England. We’ll never know. But it feels as if all joiners emigrating over here had to sign an oath that they’d not use this joint here. It’s so commonly found in paneling and furniture in England, here’s a Yorkshire chair from Oakwell Hall showing the beveled framing look:
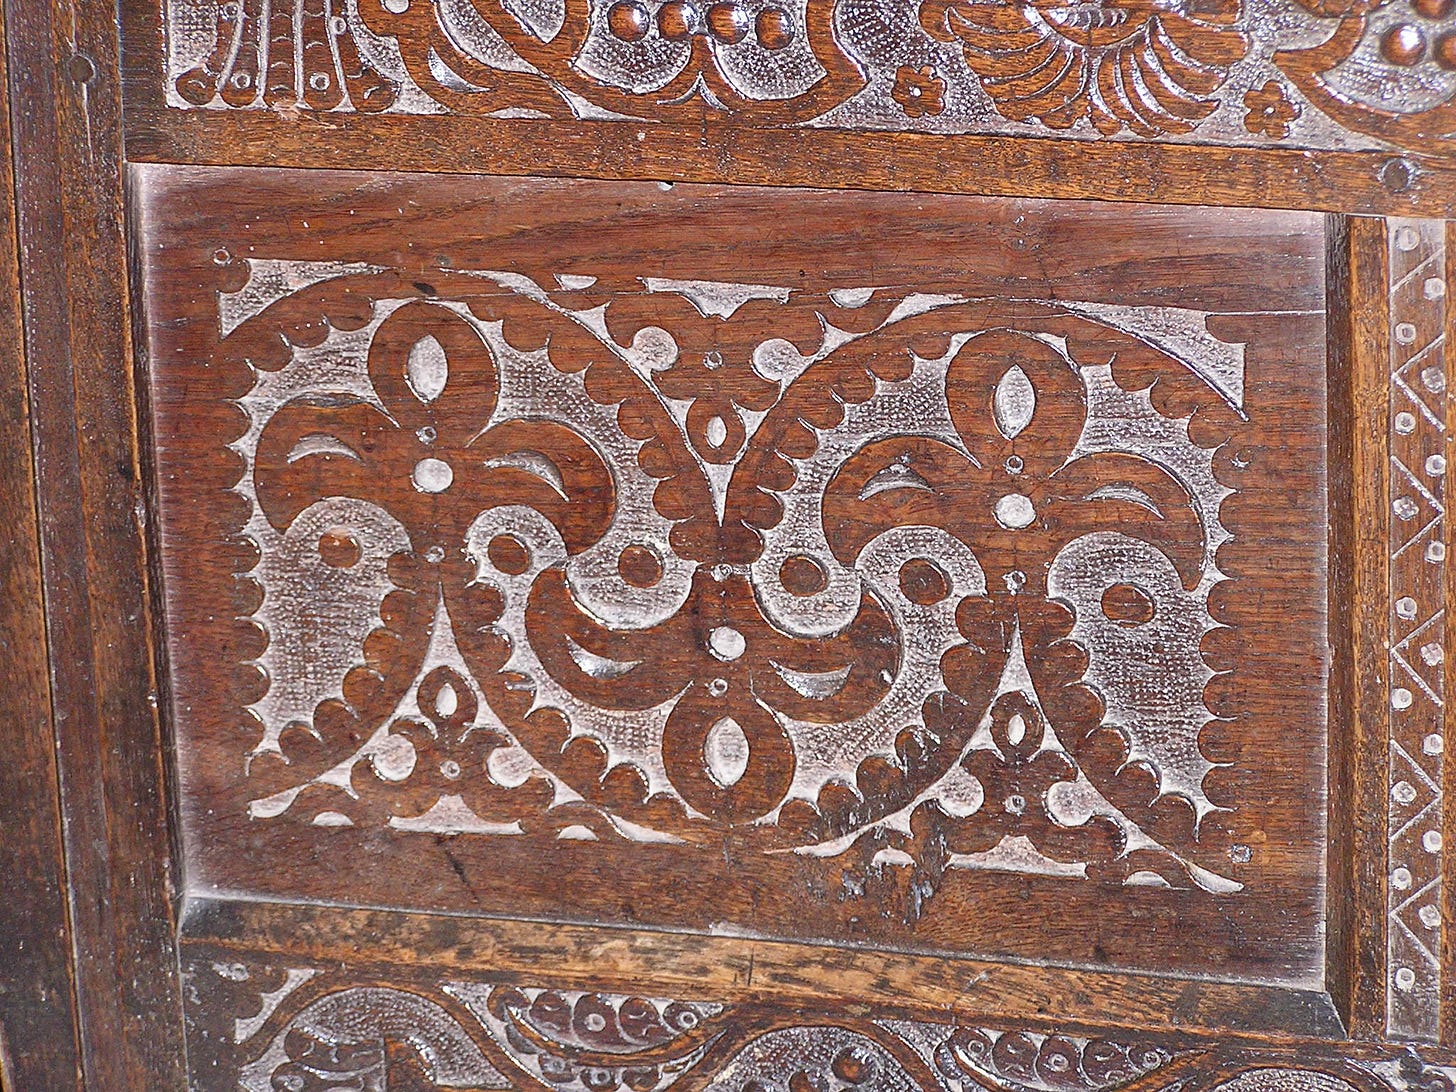
There’s variations on it - here’s one with the mitered tenon only where the muntin meets the bottom rail - the other joints with 90-degree shoulders.



Beautiful! I just about sprayed my coffee when I saw the picture. I've spent two years making that joint on a router table - dozens of times. Of course they only LOOK similar, but the stub tenon is strong enough for kitchen drawer fronts. All the while thinking that it takes double or triple the time of a square joint. I chose it to match glazed doors on an antique stepback china cabinet and wondered how they'd made muntins with hand tools? This post gives me some of the answer - thank you.
Doesn't the Deluxebury chest in Ned Johnson/Fidelity collection have this joint?