


[I’m working on writing the how-to part of my Craft Genealogy book - about making hayforks. This blog post isn’t the same text the book will be - but it covers some of the same material. The last post of the year here for me - so a thank-you to all of the subscribers, free & paid. I appreciate your interest in my work, it means a lot to me.]
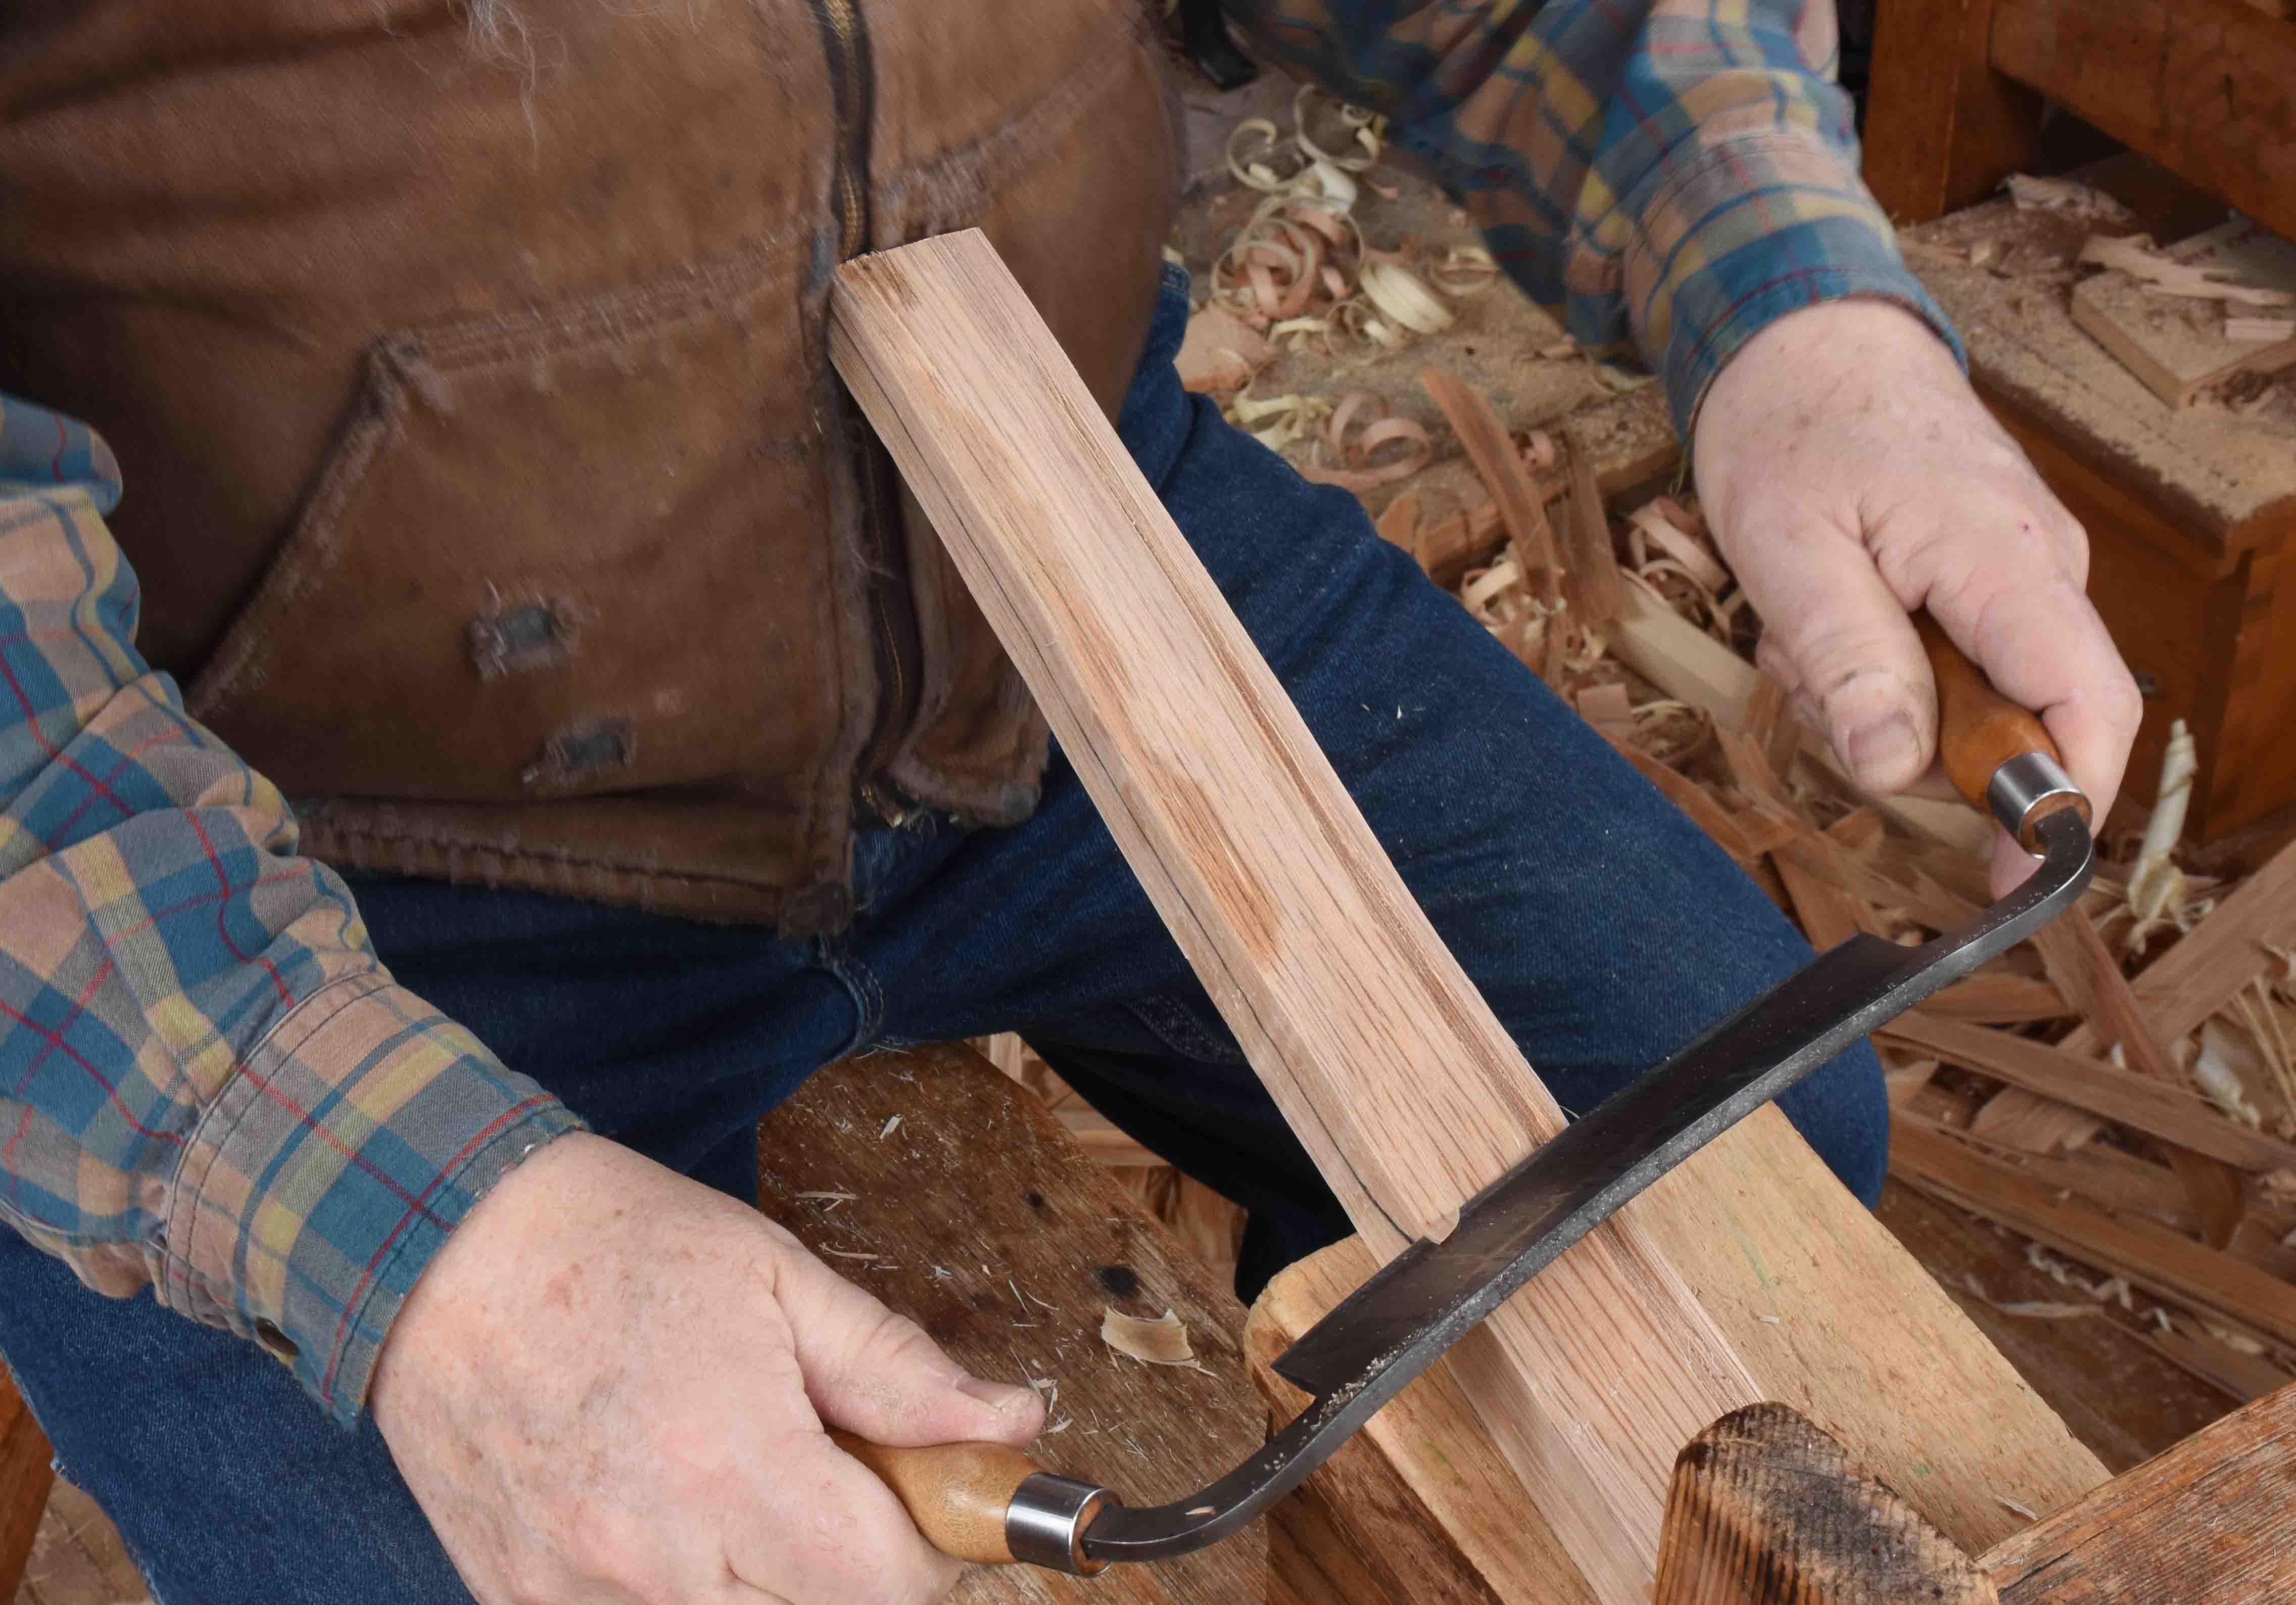
Today I took some more photos of the process of fork-making. Getting closer. Once I have the blank shaved to rough size, I begin working out the details. To form the “relief” - the transition from the thick handle area to the thin tines, a scooping cut begins the transition. I use the drawknife bevel down to start this cut - if you’ve made the Jennie Alexander chairs, this cut is the same as we use in the rear post of that chair.
I learned from Pete Galbert to make this bevel-down, scooping cut very short at first. Cut down into the fibers and bring the knife quickly up and out of the cut. The aim is to cut through the growth ring layers to get down near the layer you’re after. I did this cut in three swaths - this photo I’m cutting on my right edge, then I did the left, then a third cut down the middle. But each of them just flicks a very short scoop through those layers.
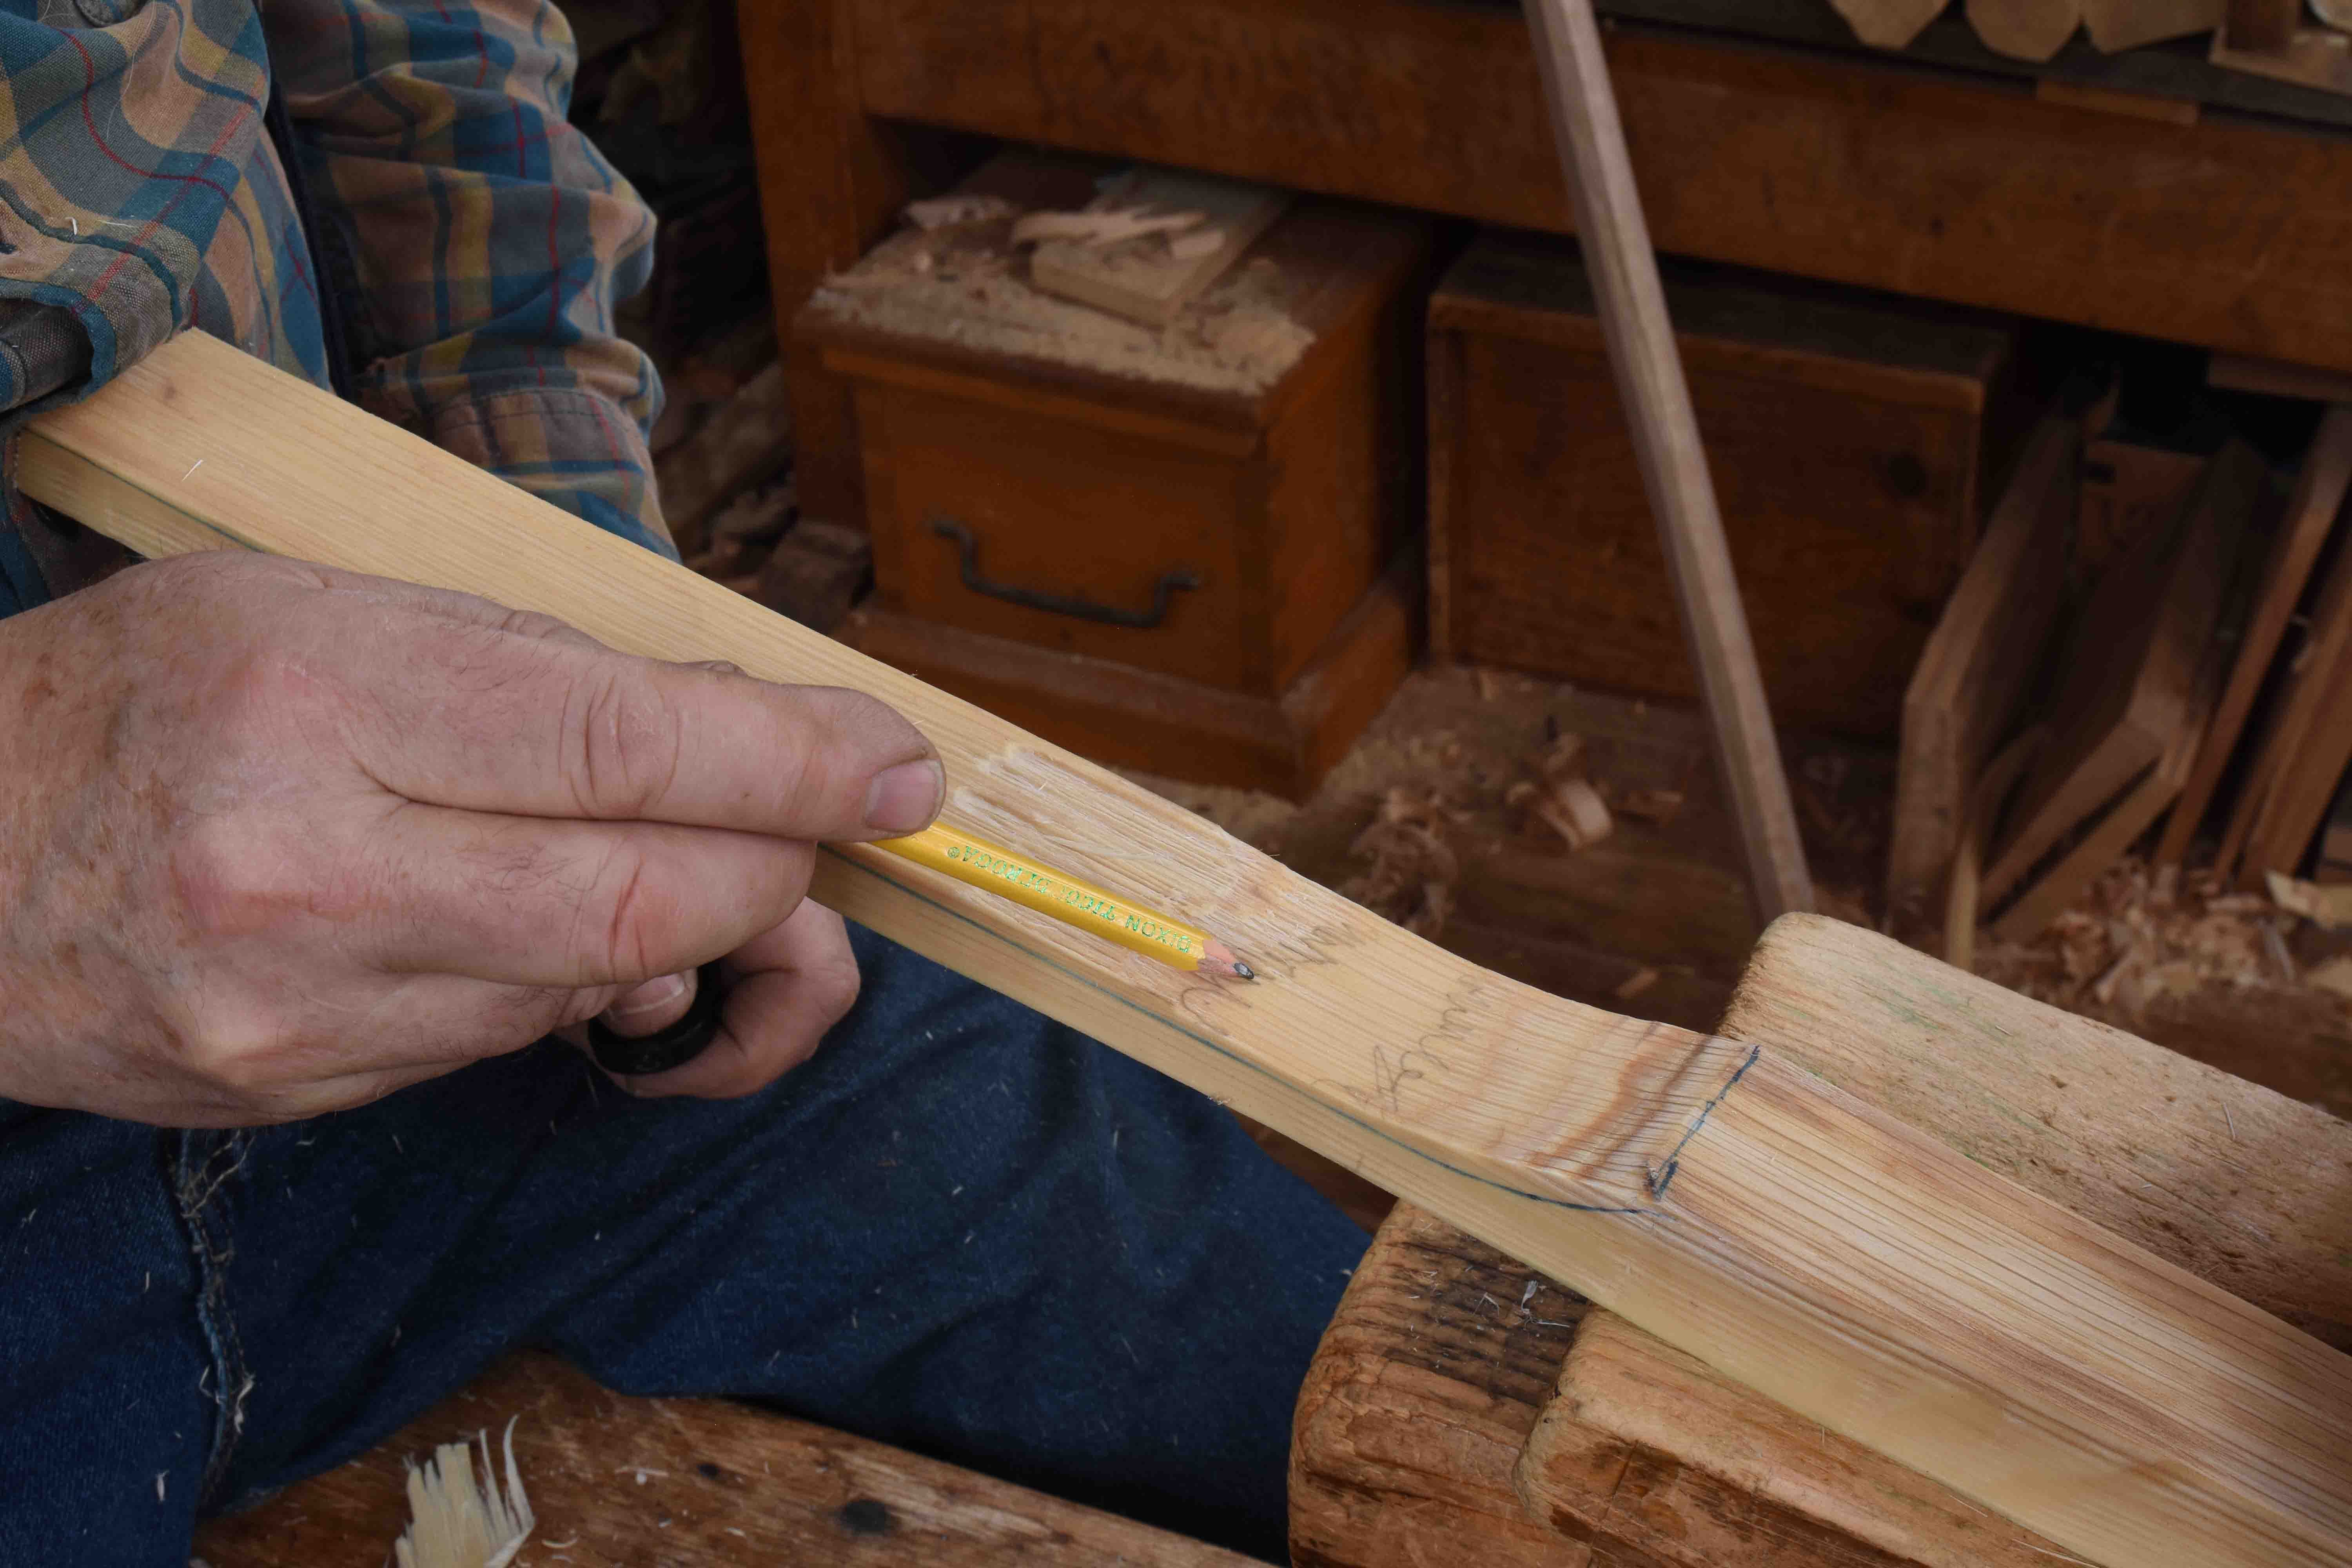
This photo below shows the result - I’m pointing with the pencil at an area between those pencil scribbles - that’s the layer I want to cut down to.
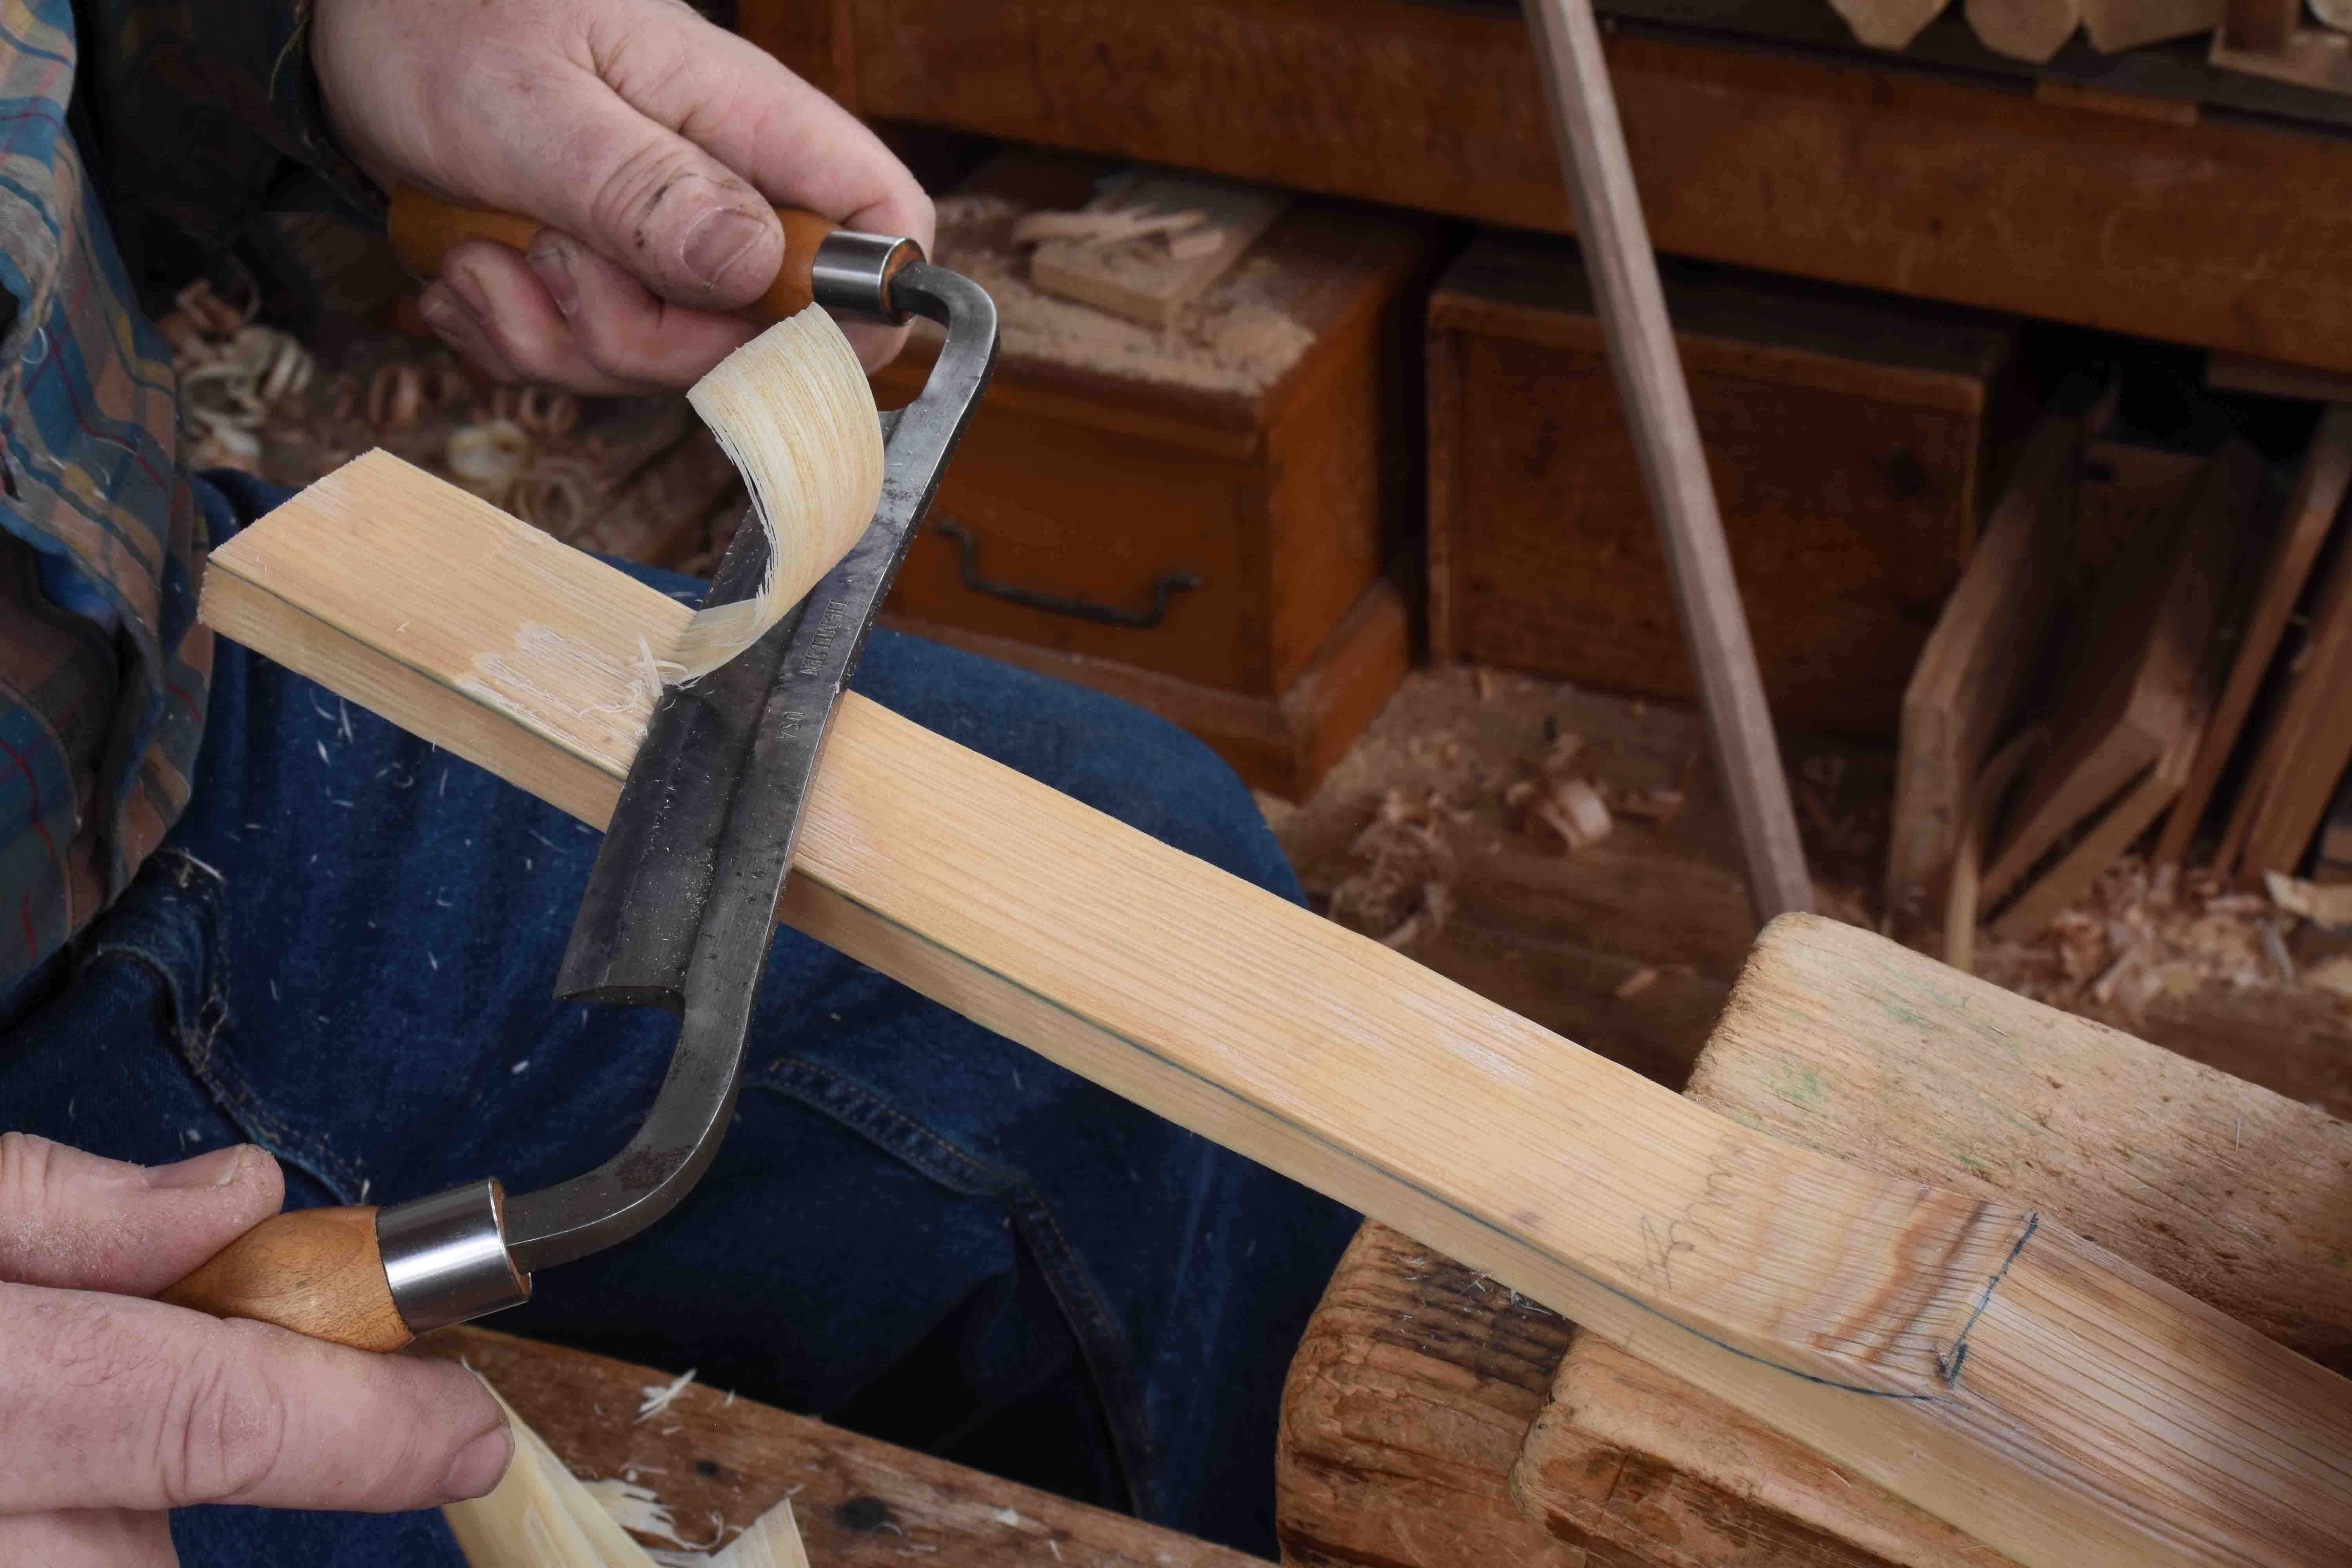
Then flipping the knife over to the bevel-up position, I carefully shave the rest of this top-side of the tines down to that layer, carrying it all the way out to the end of the blank. Even though this is the compression side of the bend, and therefore more forgiving than the outside/underneath, consistent thickness is still important for an even bend. In the photo below you can maybe see that the knife is still cutting into a thicker layer - I’m nearly down to my final thickness now and I’ve kept that growth ring layer intact.
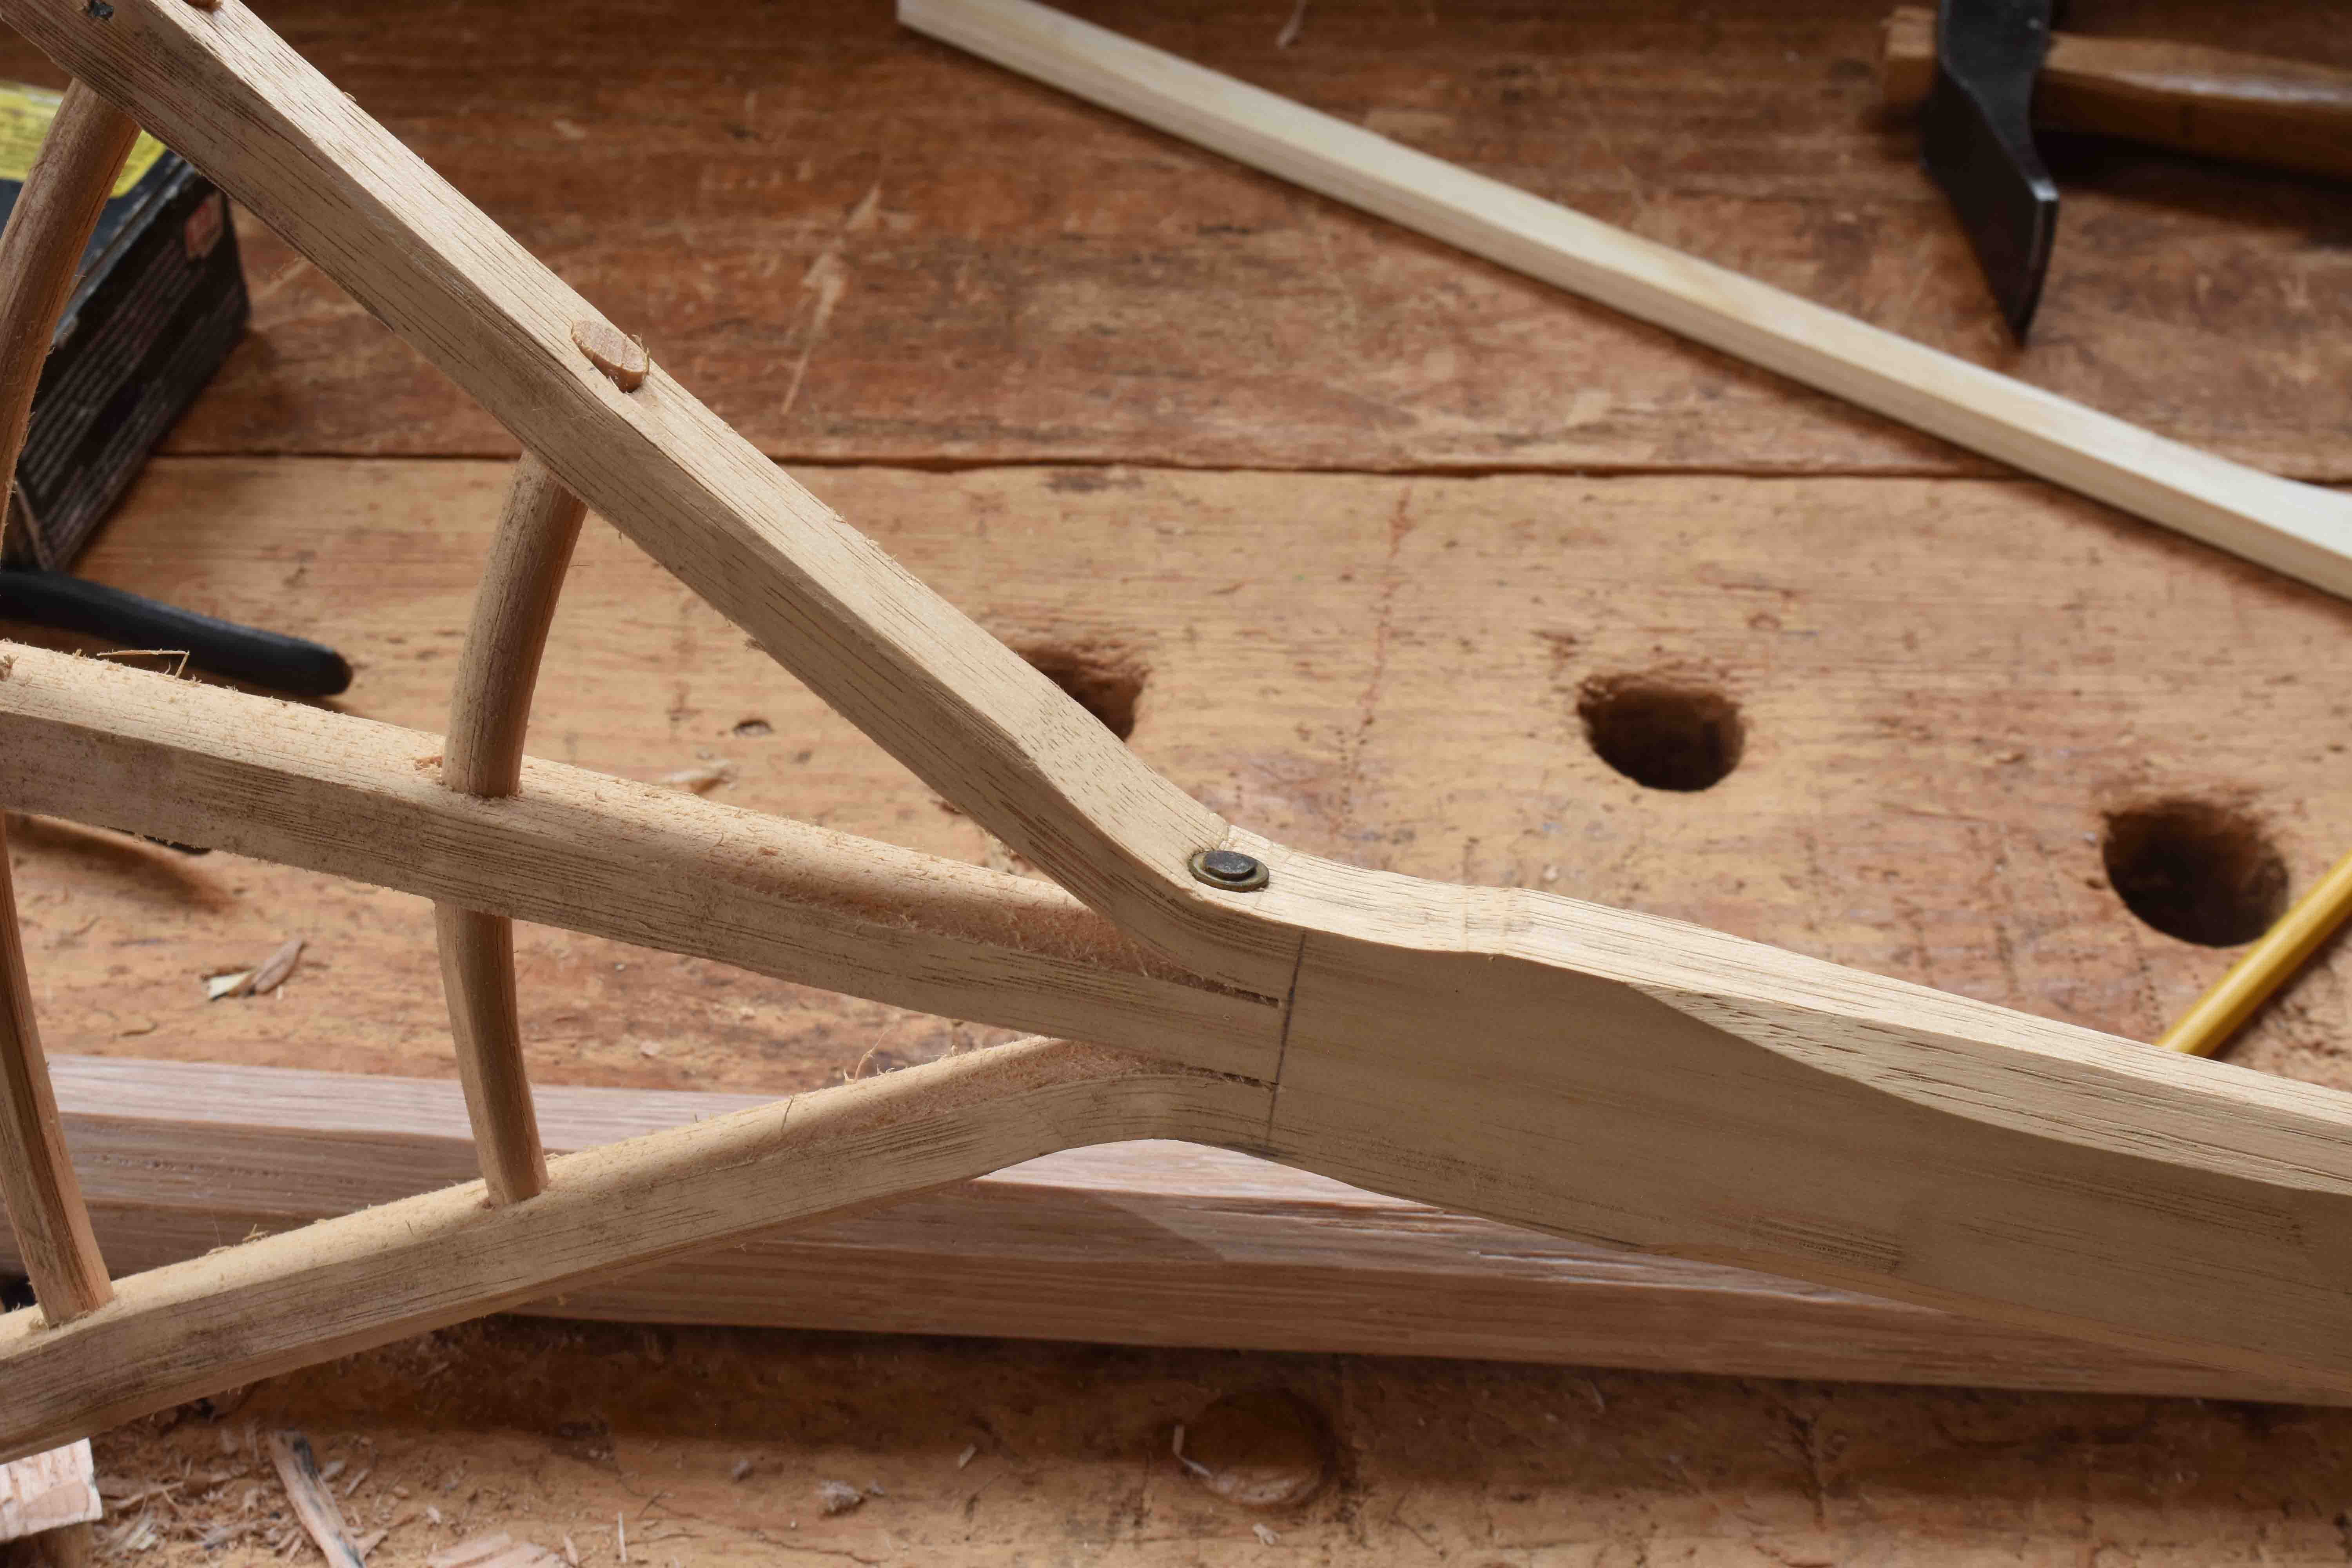
Once I’m done defining the tine section I bore the holes for the spreaders/dowels/braces - and for the rivet. I finally made a template to layout the tine section and to locate the holes.
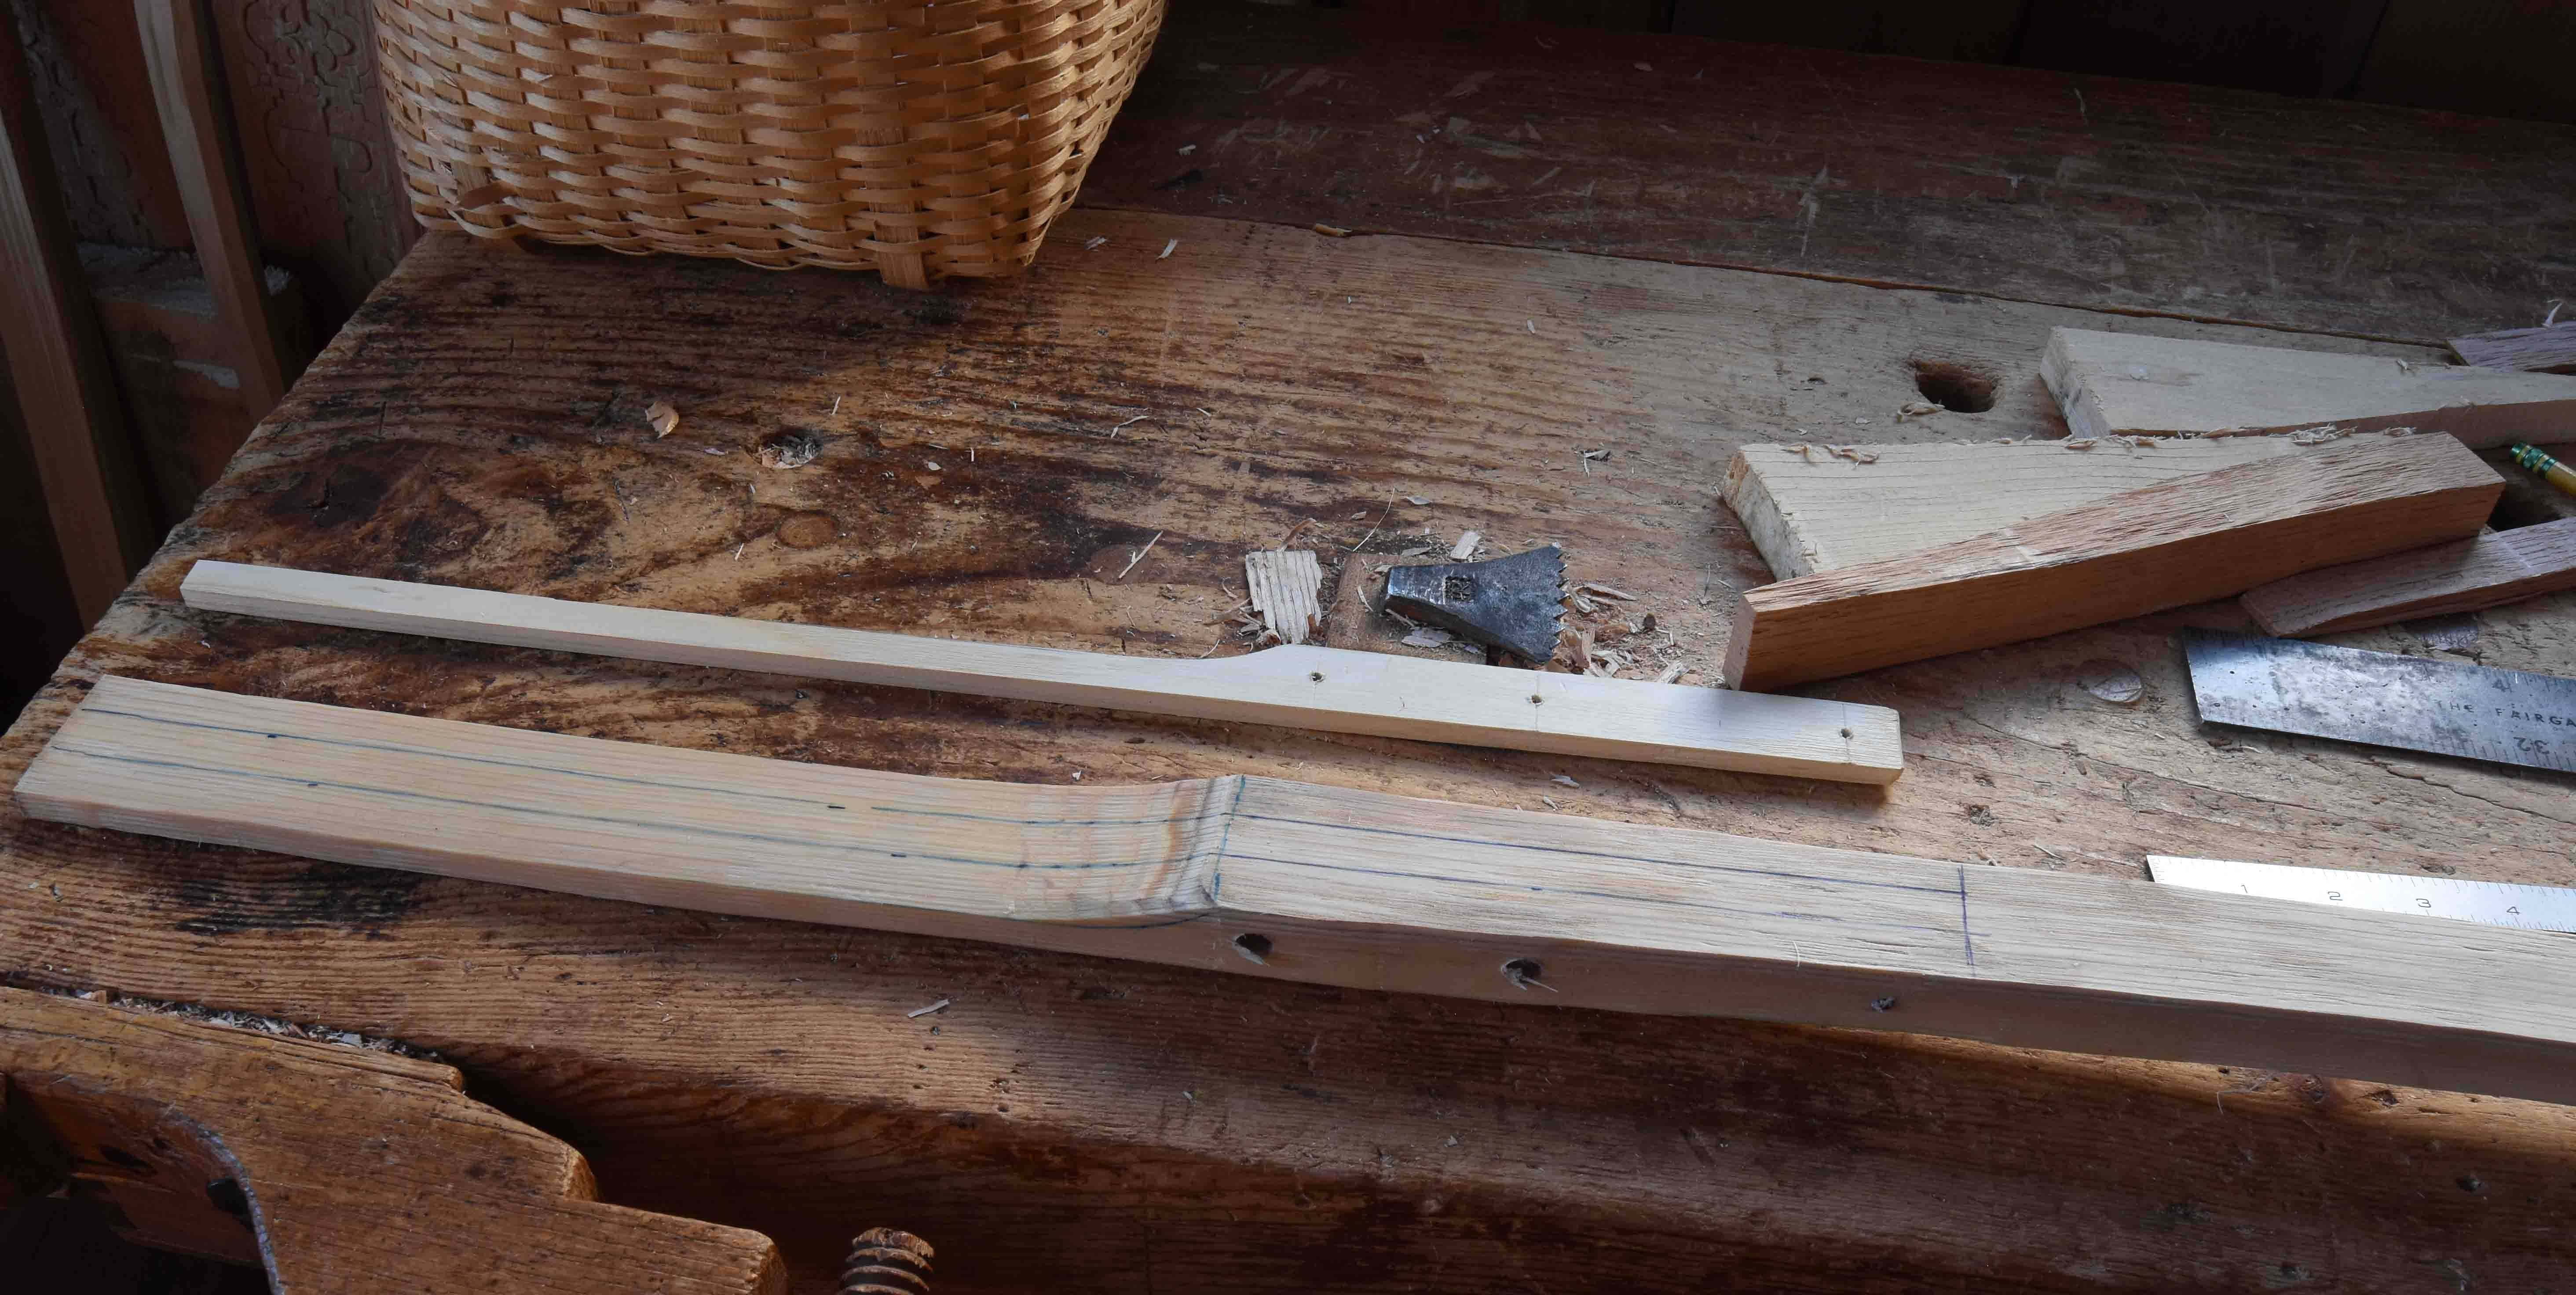
These three-tine forks are simple enough, just two rip cuts to define the tines. Then installing the rivet. A large nail with two washers, drive it through the hole bored for it - cut the end of the nail just proud and peen it over the 2nd washer.
Keep reading with a 7-day free trial
Subscribe to Follansbee's Substack to keep reading this post and get 7 days of free access to the full post archives.