
Joinery again
an old favorite, a joined stool

well, it’s been a while. Mostly I’ve tried to be in the water whenever I can. A perfect place to be…

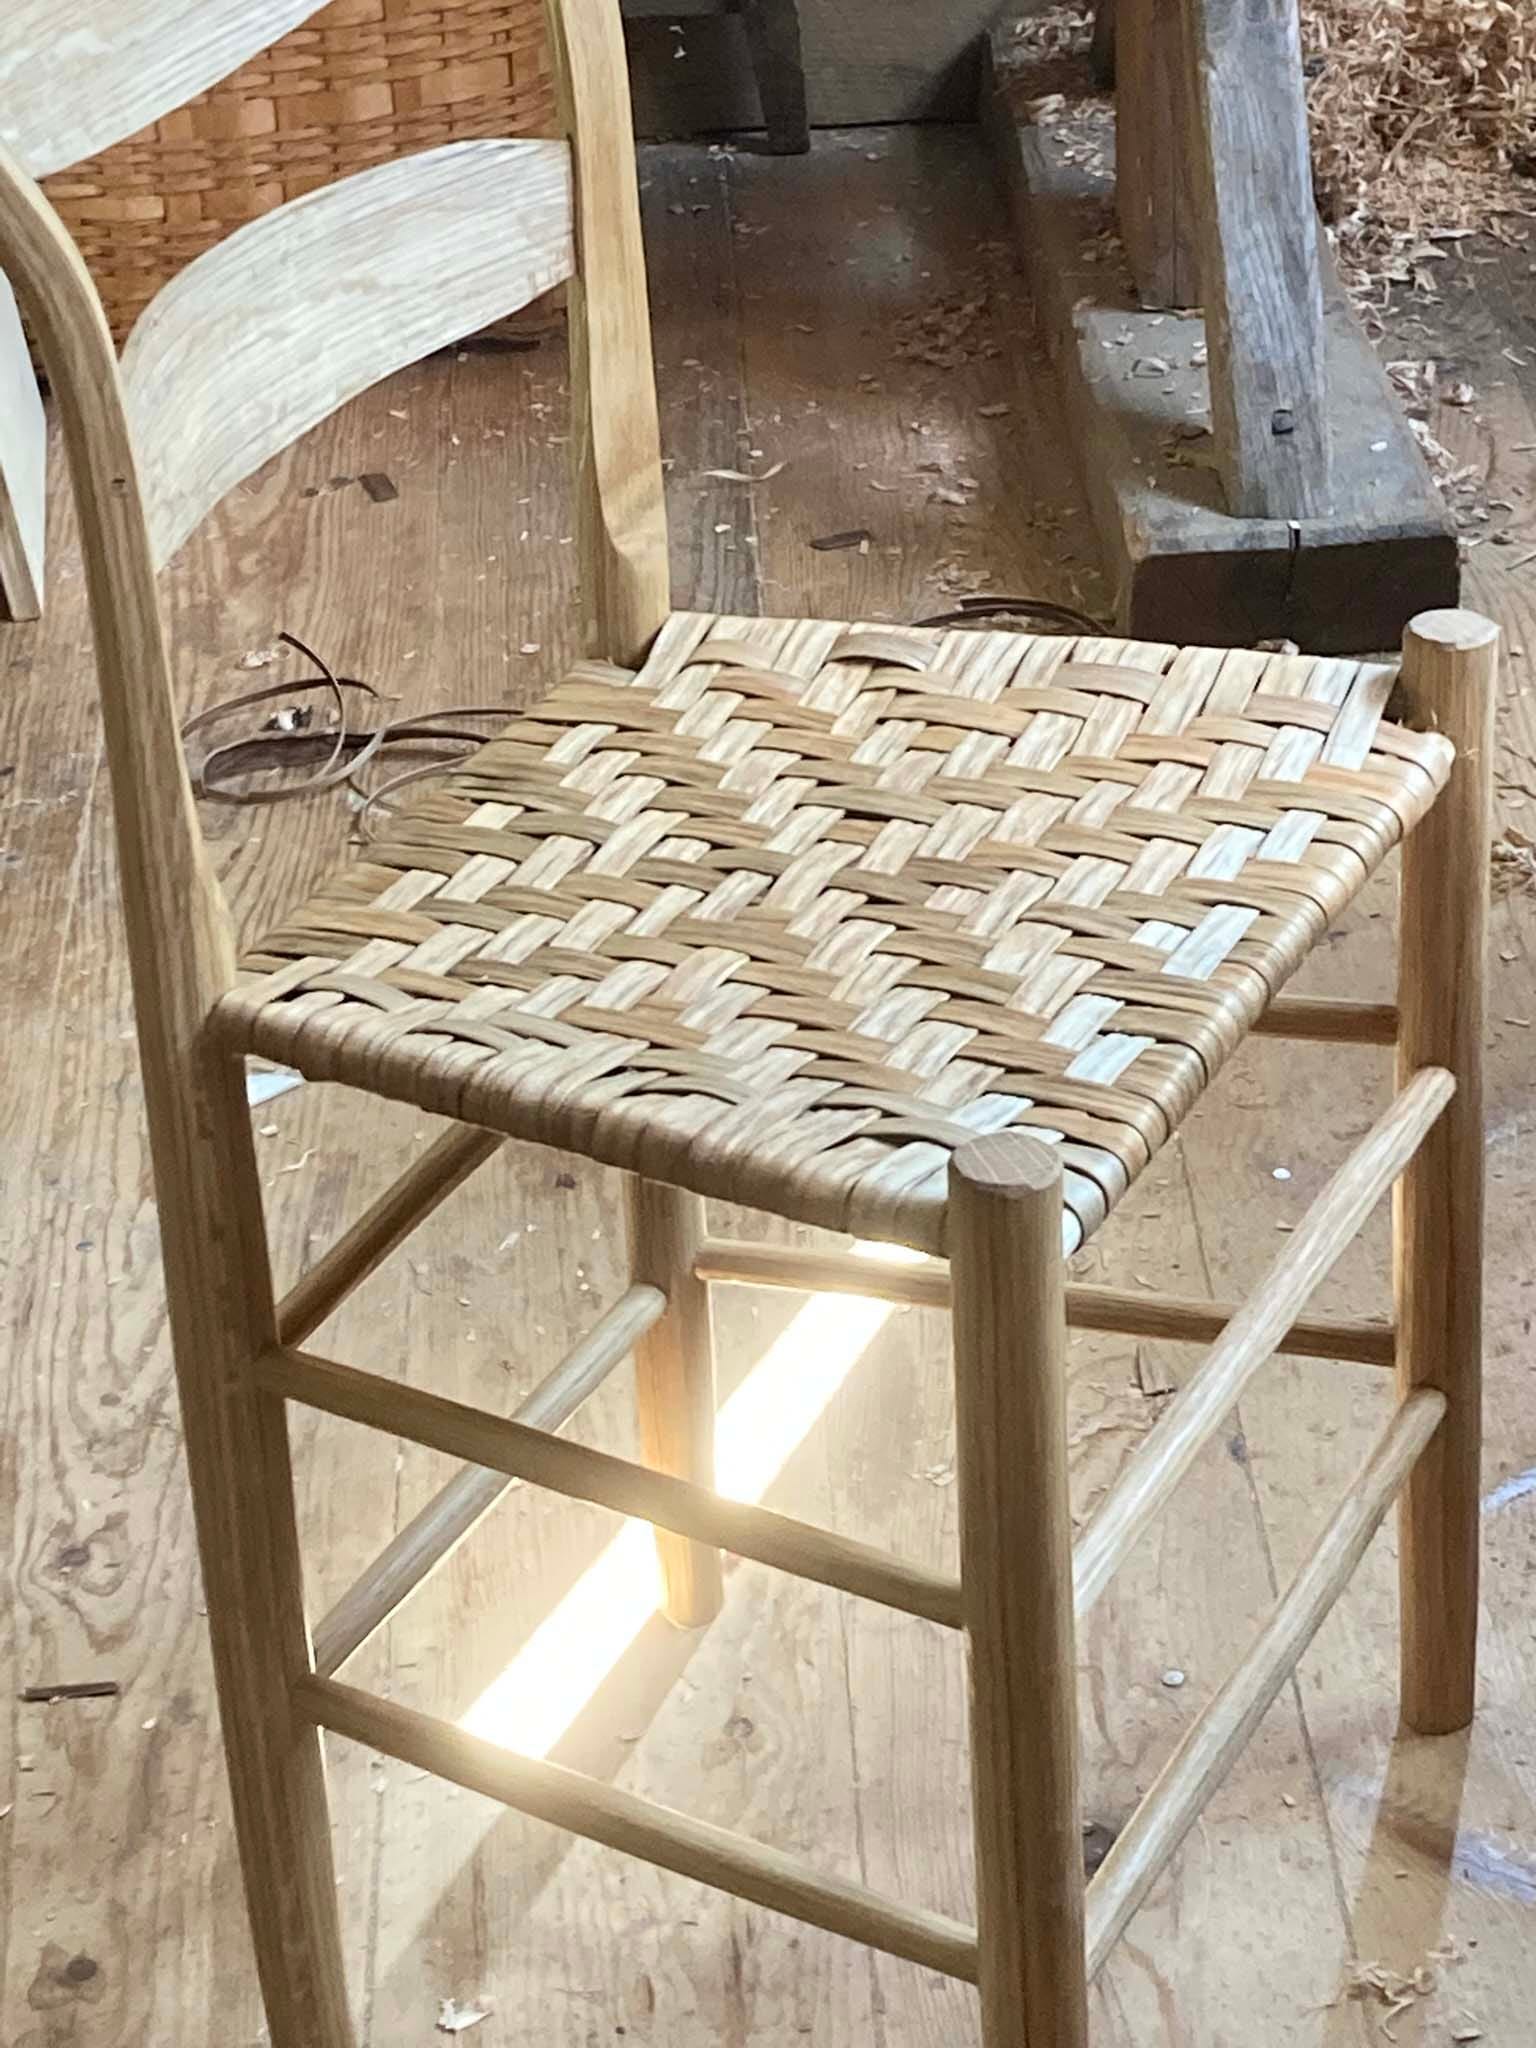
But I have got some shop time in. After making parts for over 20 JA chairs, then assembling 3 of them - then teaching 8 people to make them (and as the demo piece making a 4th) - I decided to take a break from them and do some joinery. But first I did another bark seat, this one an X-pattern, or 4 half-diamonds tip-to-tip. I had done this pattern by accident once and wanted to do it intentionally ever since.
The biggest news in the joinery world concerns the Stent Panel…a carved panel that with Jennie Alexander and solo I’ve featured in articles and books every chance I get. I first saw it in Benno Forman’s book American Seating Furniture - but once I saw it, I found it in lots of places. This used to be the best photo I had of it:
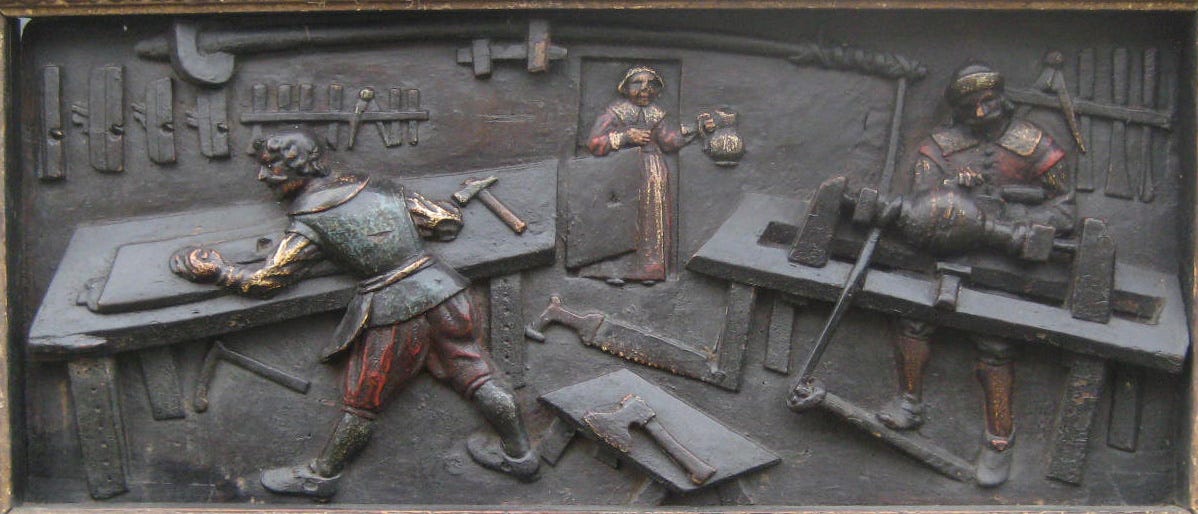
The name comes from a 20th century owner - in 1960 it belonged to a Dr. John Stent, of Surrey. Before him it was his father’s, in Bath, England. The story now is that it’s in Colonial Williamsburg’s collection - to me, that’s huge news. It had been for many years in Australia (A place I once spent 3 weeks in & DIDN’T HUNT IT DOWN! AND I HAD THE OWNER’S CONTACT INFO! I wasn’t far from him…) Now all I have to do it get to Virginia to see it. Easy. For better photos and the current details, see CW’s site - https://emuseum.colonialwilliamsburg.org/objects/115326/stent-panel;jsessionid=1F00B3CBC80475954B95653F6152BDE7?ctx=4fd039508e606f3ea5368446c7a9b36eea11edb4&idx=0
Victor Chinnery once told me it must be English because the Dutch would have gotten the perspective right. Regardless, I love that panel. I’ve had photos of it in every shop I’ve had since I took up joinery. Now I’ll get a new print made from the CW photos…
And my joinery project for the past few days has been a joined stool. When I was finding places to stash chair parts I uncovered some joined stool stock that I had planed up over a year ago. So got out my 5/16” mortise chisel and got to work.
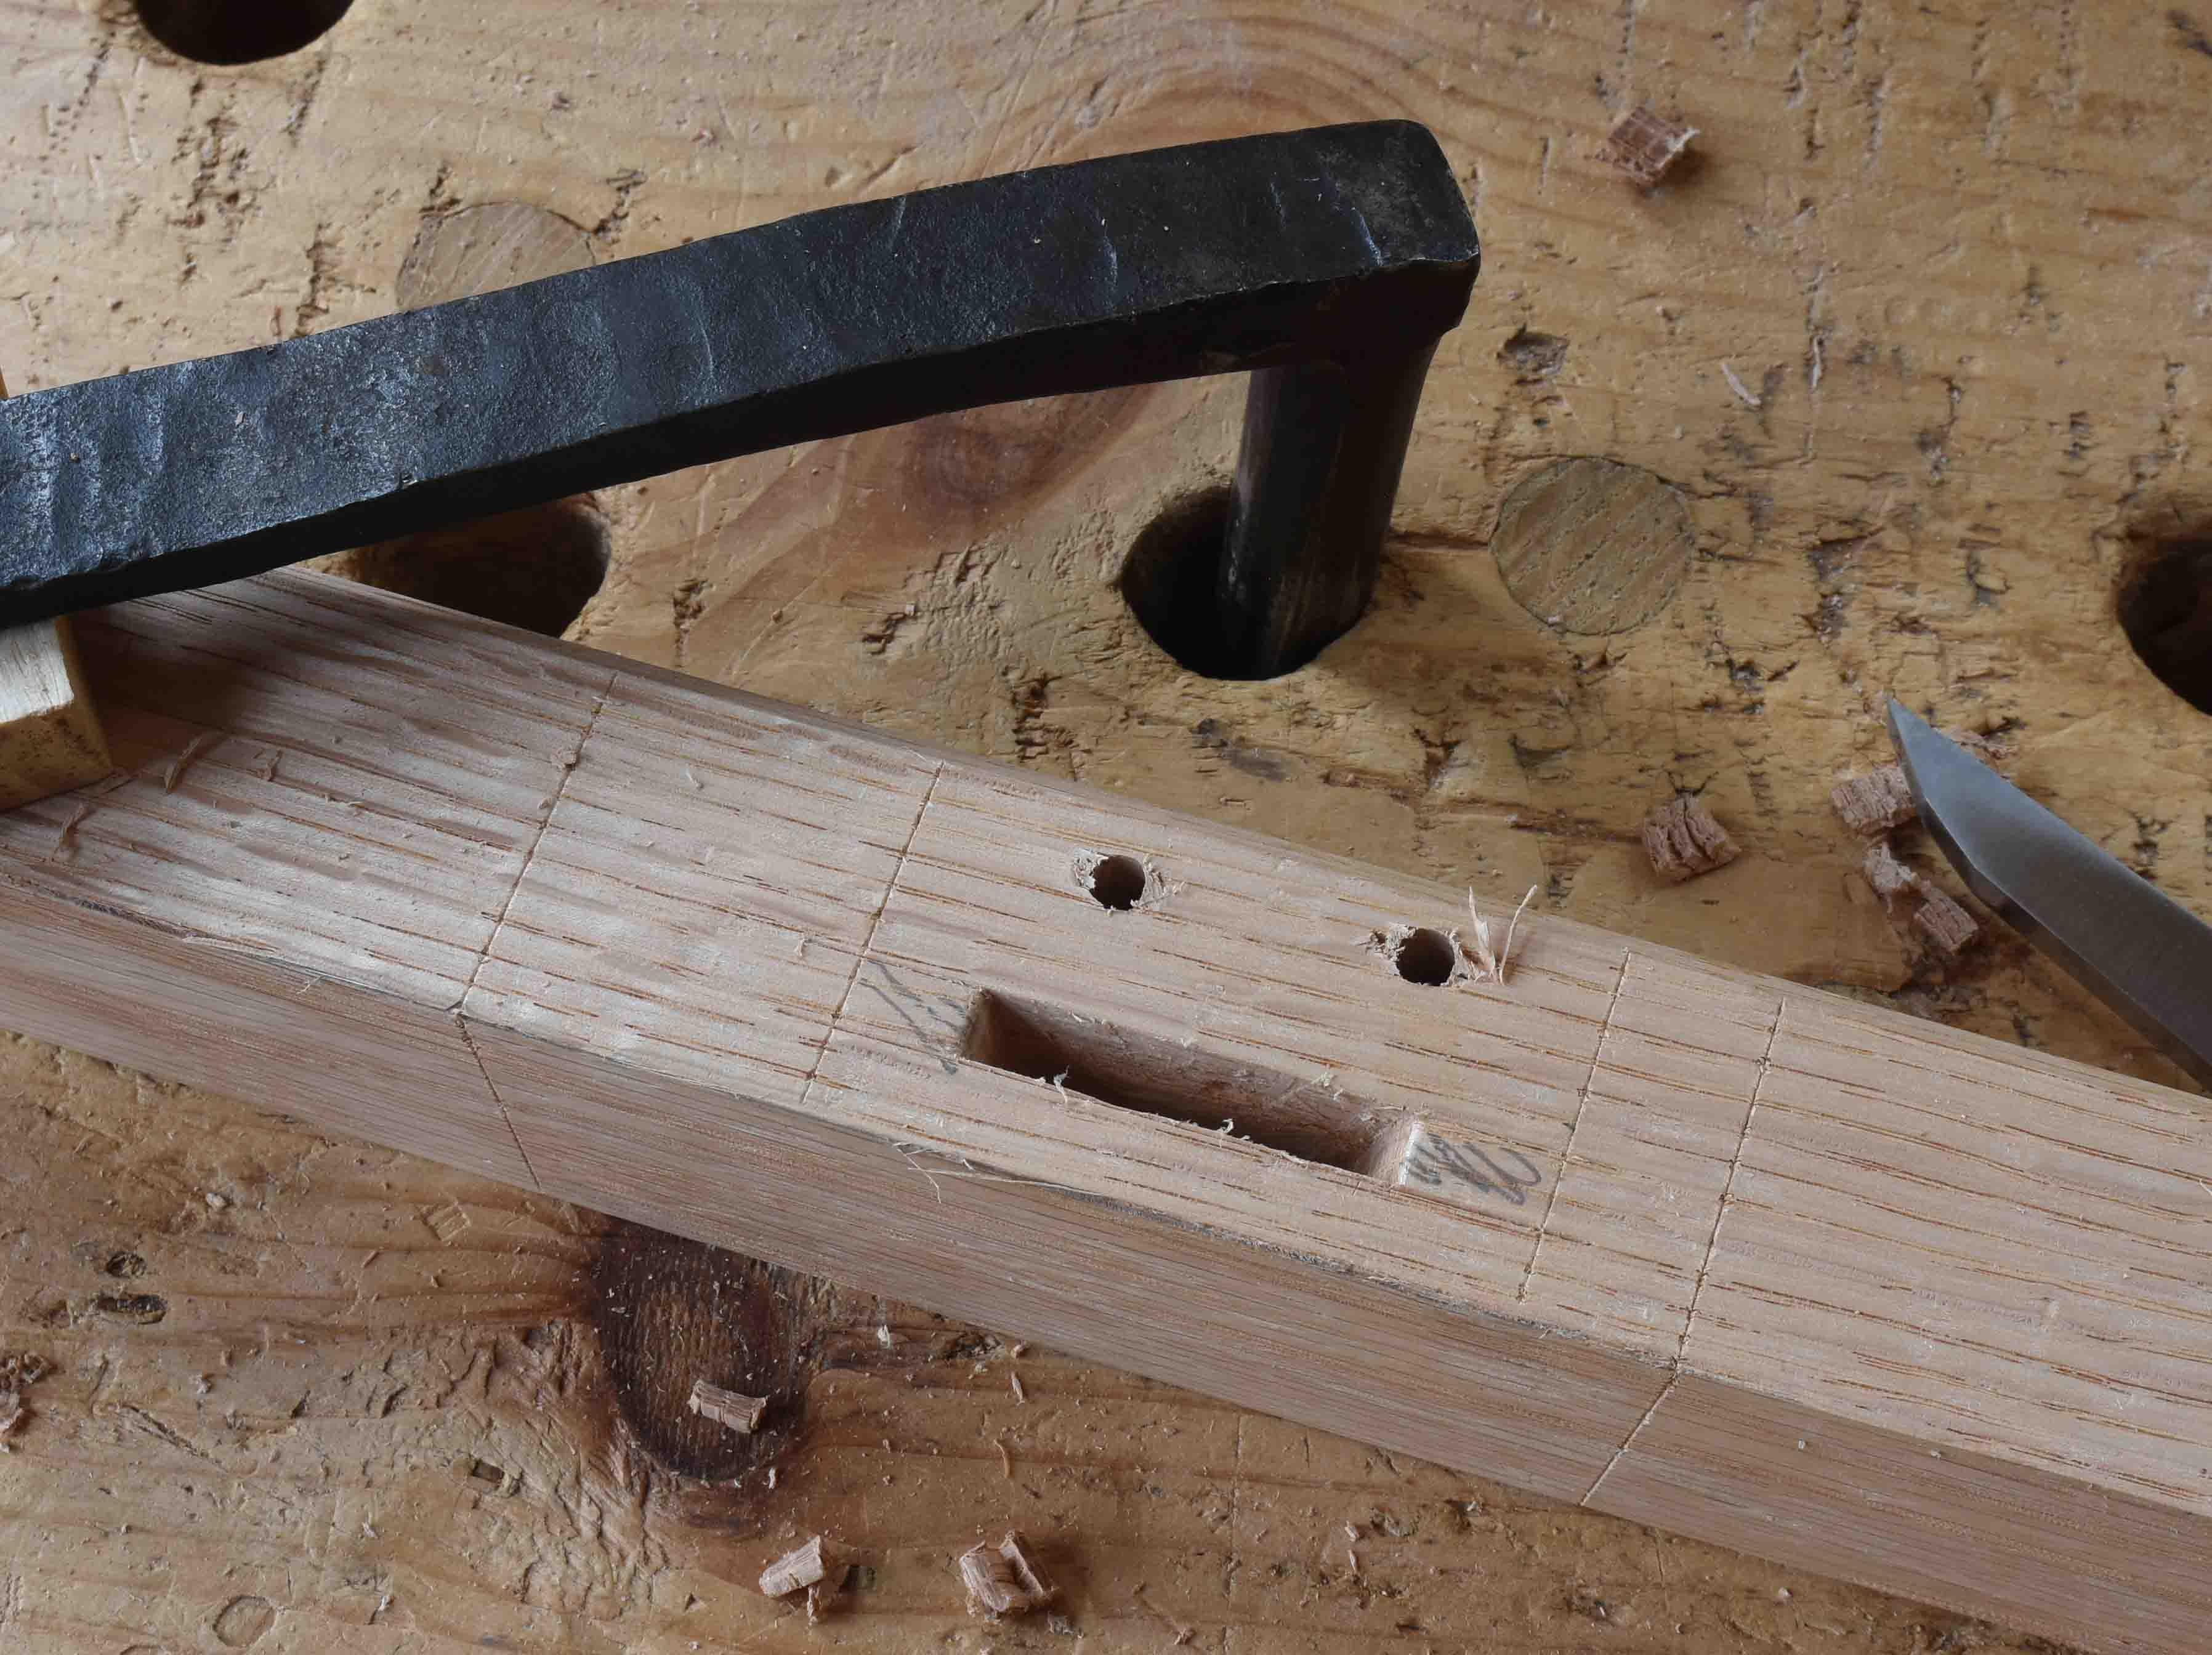
I chop all the mortises first, then do the turning. I was hot enough doing the turnings, so I skipped photographing any of it. Didn’t need more complexity to my day.
I still mostly make a joined stool the same way Jennie Alexander & I covered in our Lost Art Press book. https://lostartpress.com/collections/joinery/products/make-a-joint-stool-from-a-tree I was thinking of that when I got to the side stretcher lengths. I don’t know the length of that stretcher, but I know it’s right.
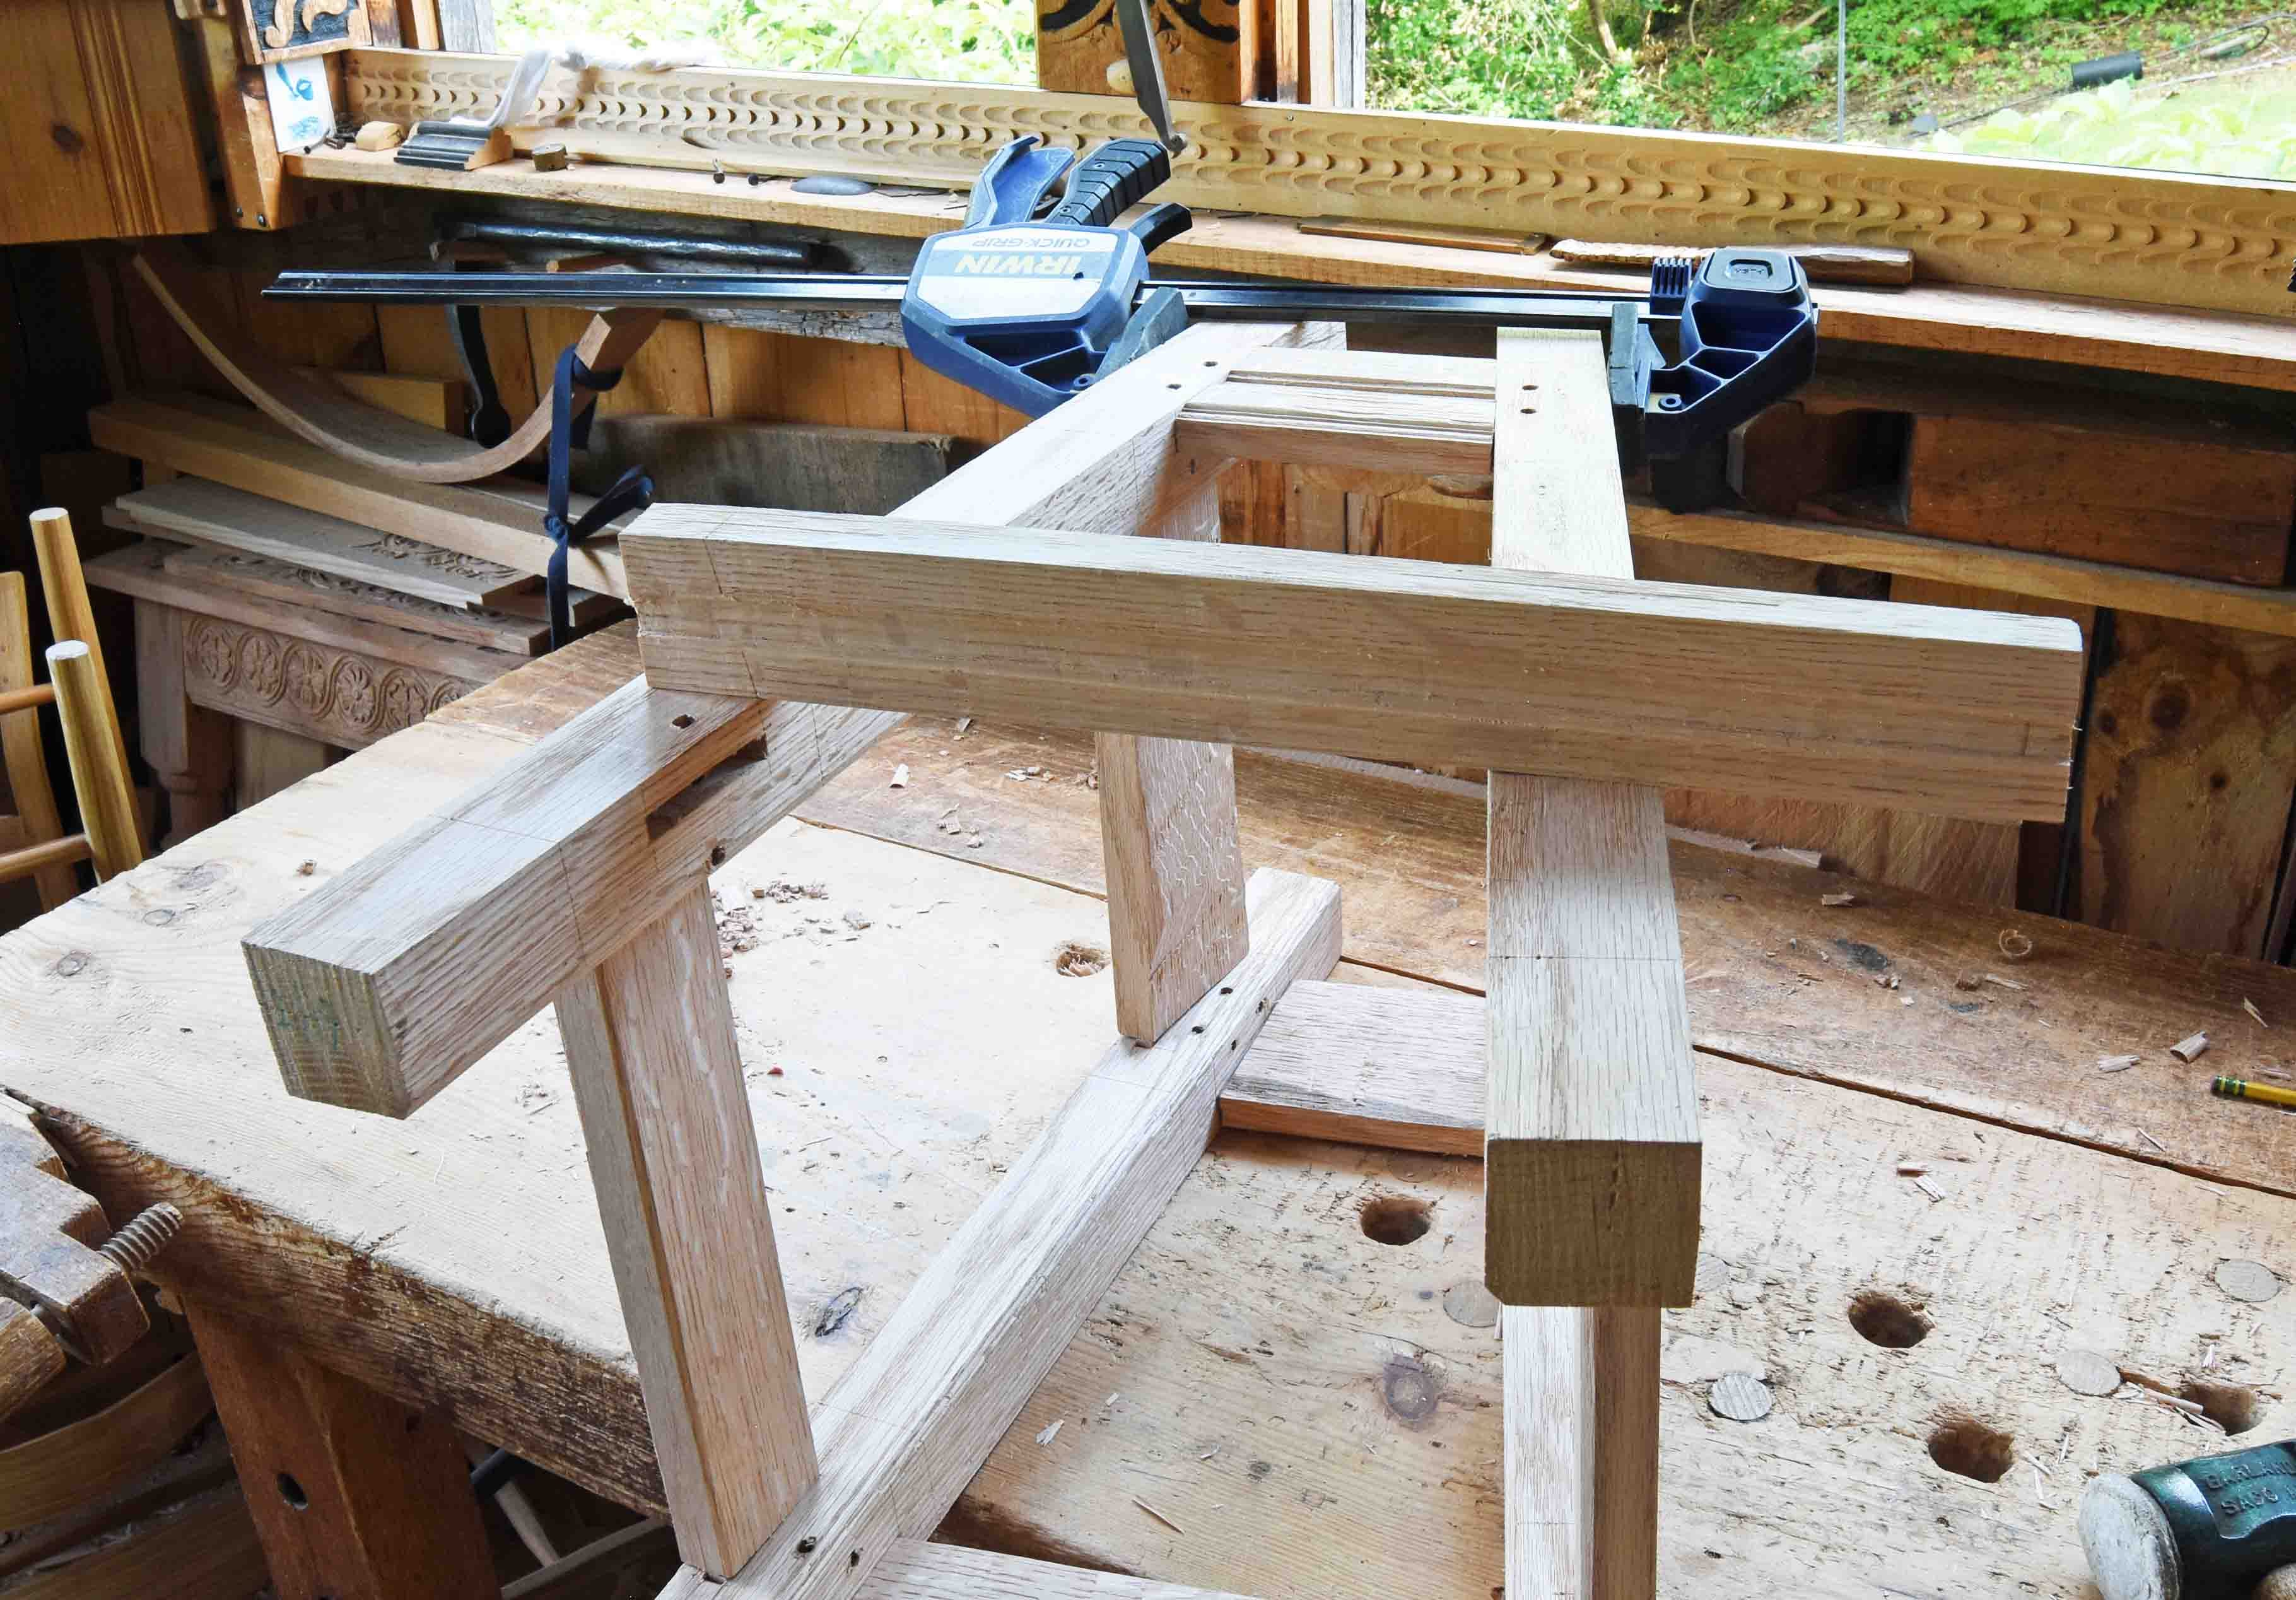
There’s a couple of measurements I have committed to memory - when I’m making a joined stool of my own design. (if I’m copying a period stool, things are a bit different) - the shoulder-to-shoulder dimension of the straight aprons & stretchers is 10 1/2”. Add 2 tenons at 1 1/2” each and you’re around 13 1/2” to 14” for rough lengths for those.
The short side aprons are 4 1/4” shoulder-to-shoulder AT THE TOP EDGE. Then the shoulder is angled to give the stool some stability. JA & I settled on an angle of 1:6. I don’t know what it measures. I marked a line on a cupboard door in the shop & when it’s time to make a joined stool, I go set my adjustable bevel from that line.
The length of the side stretcher is arrived at by a test-fit. Stick the tenoned apron in the stiles, draw things together with either drawbore pins or a clamp as I’ve done above. Then mark the 1:6 angled shoulder at one end of your rail blank. Then line it up in place so the top edge of the stretcher touches the stile right where the top end of the mortise is. Line up the other blank end of the stretcher in place in relation to the other mortise. Then mark where the stretcher’s top edge hits that other stile. That’s the shoulder-to-shoulder length. Use the bevel to mark the angle, lay out & cut the tenons and the stretcher will fit perfectly.
Because I’m working from the bottom of the stool in the photo above, the stretcher is upside down. The length is still right. If I worked from the top end of the stool, the stretcher would be in its actual position for scribing. You could do the whole thing from the bottom of the stretcher and bottom of the mortises, but sometimes my mortises run long and thus their bottom ends are less accurate as a layout point.
