


drawing & carving a new design
and a panel giveaway for paid subscribers

[today’s blog post is about attempts to decipher the layout of a “new-to-me” carving pattern. In doing so, I carved my first attempt at this design. That got me two things; I now know how to carve this design. And I now have a carved panel about 14” square that is too good to burn and not “right” enough to use/sell. So I’ll give it away to a paid subscriber to the blog - details below the paywall. Shipment to US address only I’m afraid - I’ll find a way to make it up to foreign subscribers at some point. Trying to keep things simple at this point…]
It was probably 6 years ago I drew that section of a carved panel. It started with a photo from Paul Fitzsimmons’s Marhamchurch Antiques website - of a wainscot chair from Devon, England.
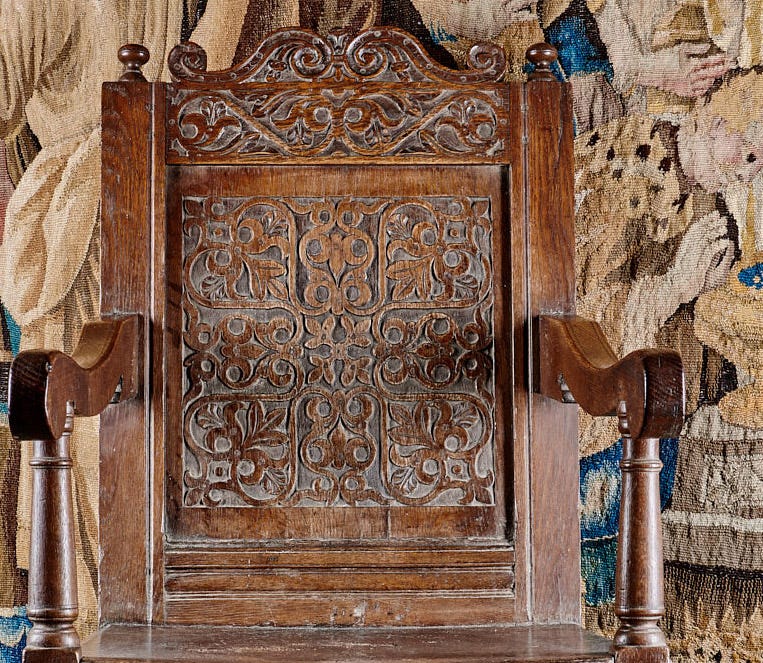
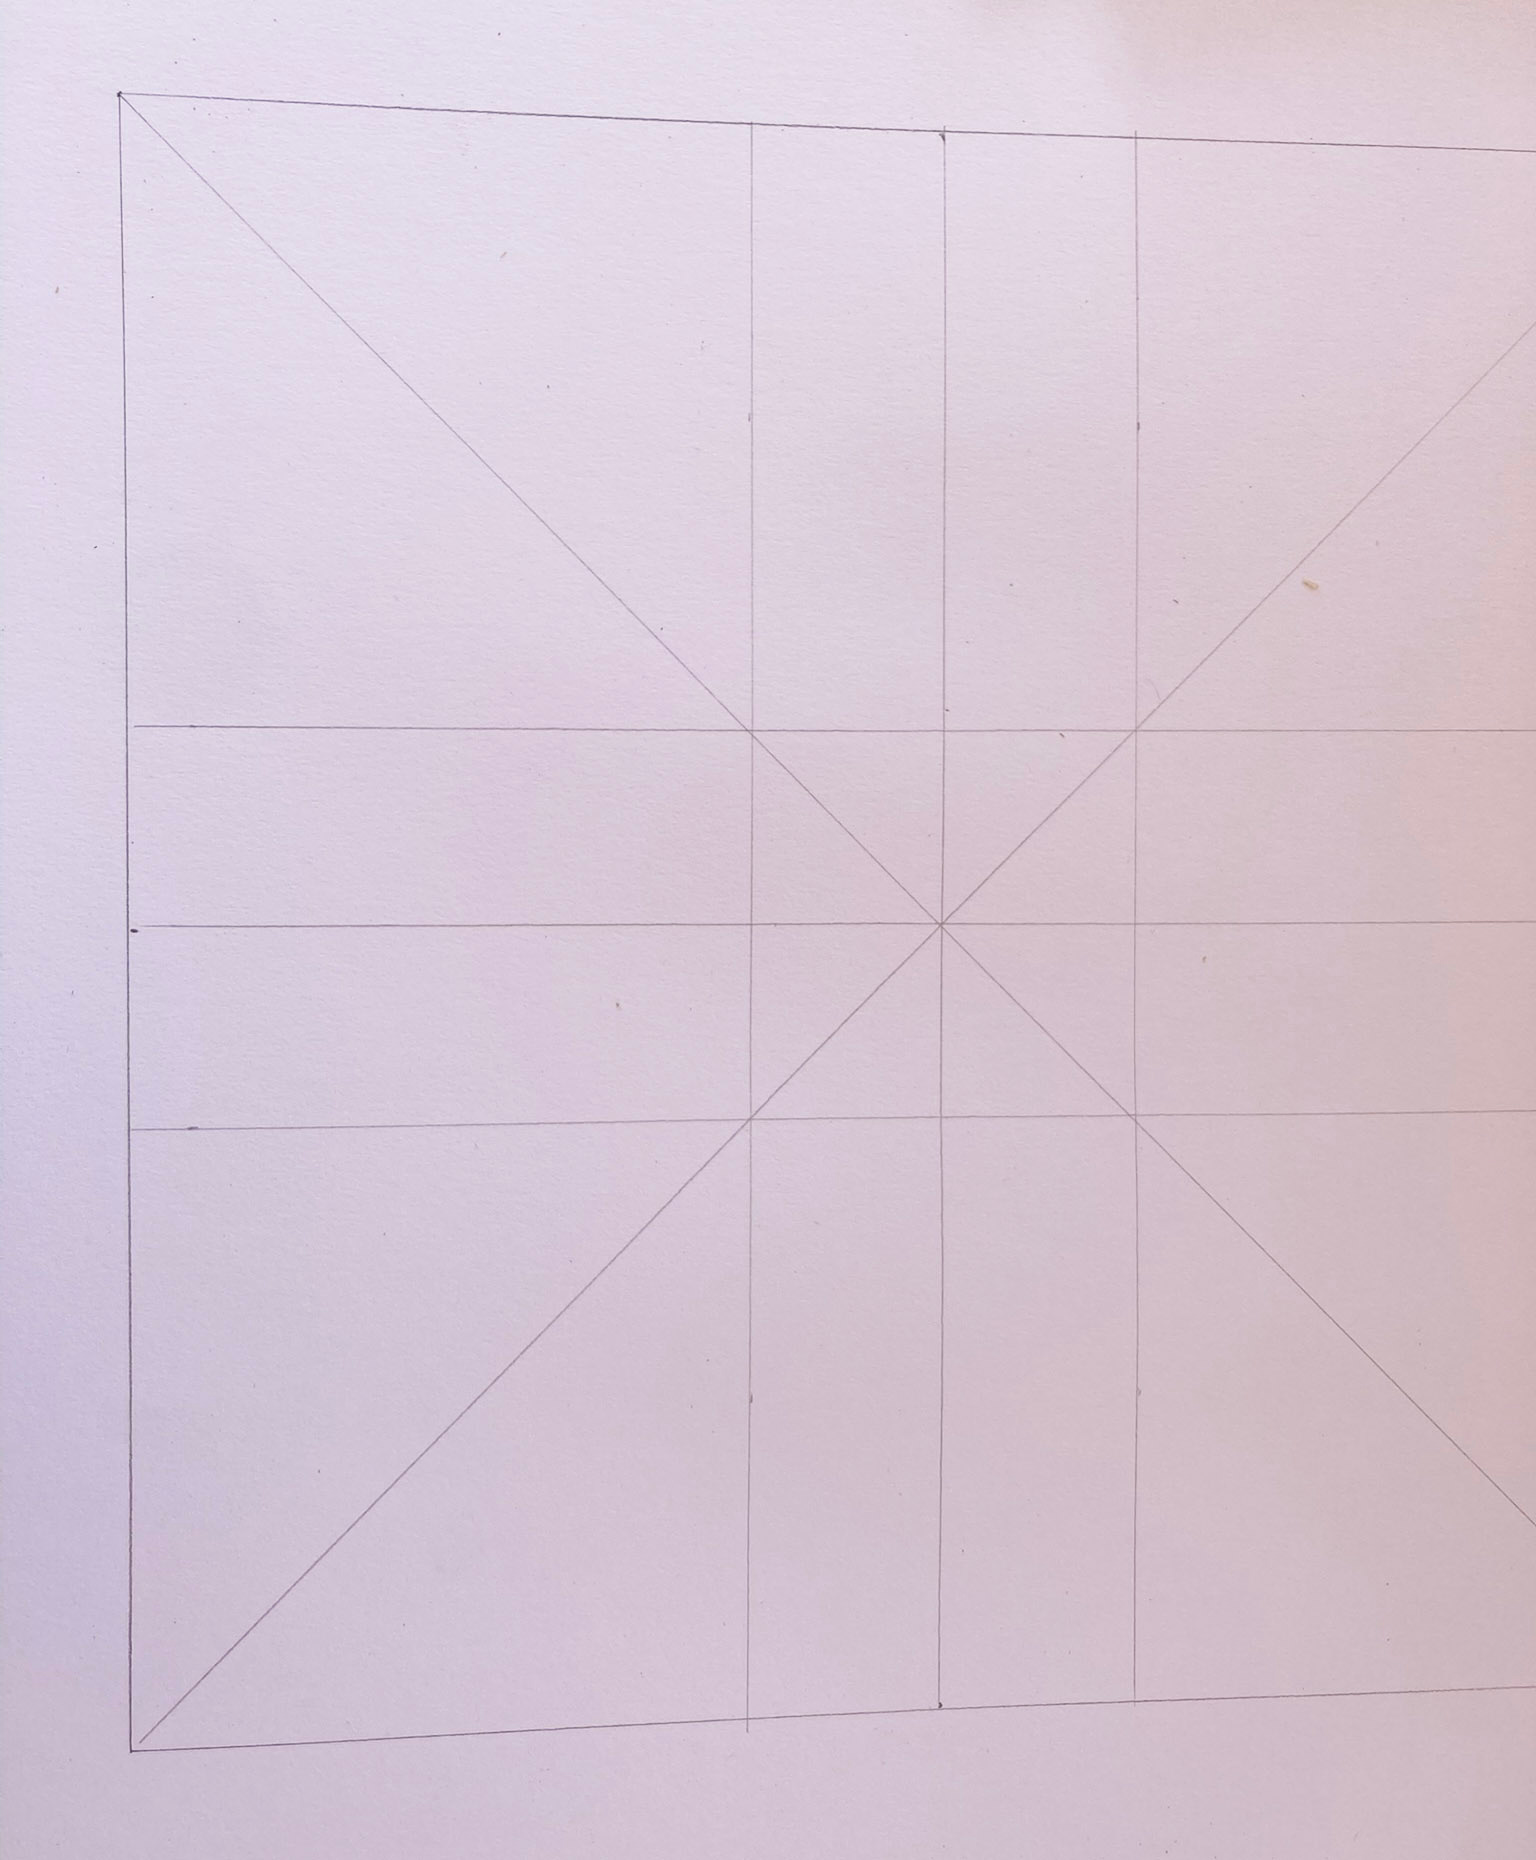
It’s a rectangular panel, but a square carving. I think Paul told me the carving was 13” square - or at least that’s what I mapped out. Pretty much. I remember being on the road, teaching at Lost Art Press and spent an evening or two drawing & re-drawing that design, trying to figure out the layout. The whole thing is a large square with smaller squares tucked into its corners. Then rectangular bits between those four smaller squares. And diagonal lines from corner to corner.
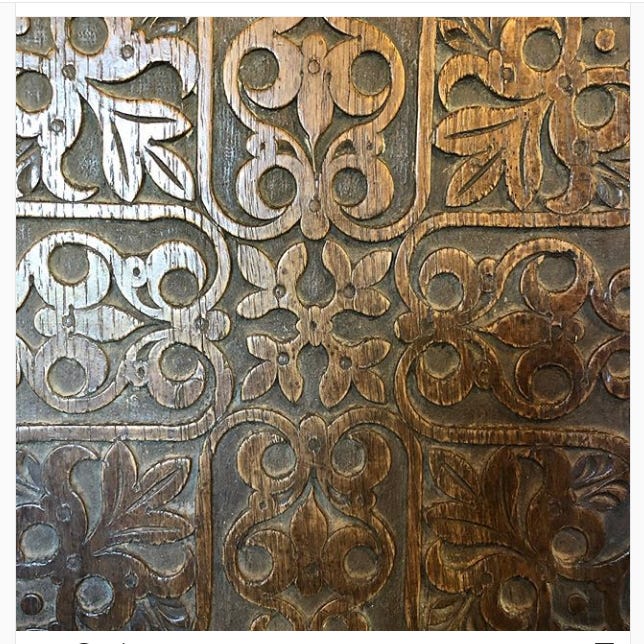
In this gridwork, the design is a series of S-scrolls - large ones side-by-side in those corners, that then snake around to connect up to smaller, narrower ones in the rectangular fields. They wind one into the next in a nice flowing manner.
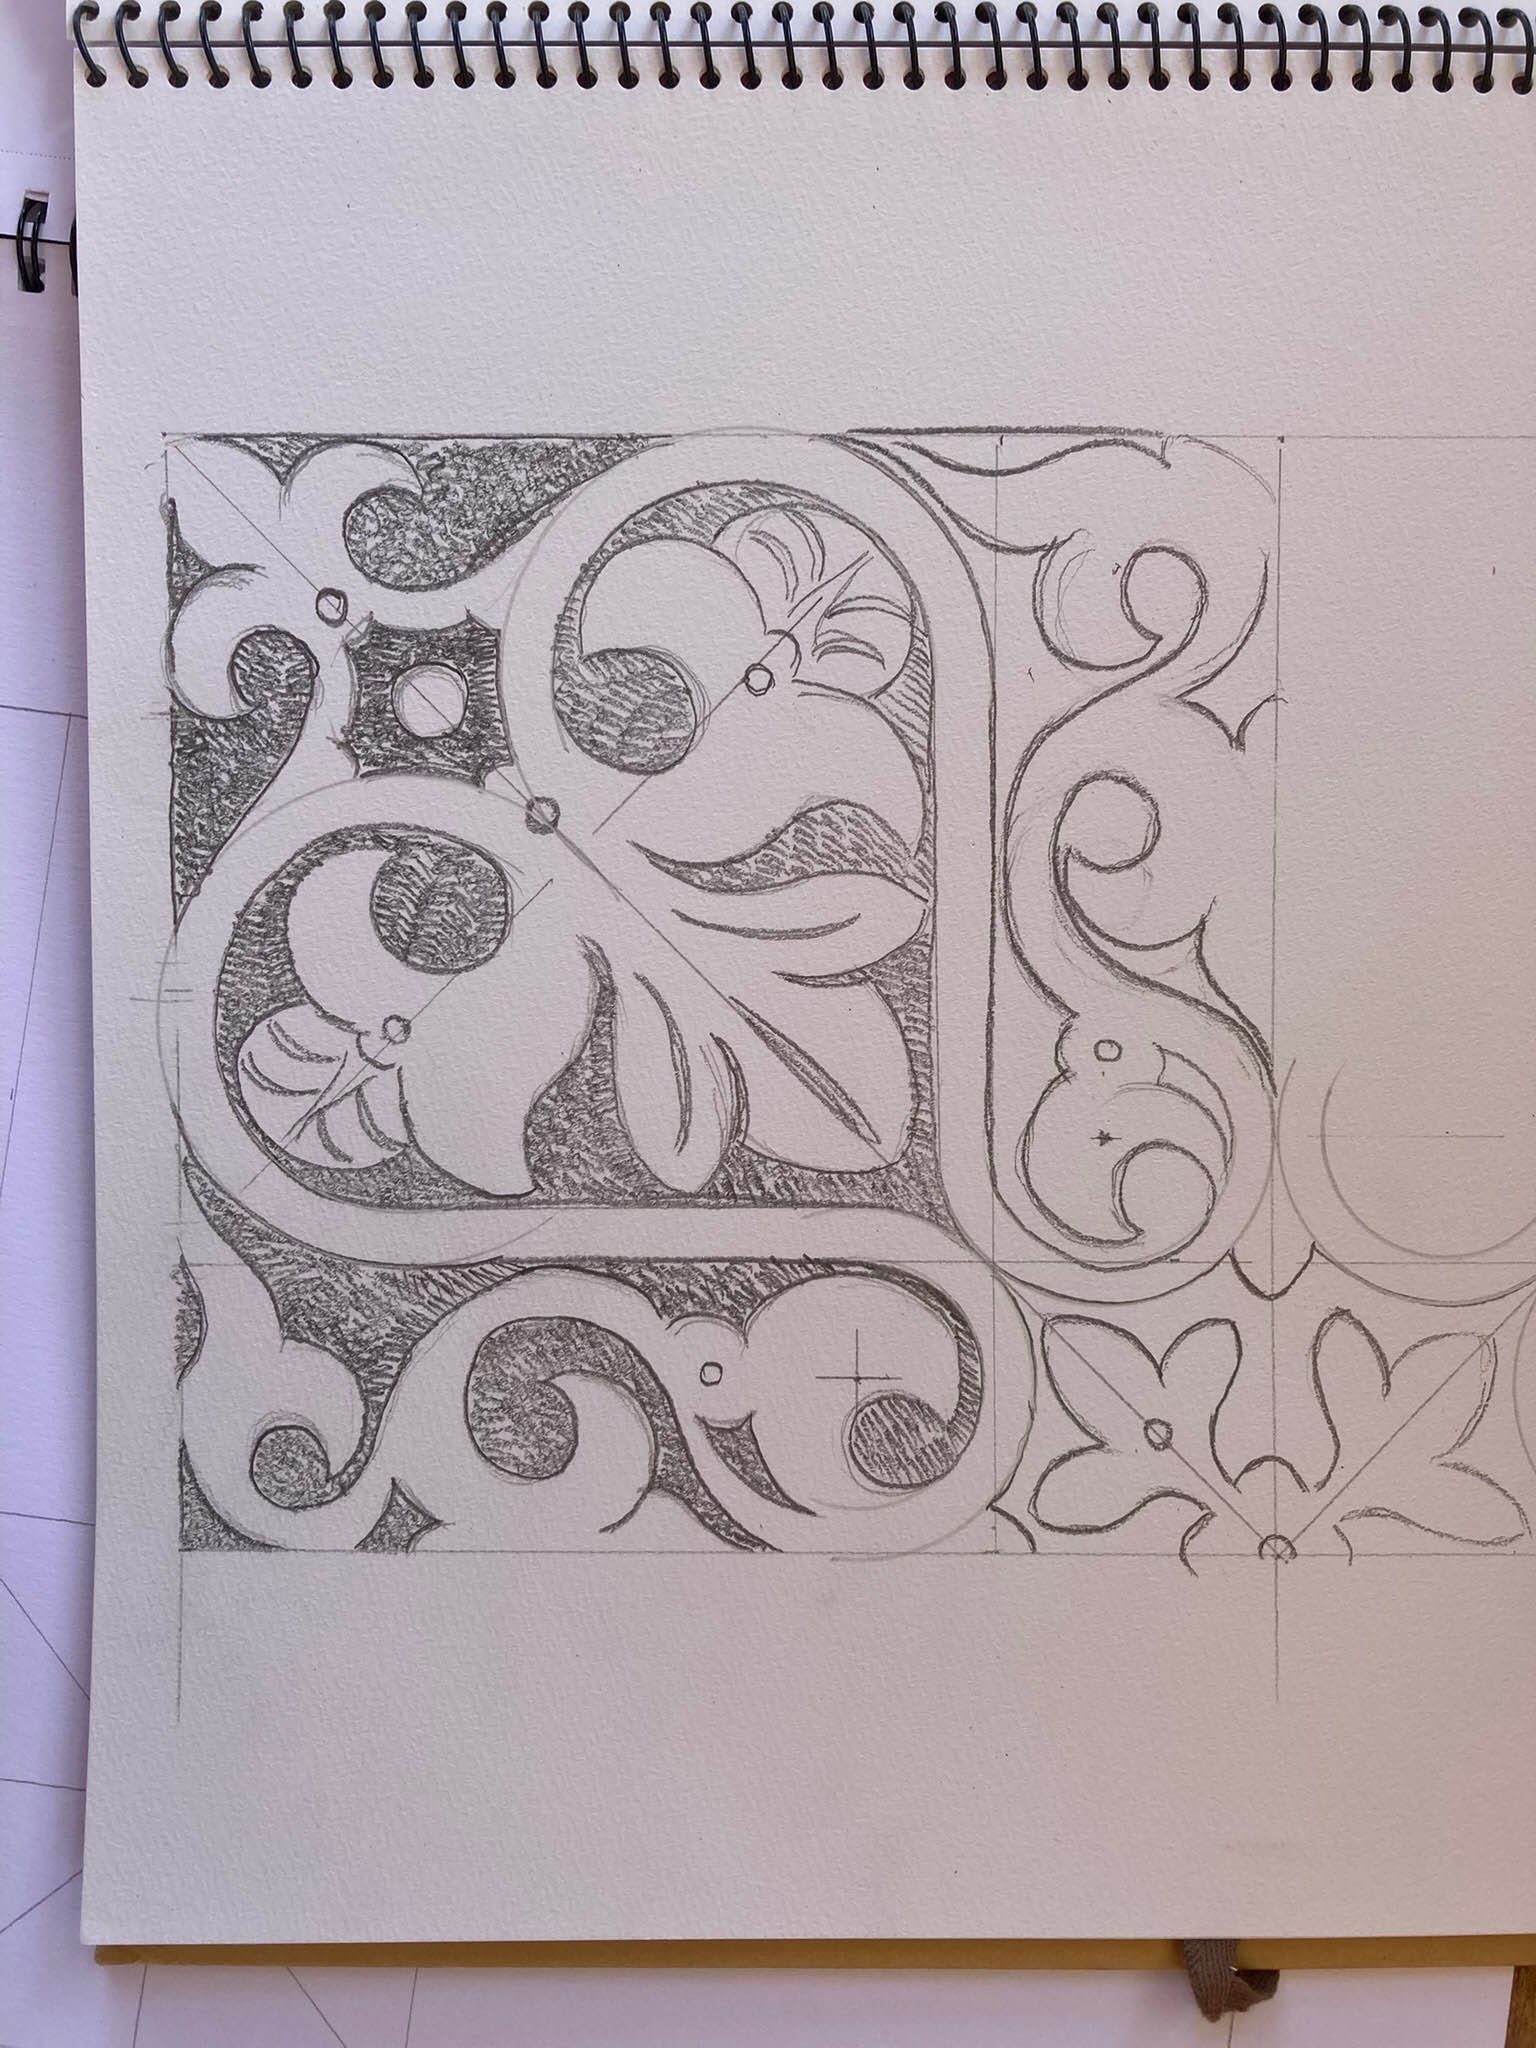
But where to begin? It’s a fun bit of geometric folderol to figure out the layout for that pattern. I did it again last week - starting with the full large square - I quickly got to the point where I concentrated just on one corner of the whole thing - no need to draw it all.
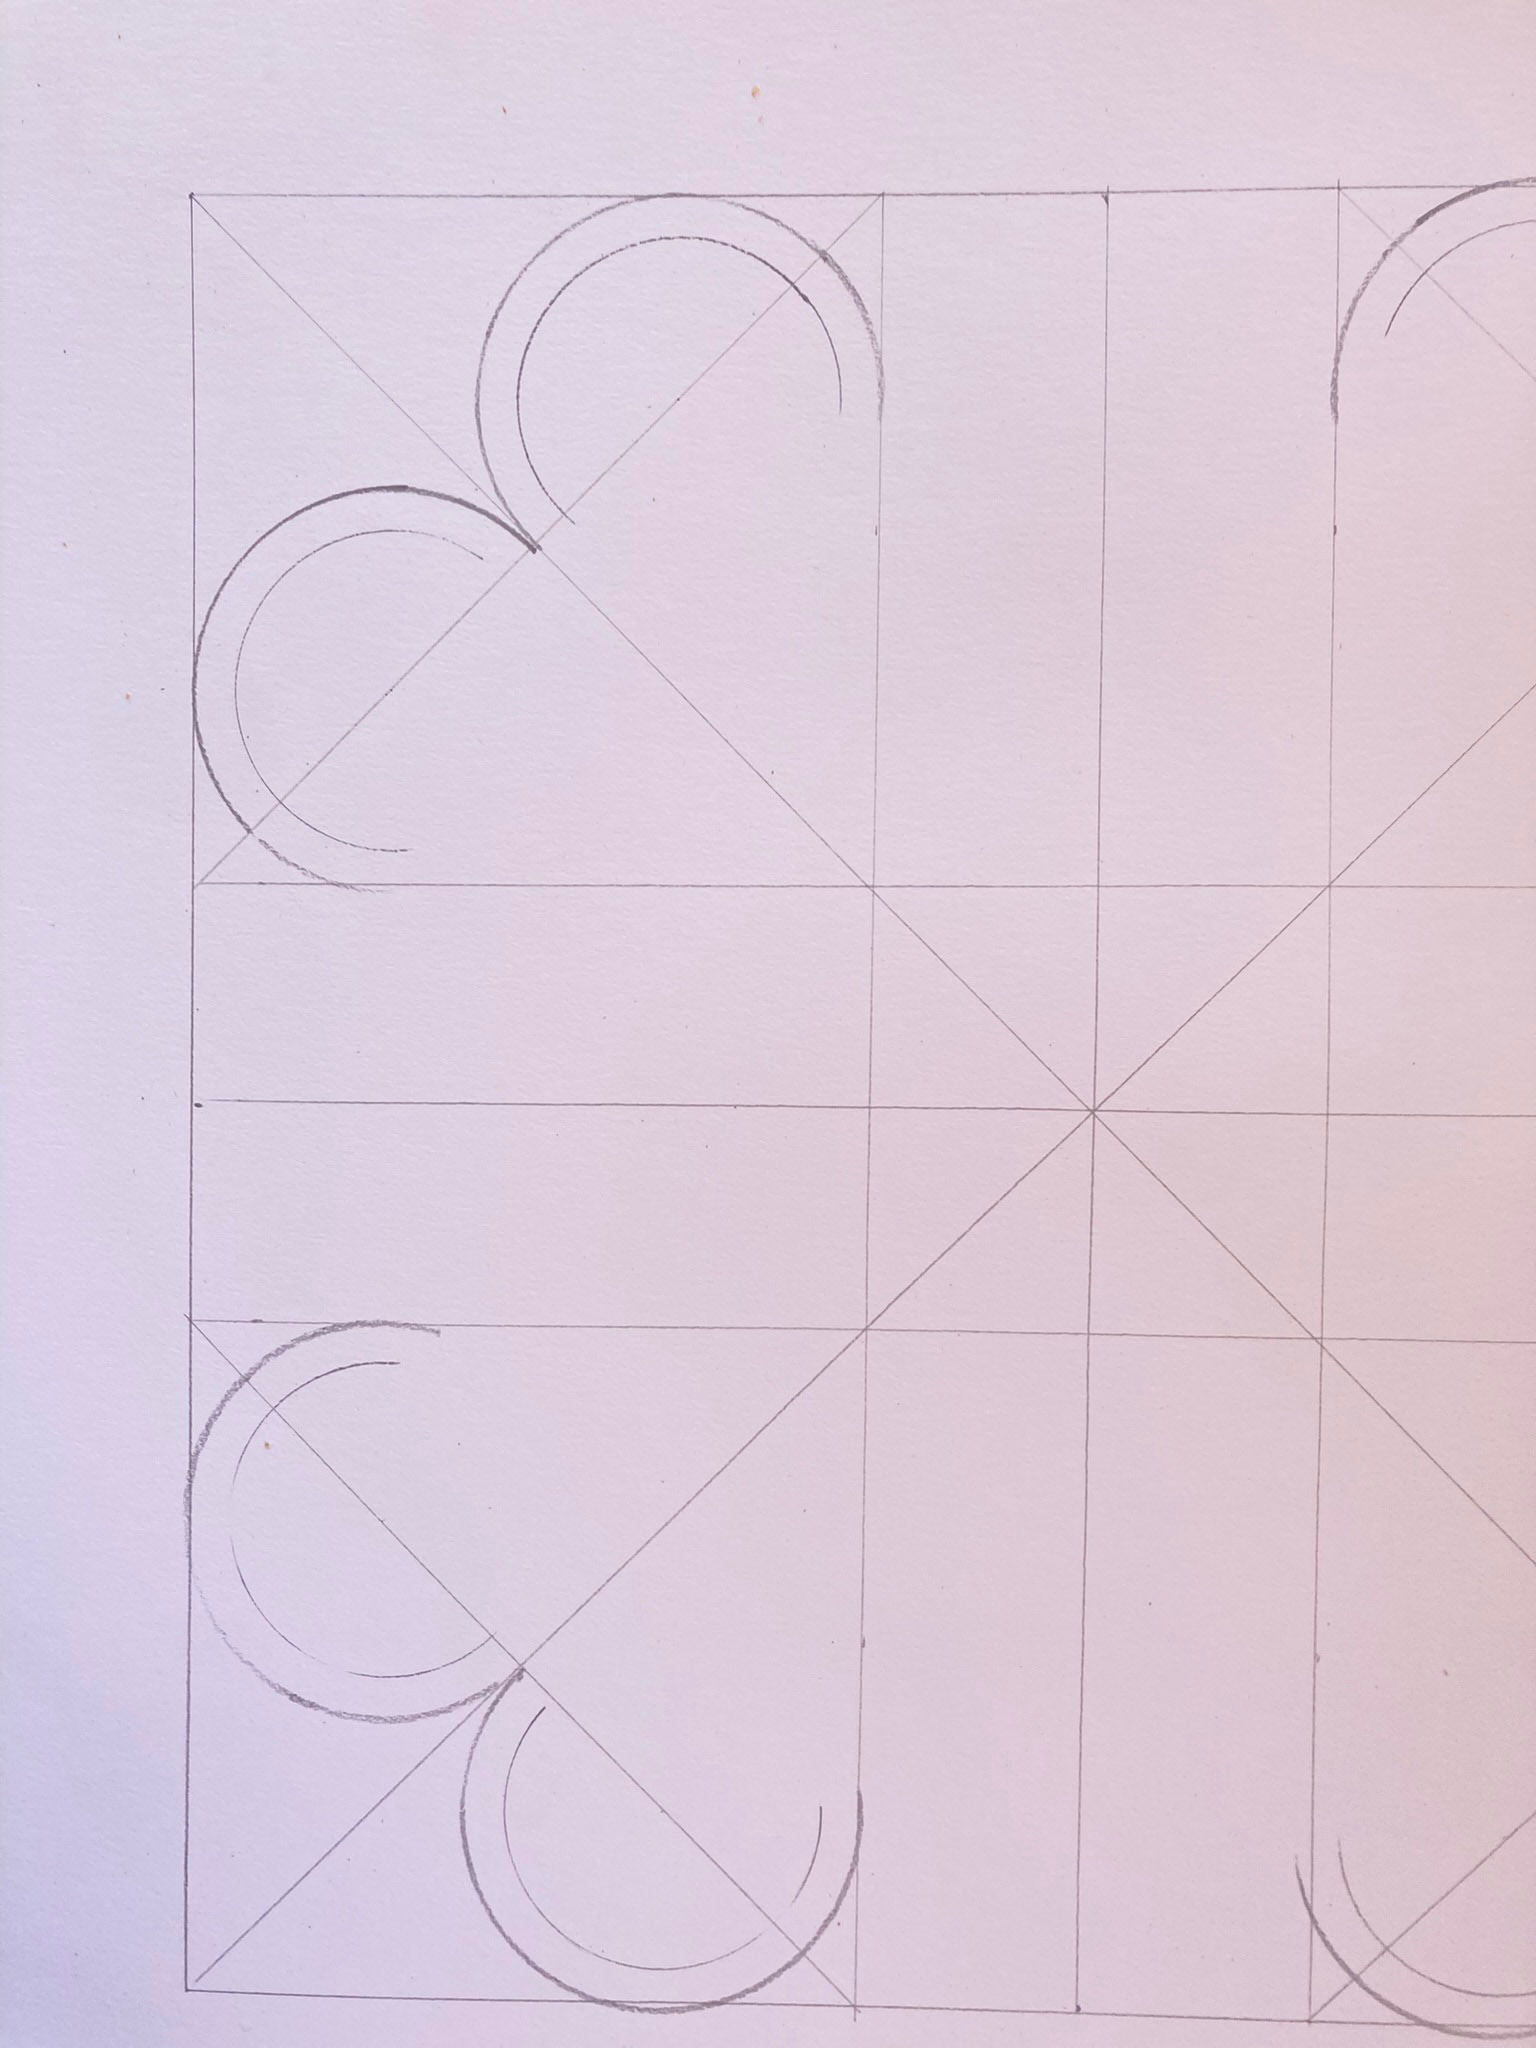
After laying out the grid, I concentrated on the large S-scrolls in the corner squares. I drew a new diagonal line across those squares - and scribed two circles that hit the original diagonal line and the outer edges of the square. You end up with a heart-shape - then strike inner arcs about 5/16” from the first pair.

Here’s the next step - setting those 5/16” wide “bands” that form the outlines of the large S-scrolls.
Now - how & where those wind over into the rectangular fields is the tricky part - the next drawing is a bit past that point - but the important part is that long band that rides along the inside of the square - when it winds over into the rectangular section it becomes the top to the smaller S-scroll - but one of its bands is in the square, the other in the rectangle. So you need to find that centerpoint for that arc - but it’s not in the middle of the rectangle…it shifts over just a bit. Once I figured that out, drawing the whole thing became a snap.
Keep reading with a 7-day free trial
Subscribe to Follansbee's Substack to keep reading this post and get 7 days of free access to the full post archives.