
Chair class success

Just back from a week teaching 8 people how to make the Jennie Alexander chair up at Pete Galbert’s shop. There’s good reasons why this is the place I teach nowadays. What a setup he’s created there! Amazing space, great light. Chair inspiration everywhere you look. And often Pete’s working in the shop on one chair or another, so there’s lots to see.
Before I get to the post about the class - two things. One, my last class of 2026 is there in October, making a carved box. October 26-31 details here (disregard that the link says it’s a chair class) - https://www.petergalbert.com/schedule/2020/7/13/make-a-chair-from-a-tree-with-peter-follansbee-8brcj-7b62n-xafjp-mglkm-lrd5m-swyzh
The other is now that the chair class is done, I have some chairs to sell.
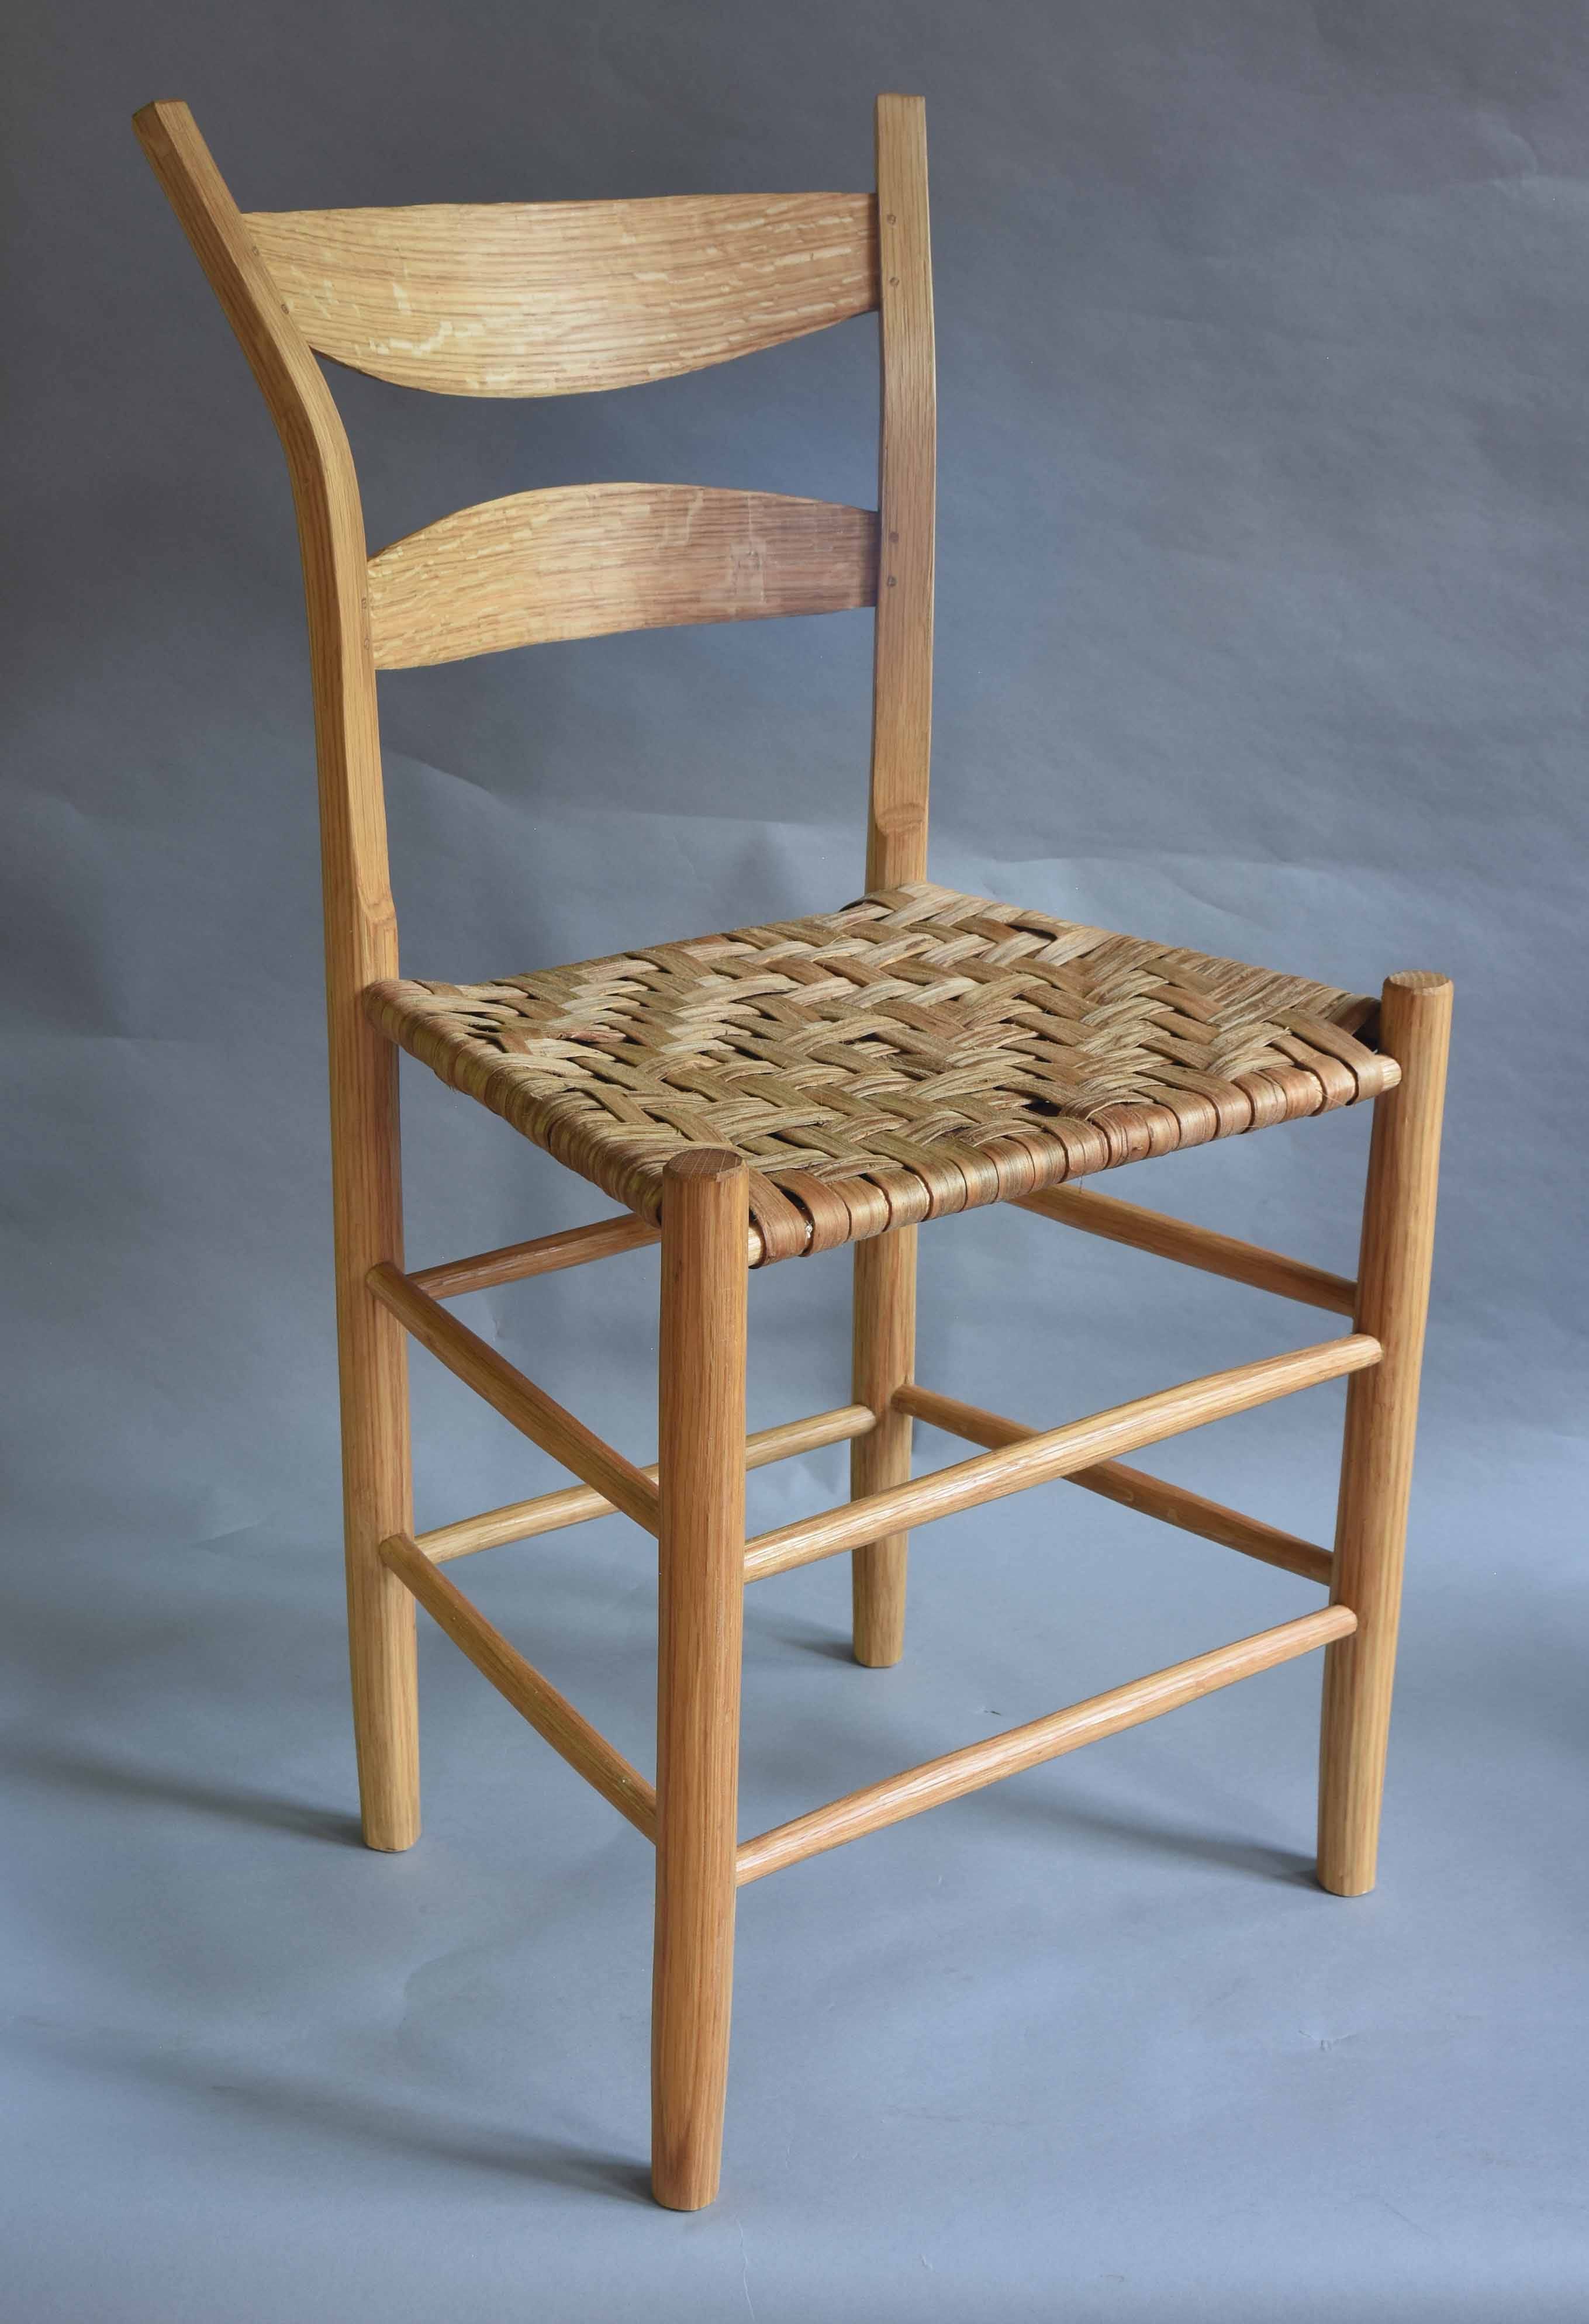
This is the first one, details posted here: https://pfollansbee.wordpress.com/2026/08/03/ladderback-chair-for-sale-2/
………………………
Now - I can show you some of what happened at the chair class. The best class I’ve had in a long time. Here’s the group photo I asked for, a stack of chairs. There were 8 students for the week, one got away before the photo. Plus there’s a few of my chairs in that stack & one of Jennie’s.
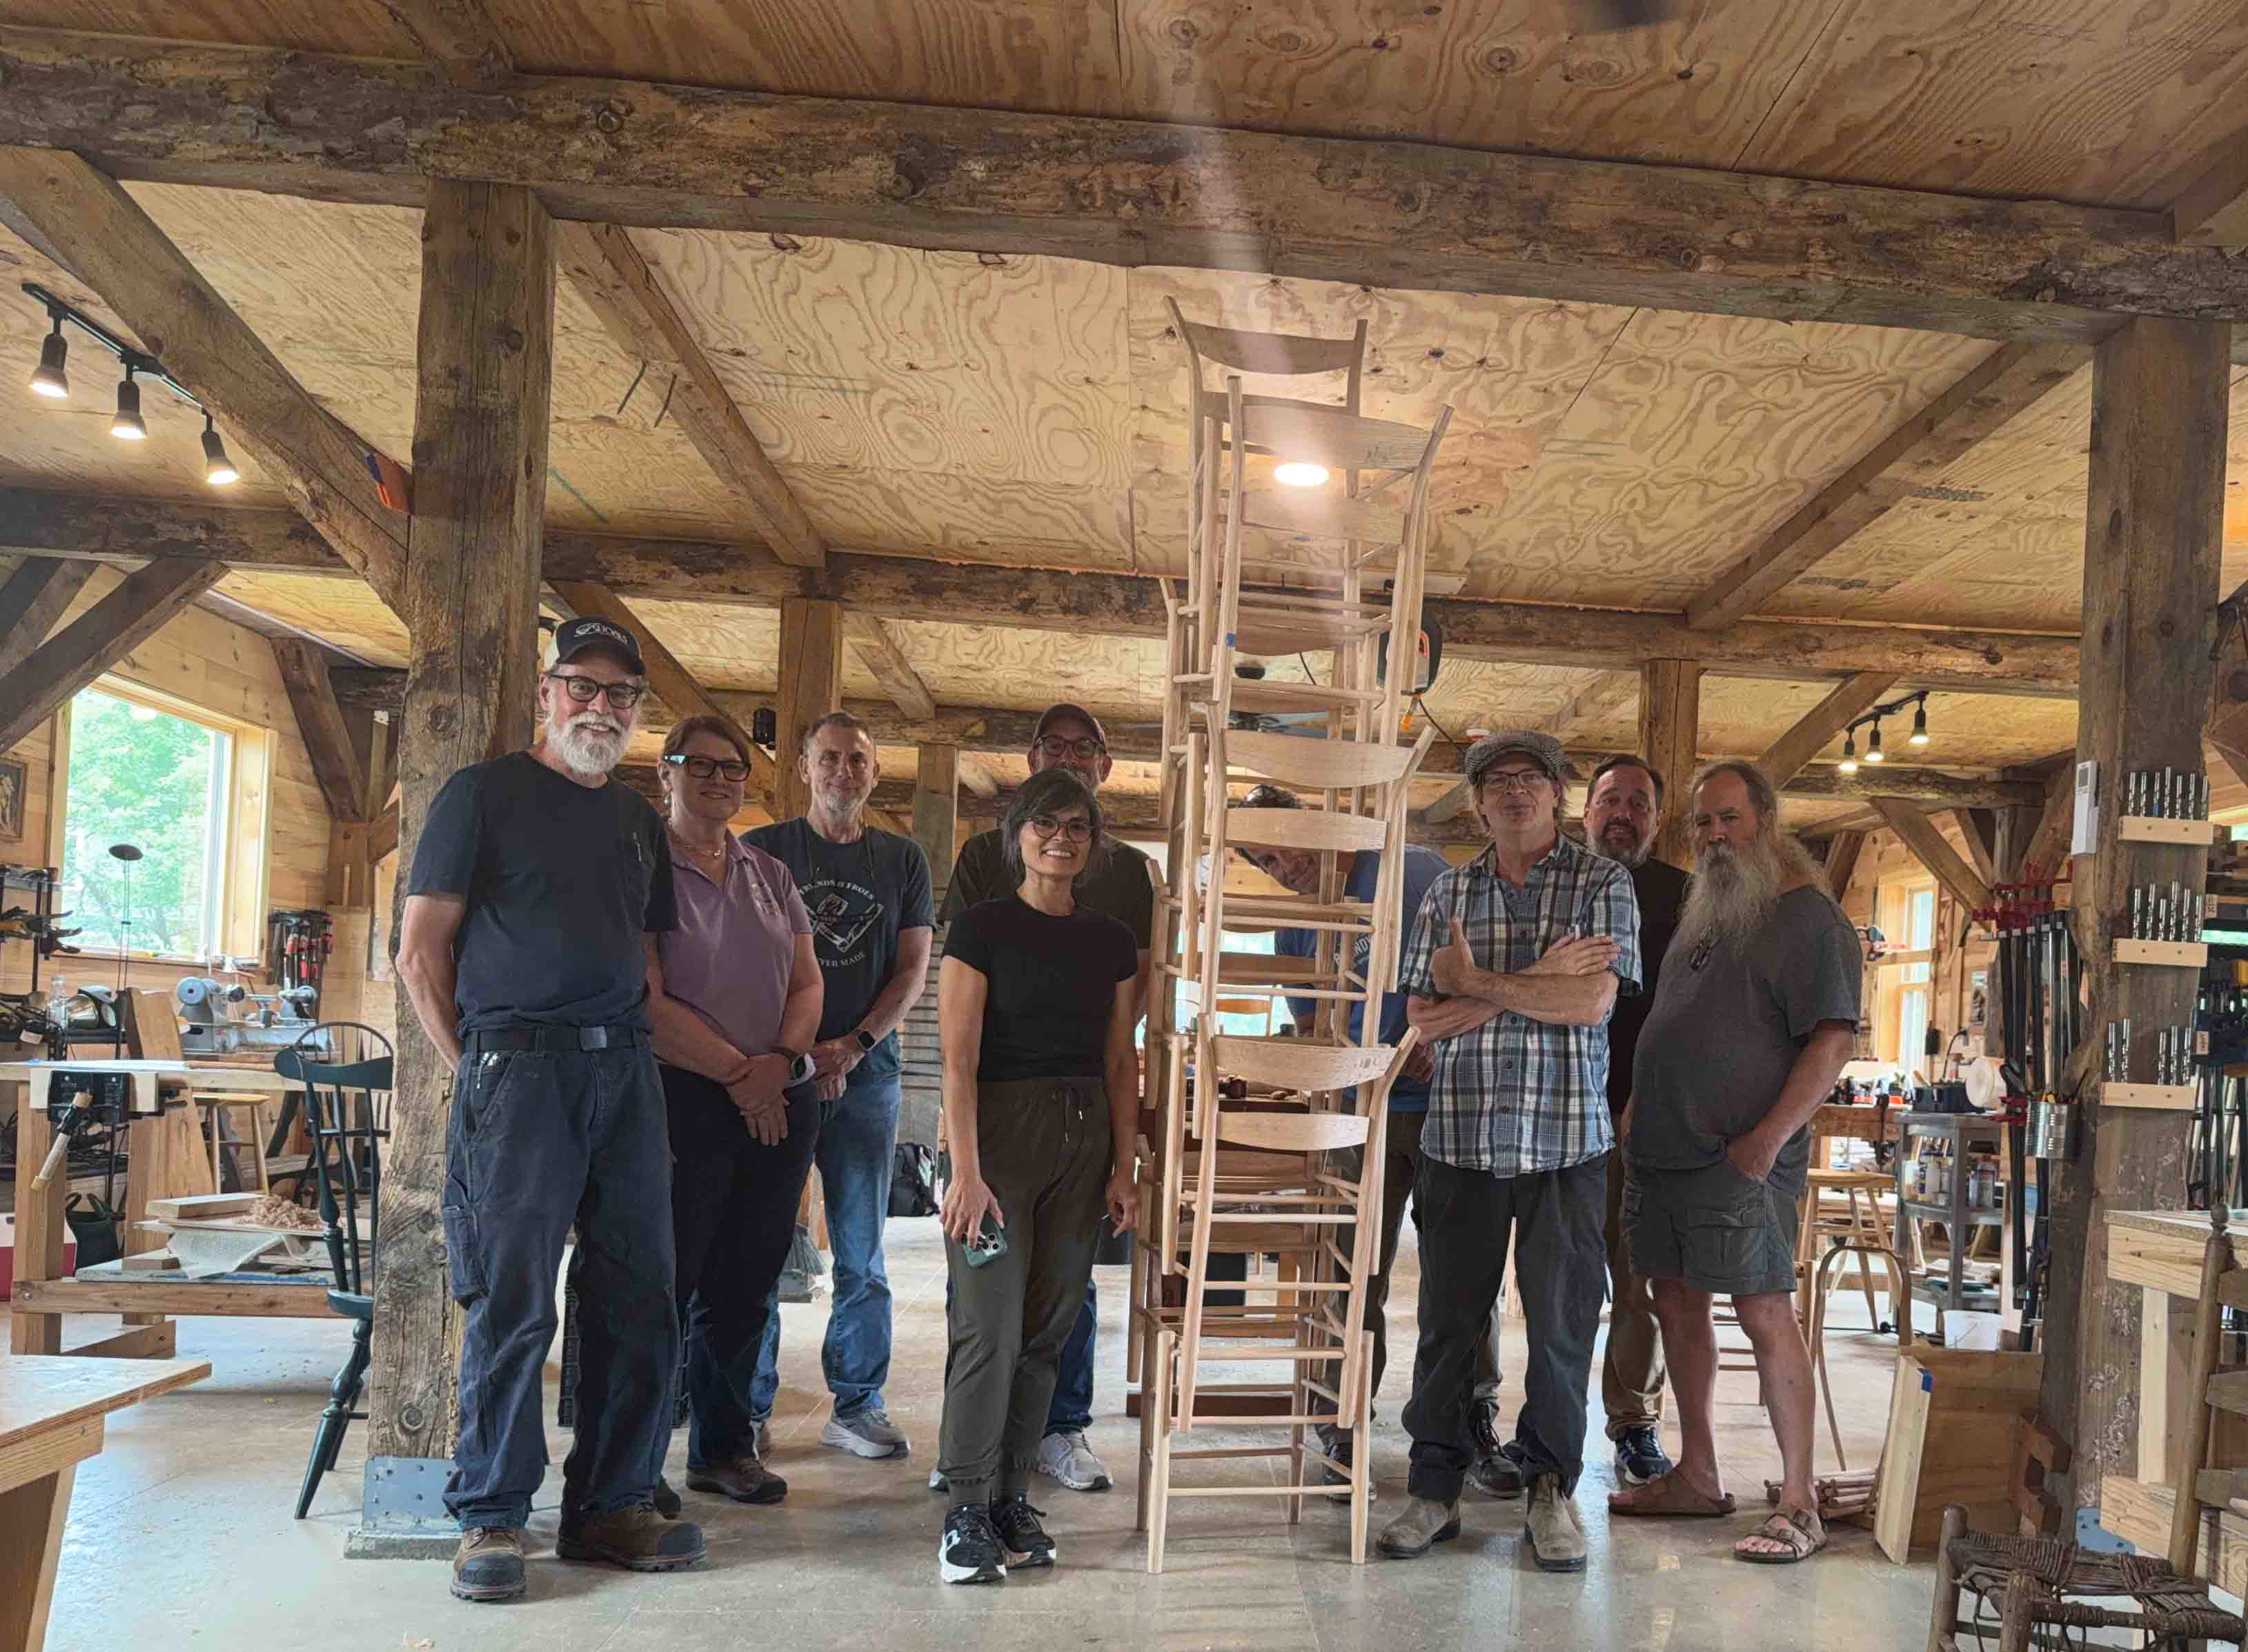
Joel Paul assisted the whole week - and I was glad & lucky to have him around. The chairs came out excellent and the work was so smooth this time that we not only quit early one day, we finished early overall! That almost never happens to me…we’re often rushing with the slats on the last afternoon. I didn’t bring a real camera and I usually forget to take pictures with my phone - but during one demo the students reminded me of that option.
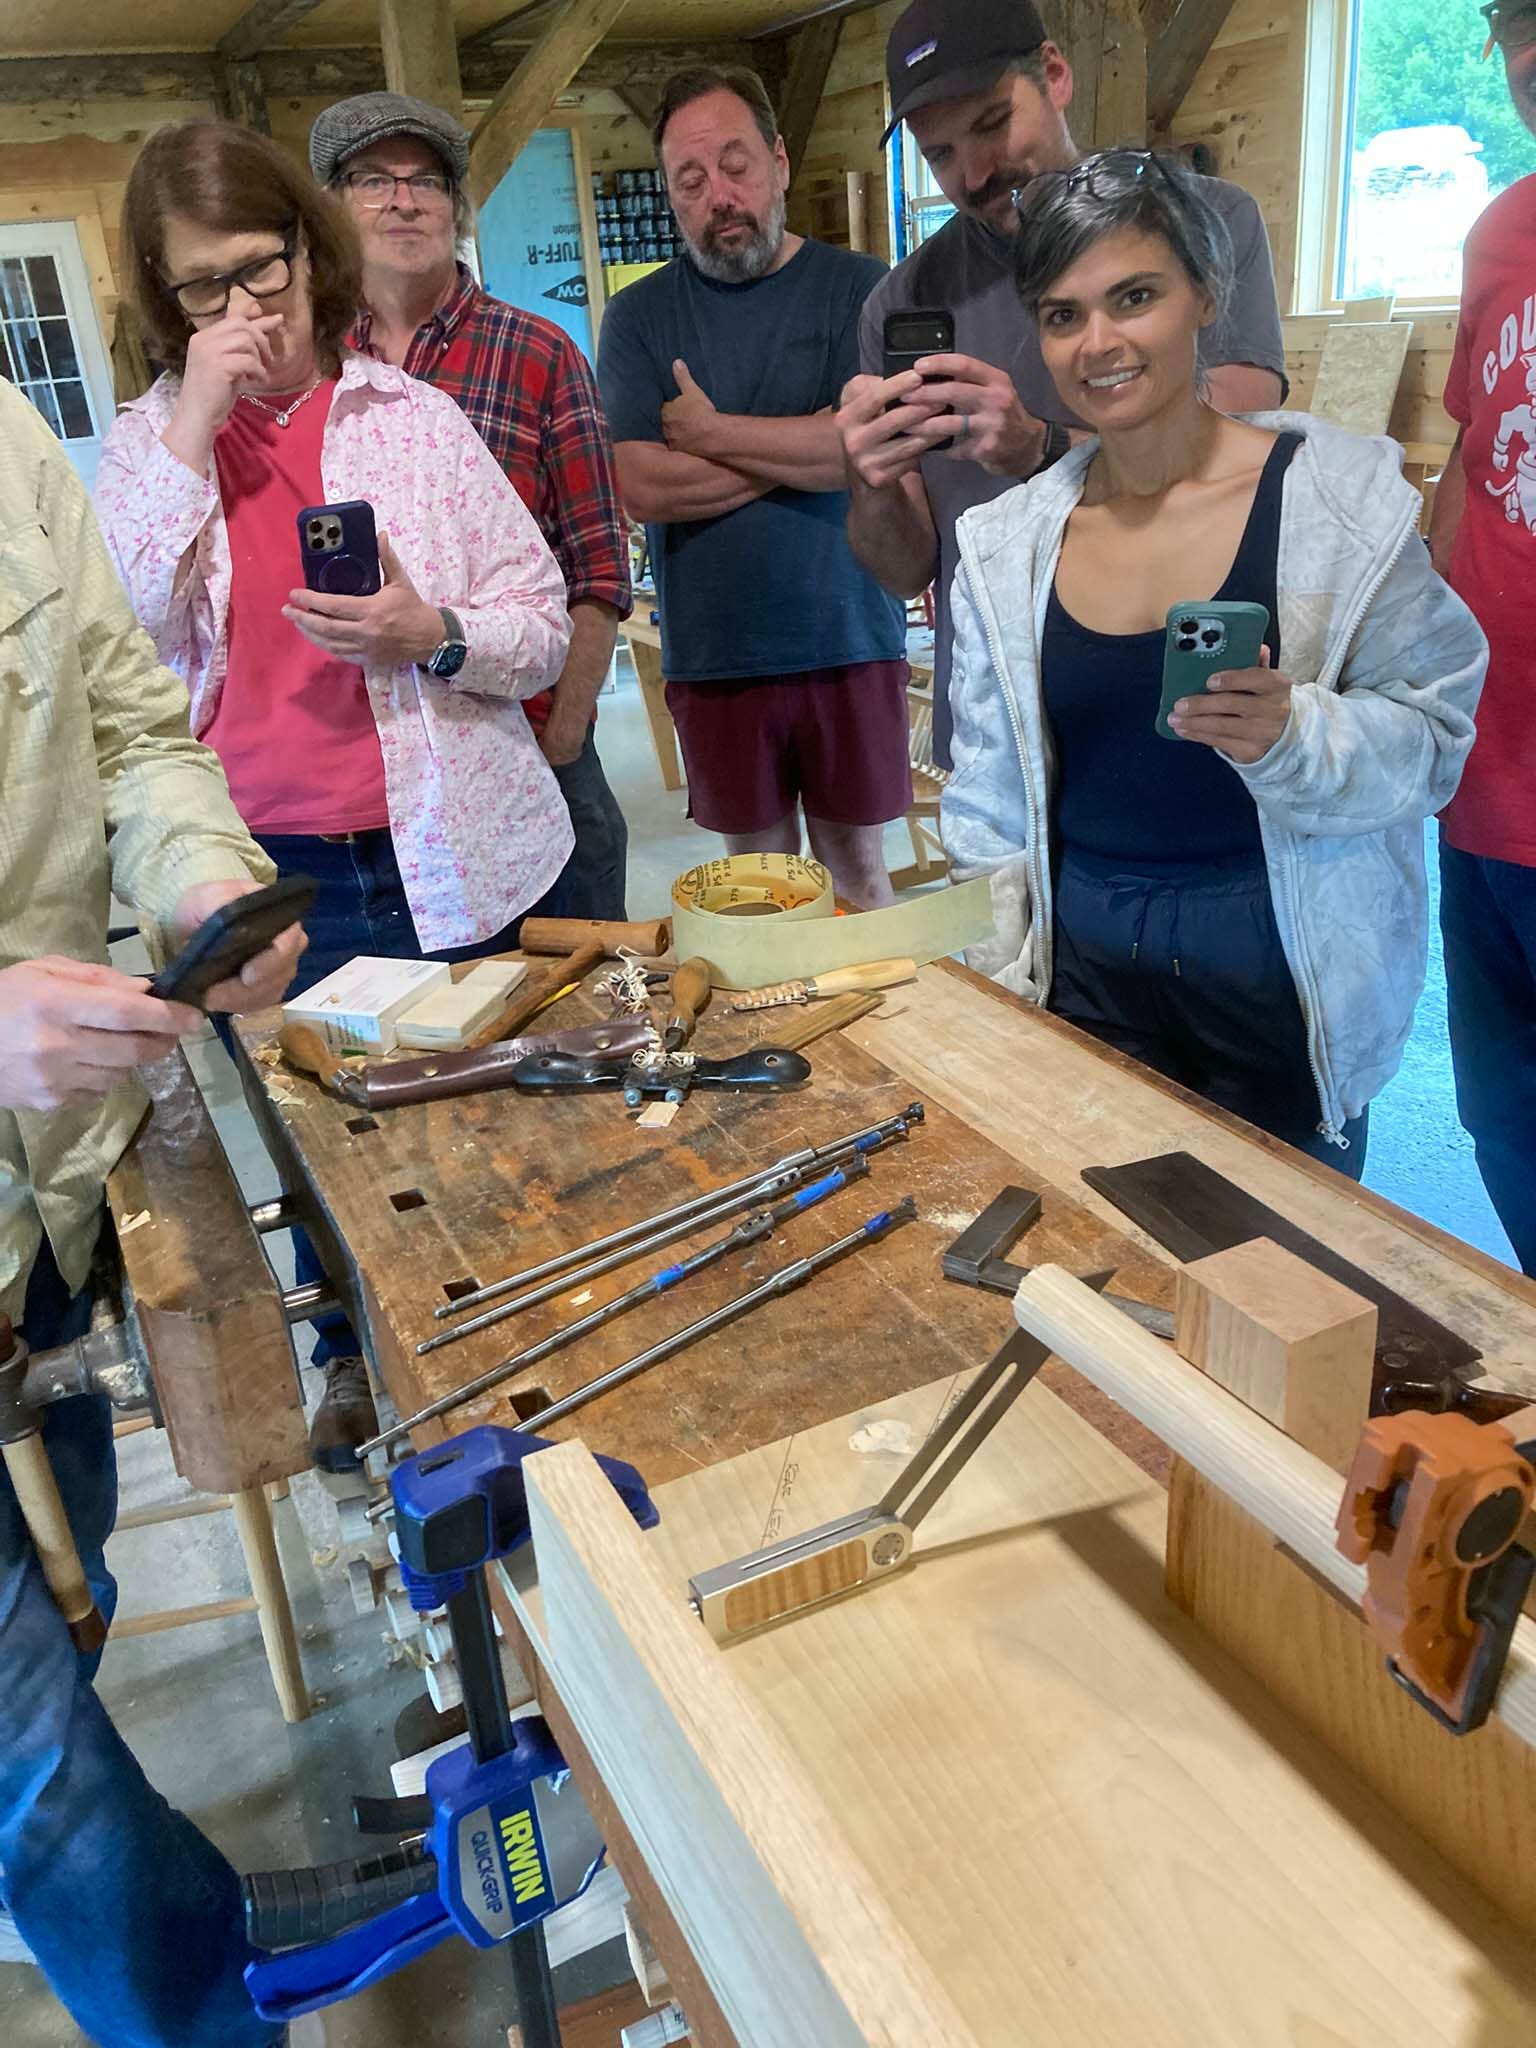
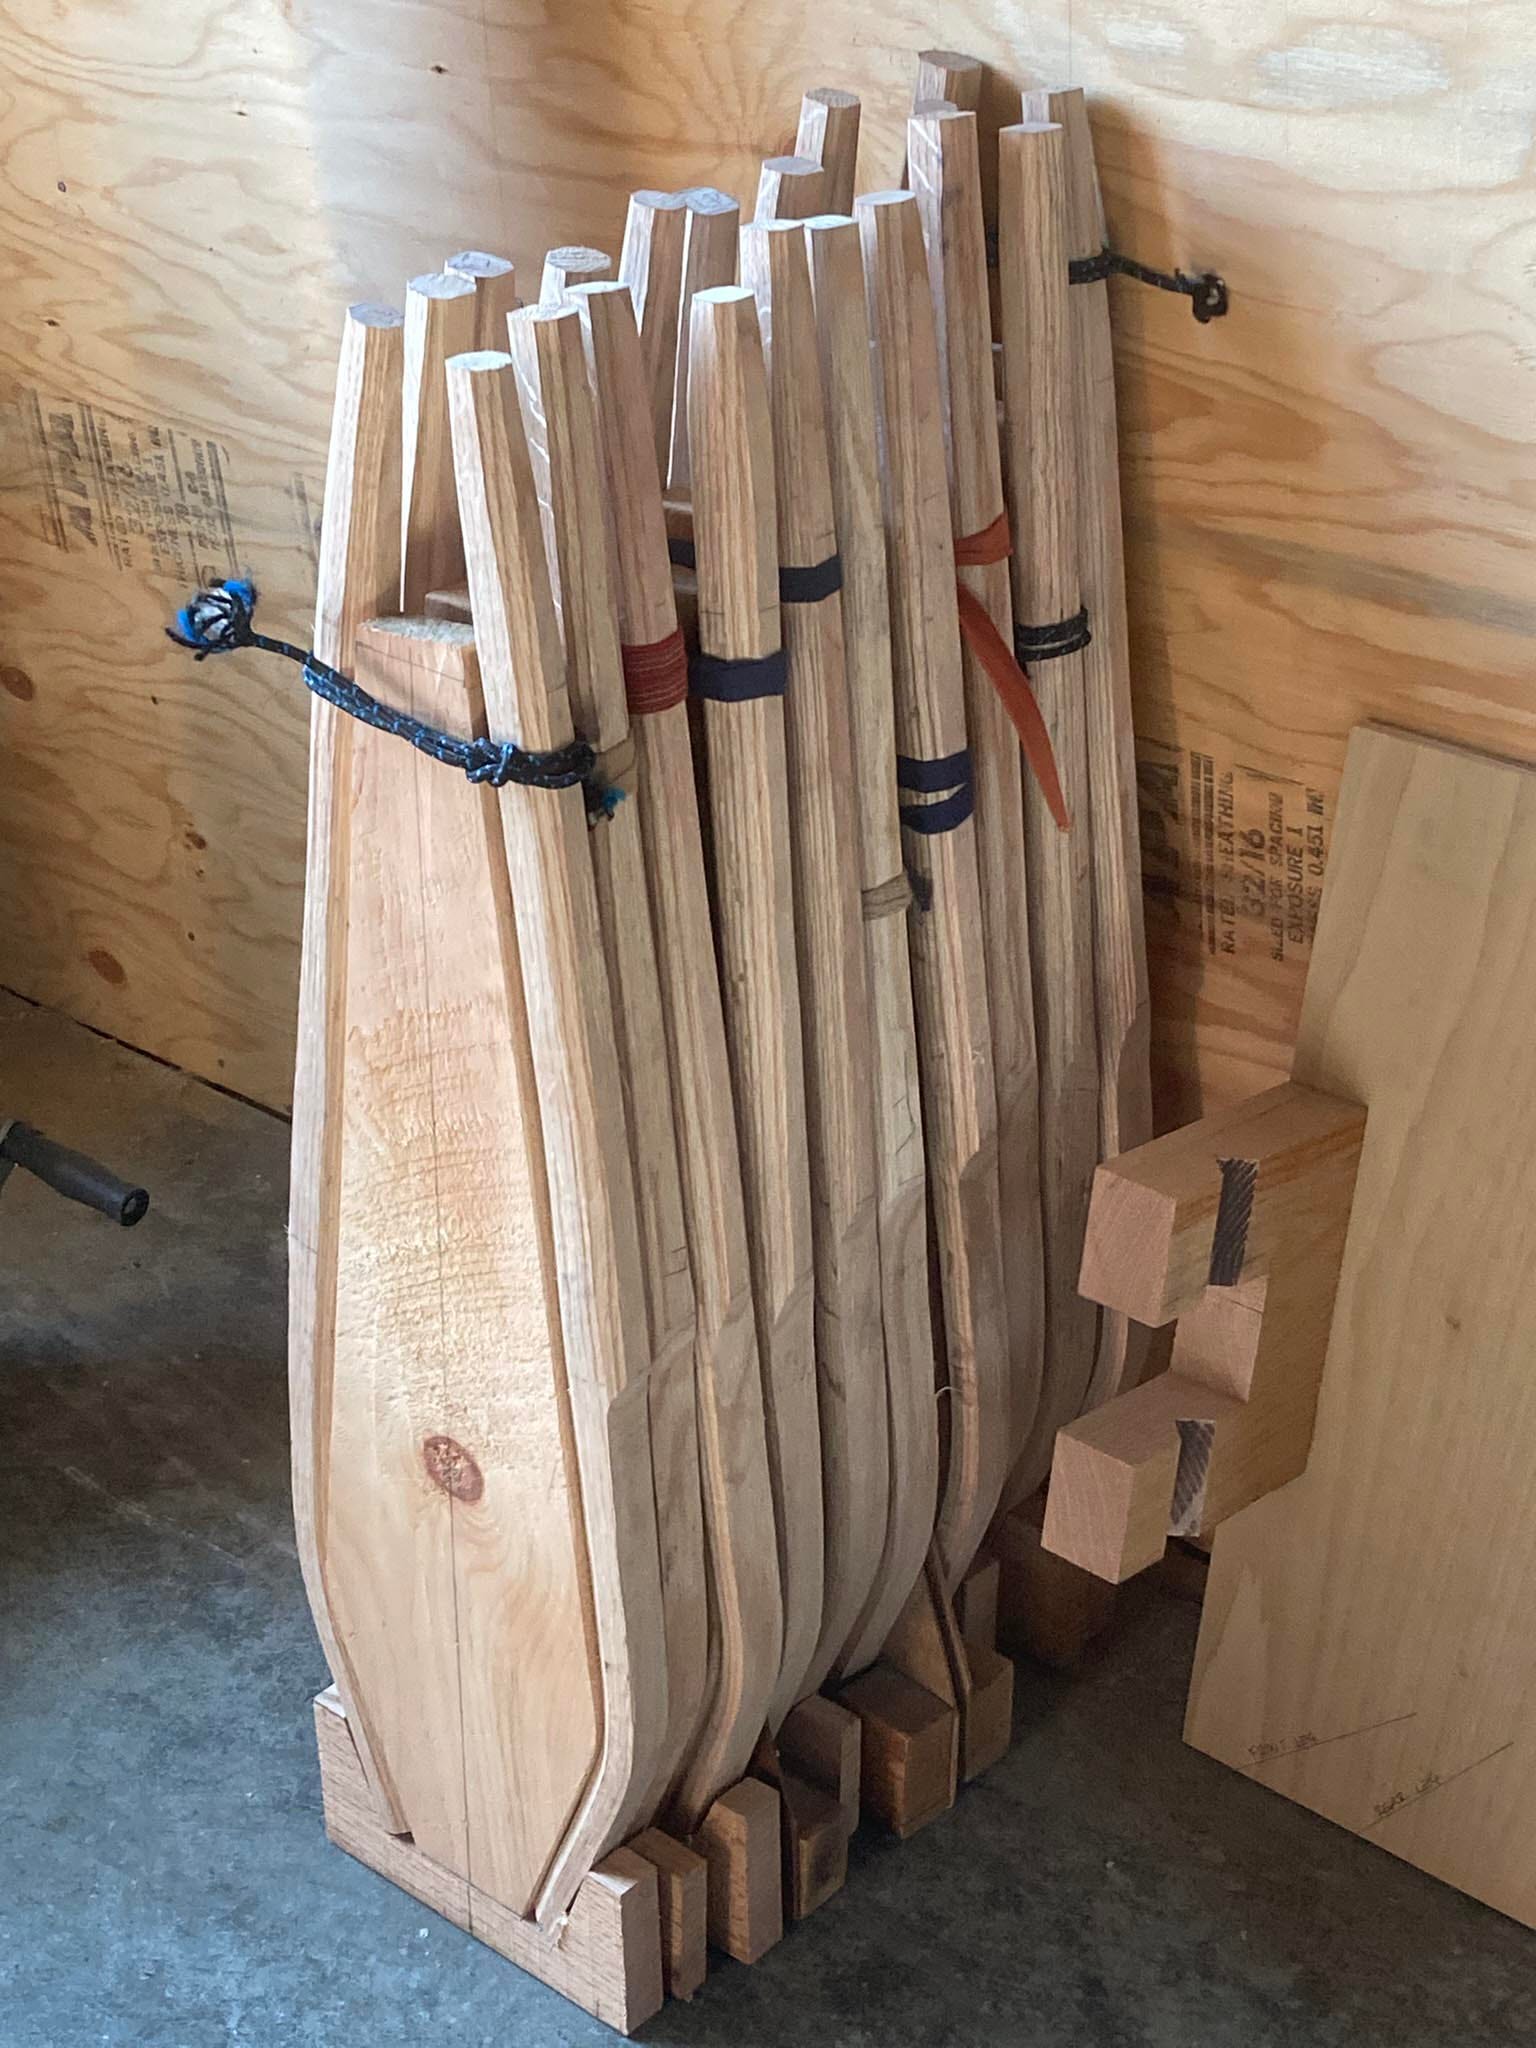
I was showing how I line up the front post to bore it & most of them got out their phones to shoot a photo. I felt left out, so I took their picture. But I missed any shots of the first few days. The format of the class follows what I learned from Drew Langsner & Jennie Alexander. We start with a fresh log, the students learn to split & shave the green parts, then steam-bend the rear posts. Once that’s done, I take all that work away & issue them parts made by the previous class. So here’s the green posts made by the 2026 crew, now waiting for next year.
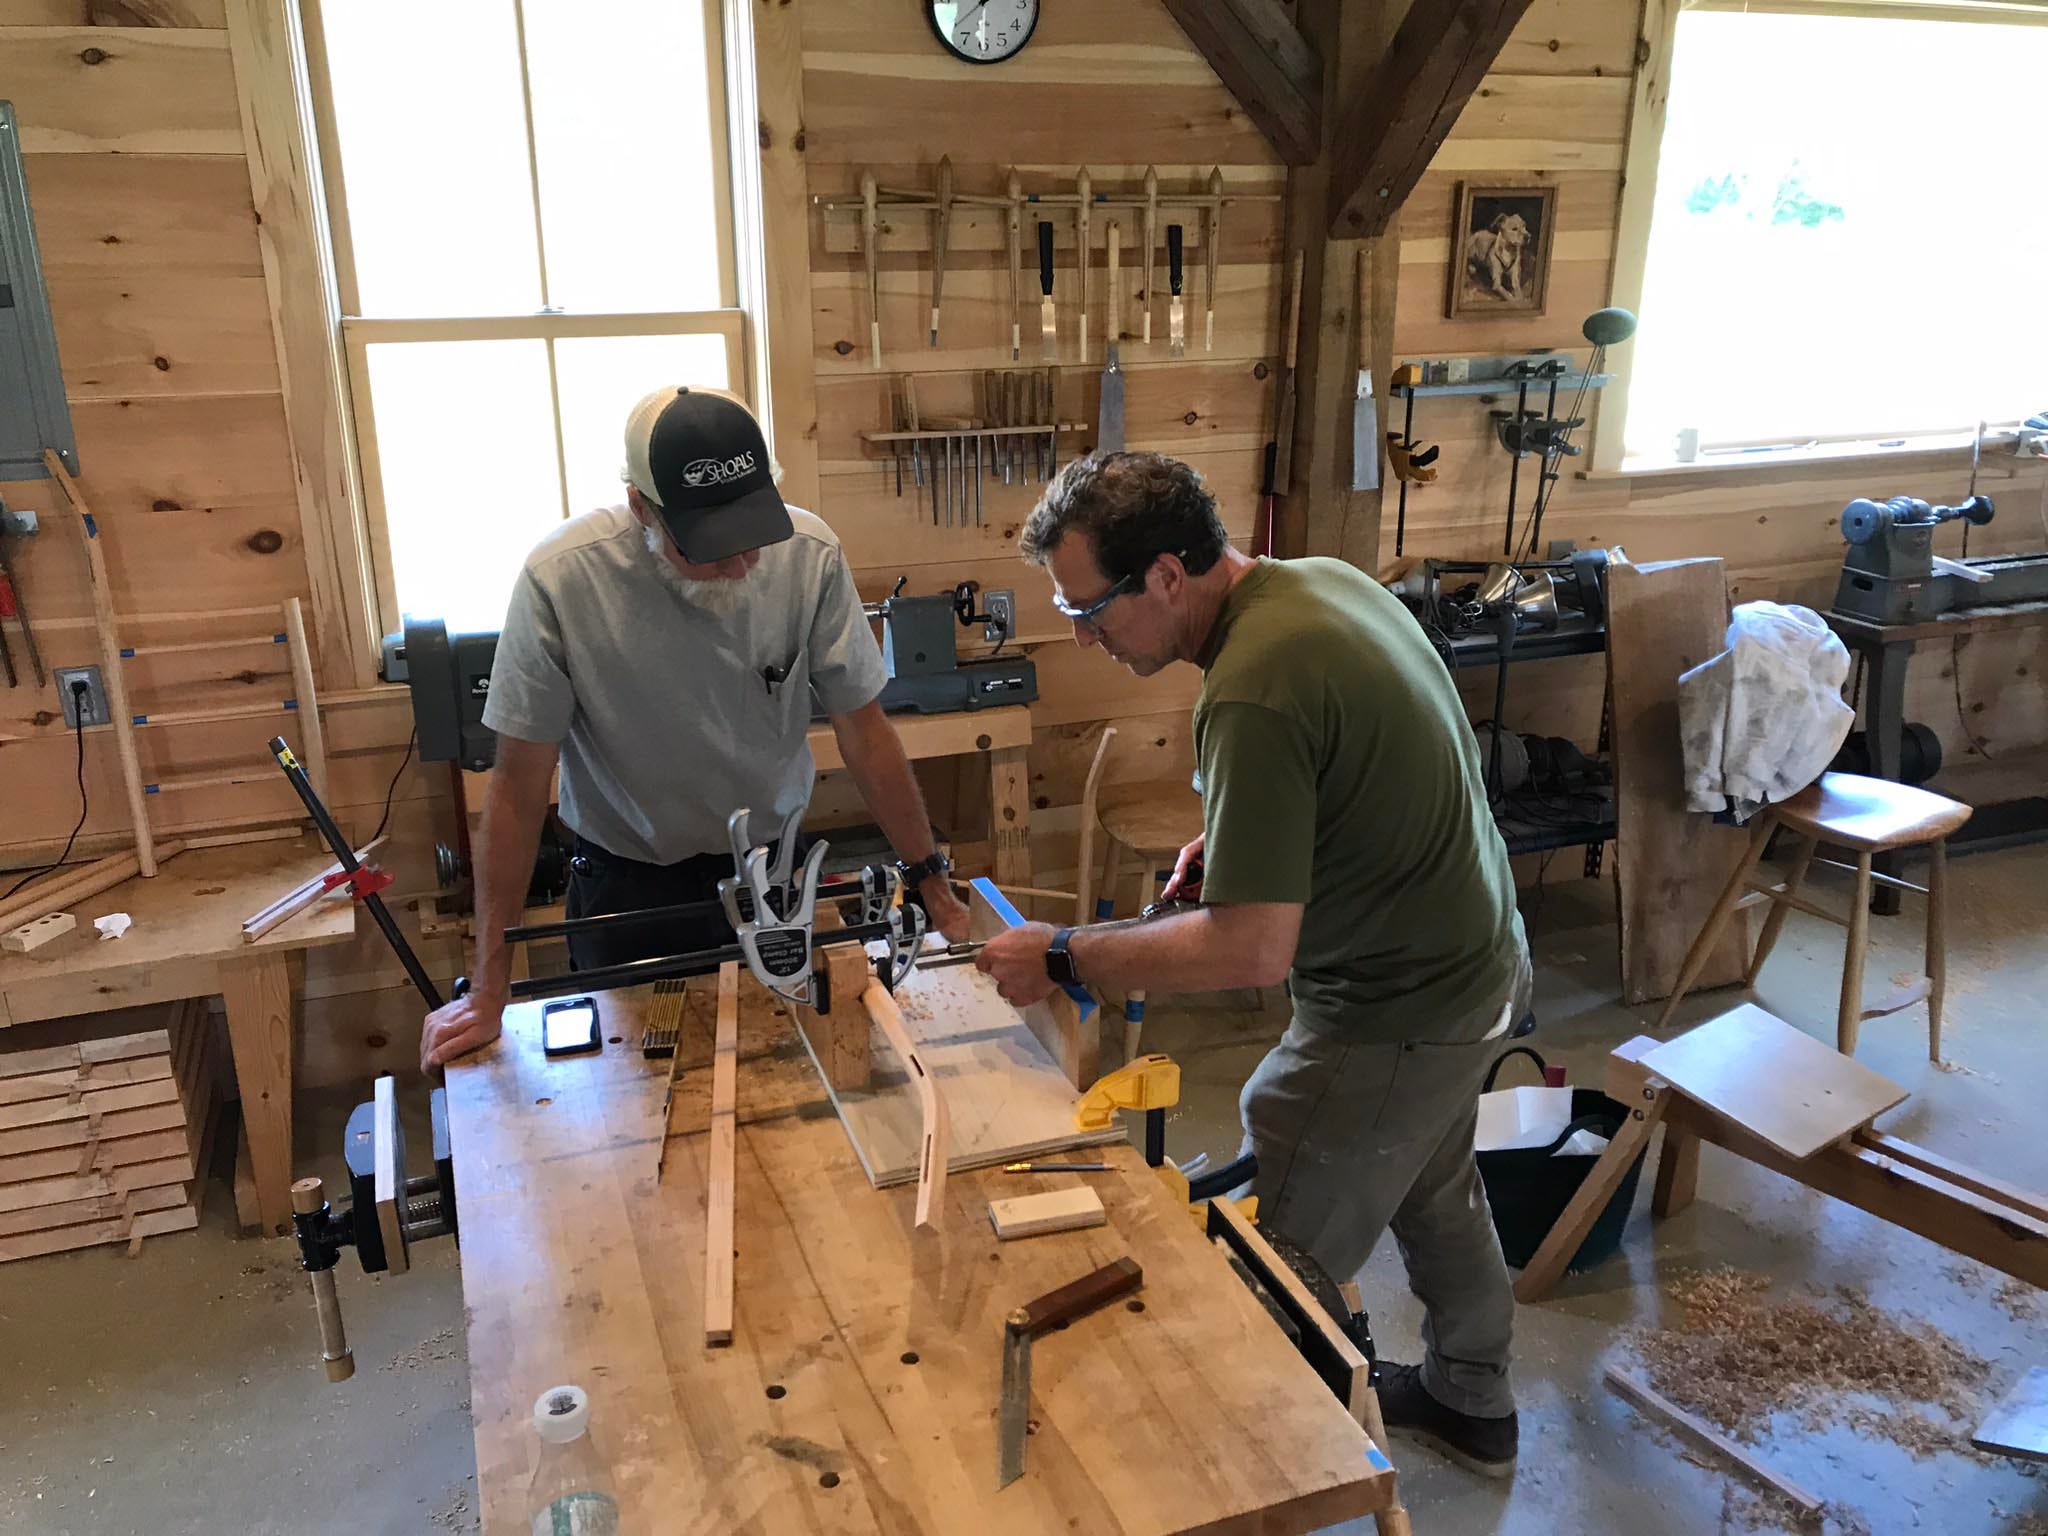
At that point, they’re working on the stuff that will go into their own chair. Here’s Michael doing the heavy looking on while Rob lines up his rear post for the side-rung mortises. If you’ve not been to Galbert’s shop - note the windows - so much light in there.
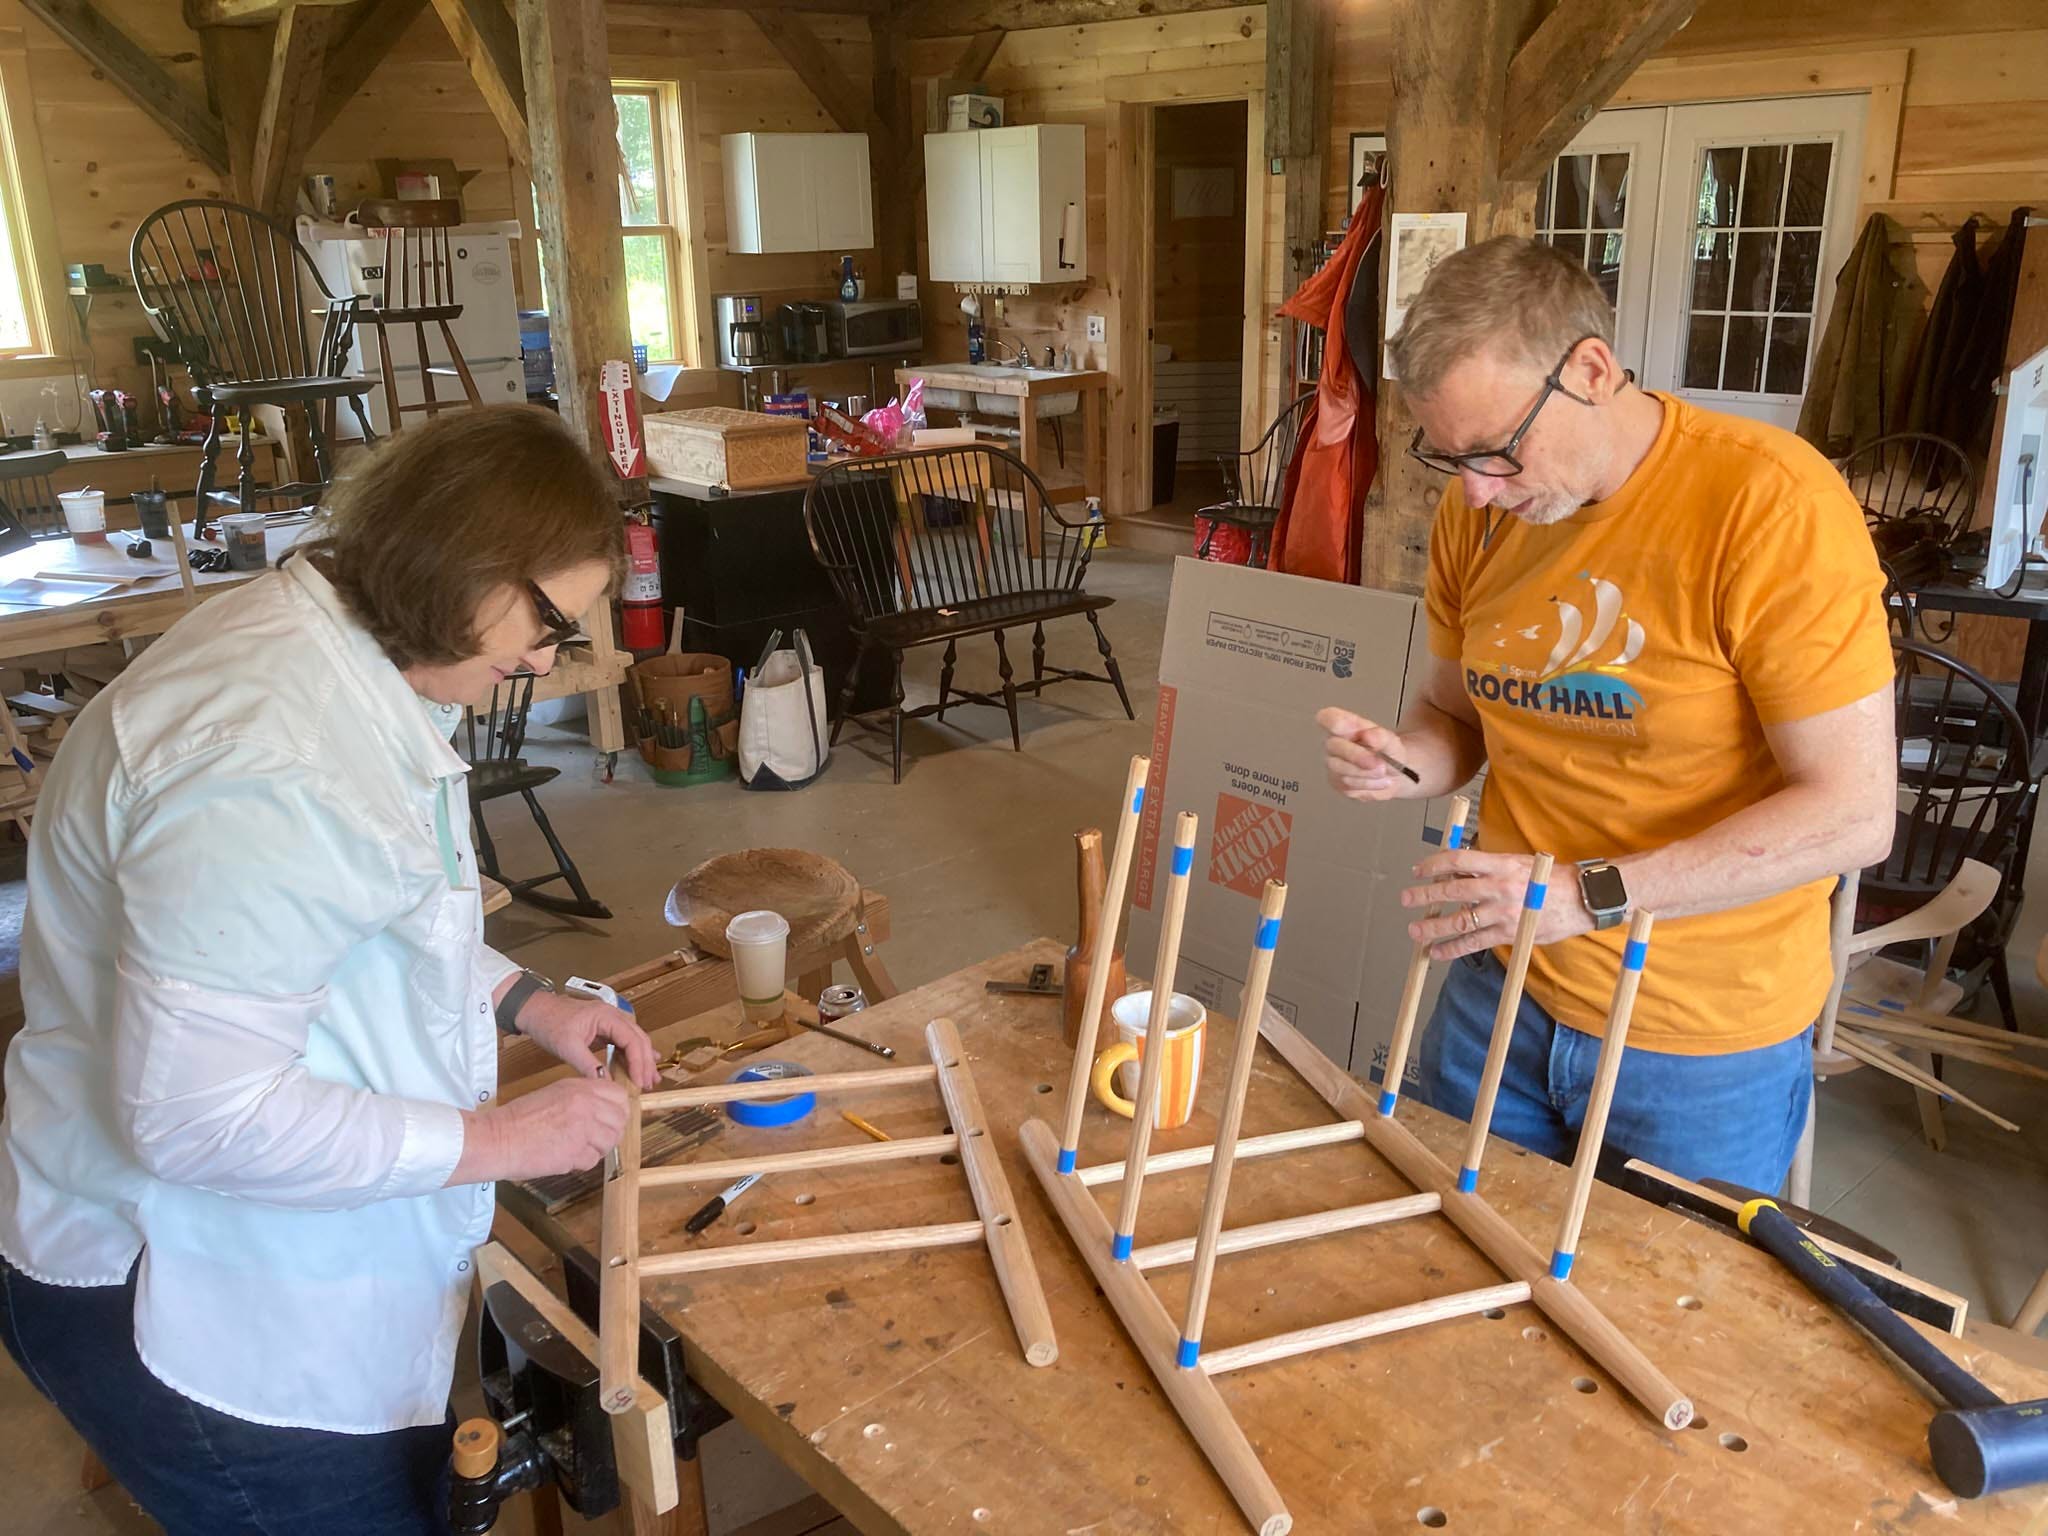
For boring mortises and assembly, we have the students pair-up - it helps to have another set of eyes to double-check things and also slows people down a bit, which can be a good thing. Here’s Anne Marie & Lewis gluing up one or the other of their chairs. The blue tape is the depth stop - a clear visual to stop you from over-driving the shoulder-less tenons.
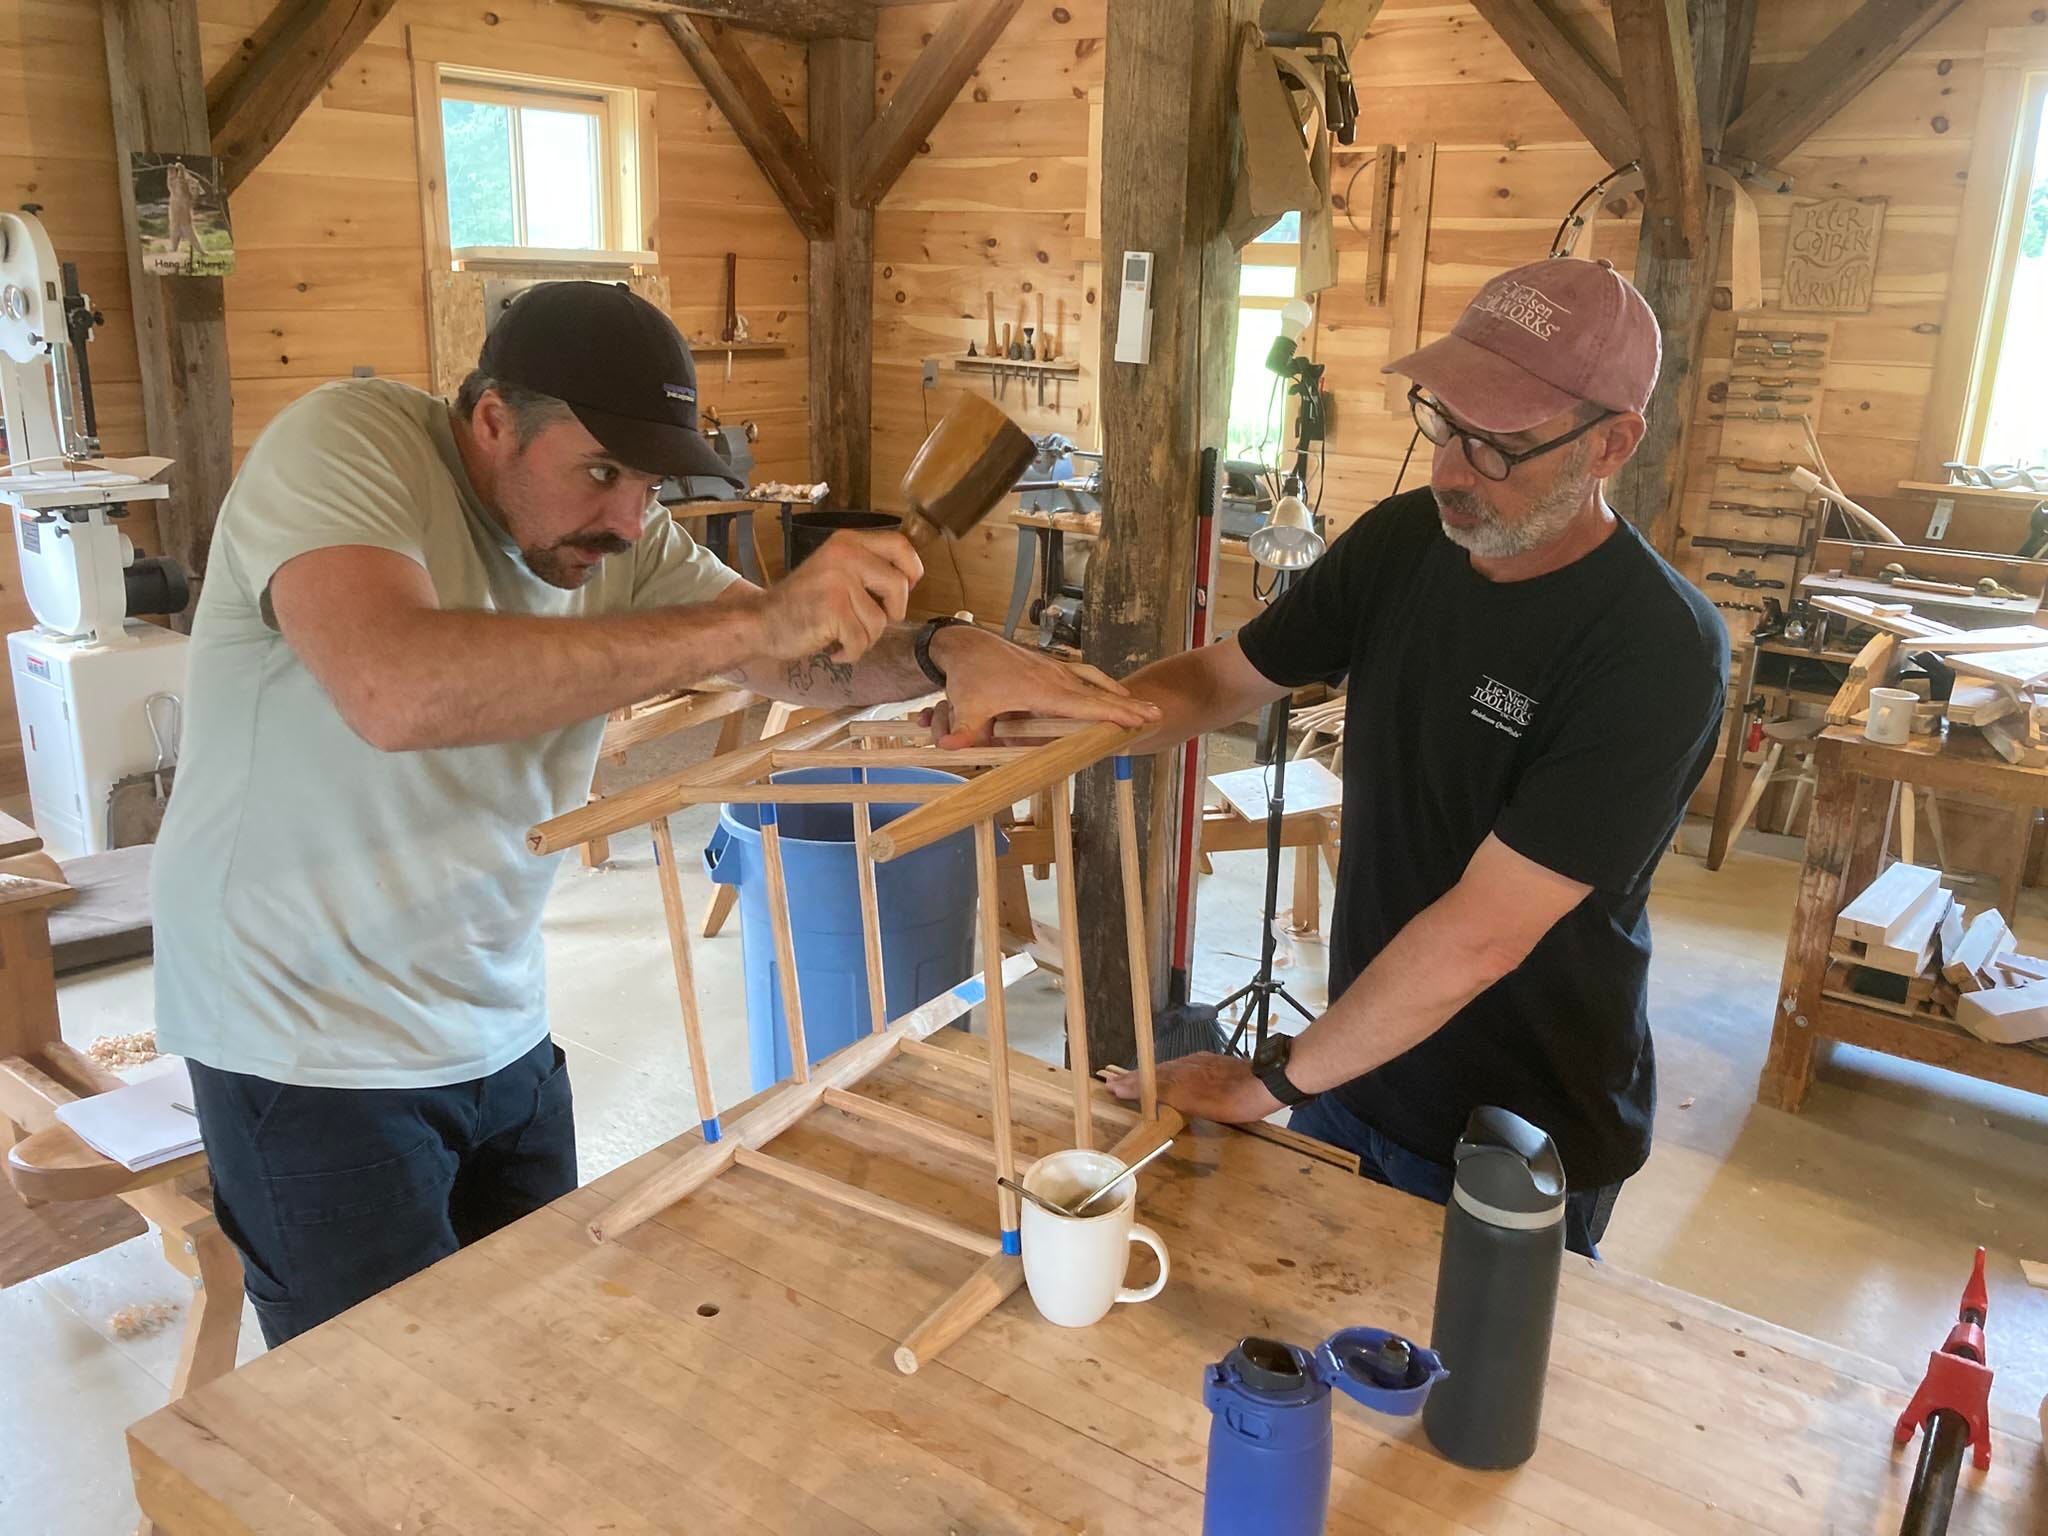
And then you knock it together -
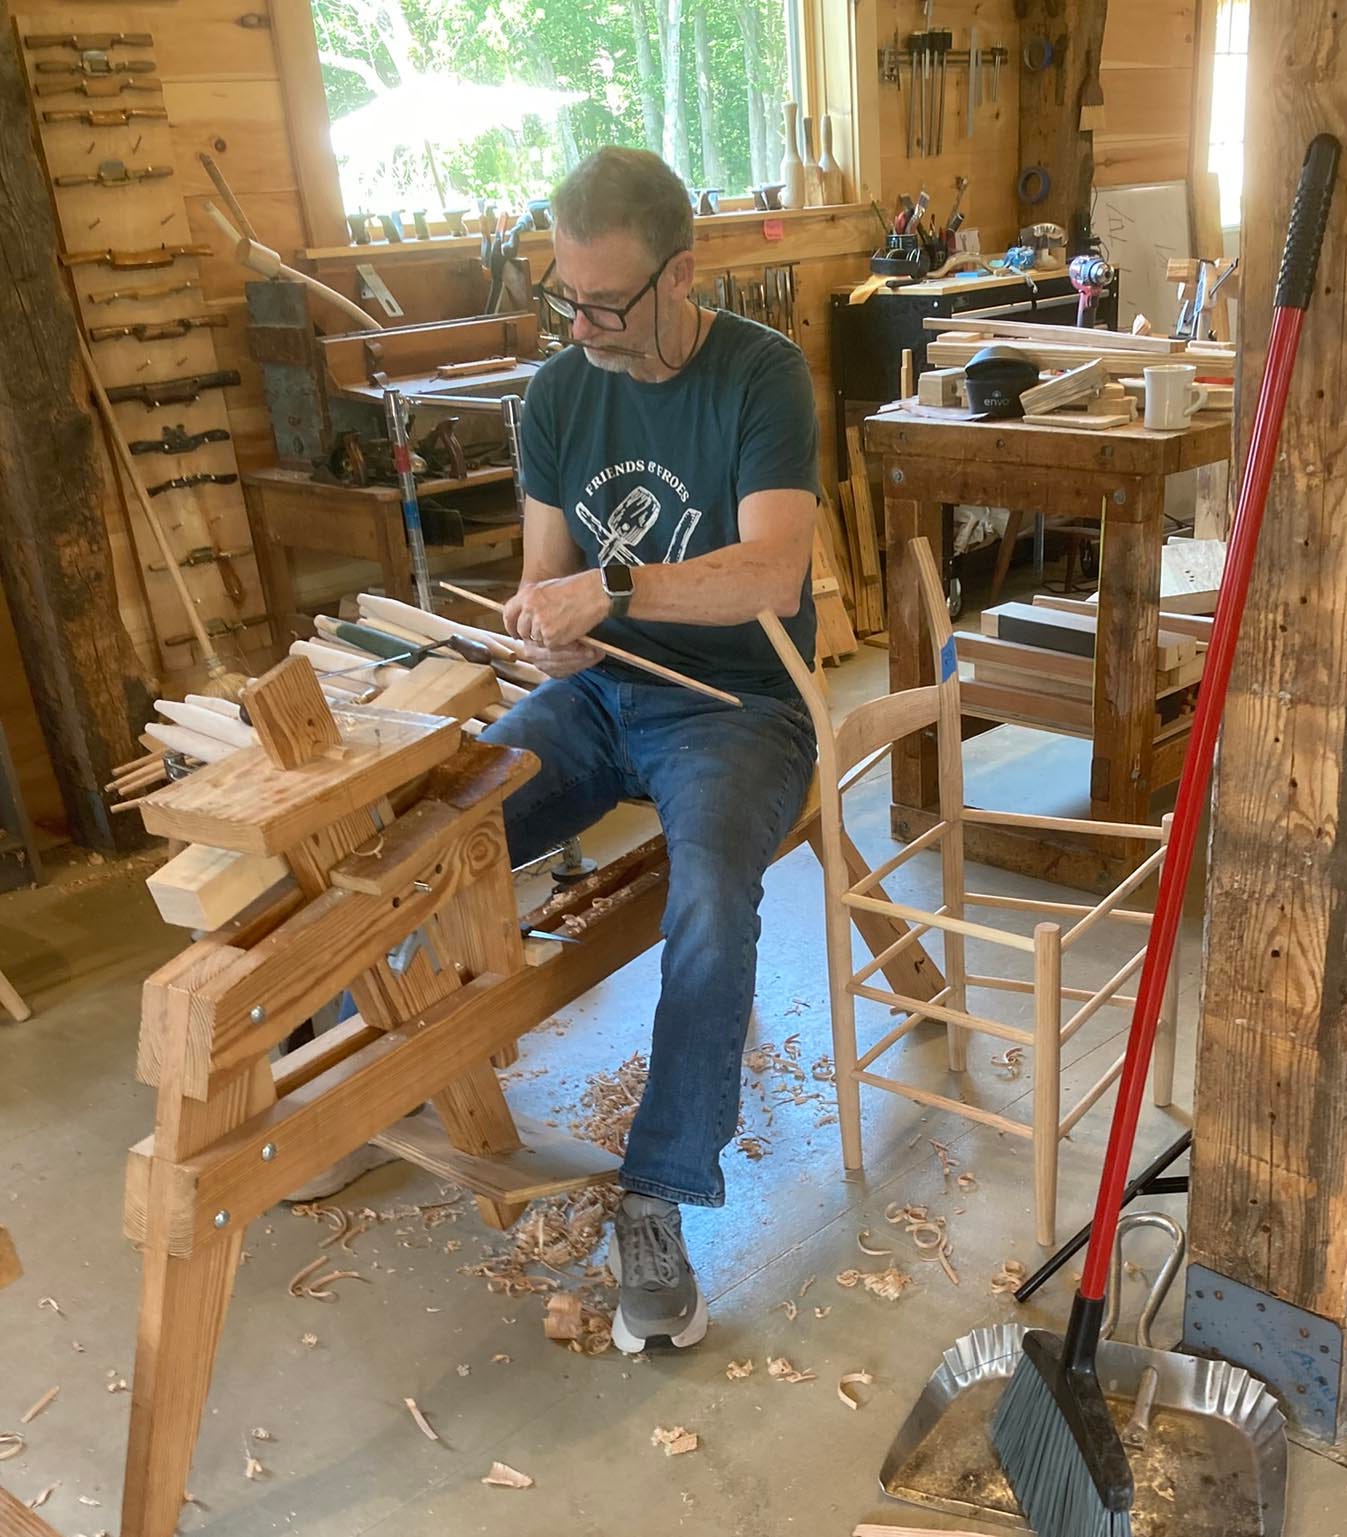
From there, we split out more green wood to shave the slats. I showed them how to determine the slat length, then shave them & bend them in place. Then go & make the next one.
I went looking for a hatchet to borrow and Maria said she & Brian had one of Julia Kalthoff’s hatchets…and when she went to get it out, there was another hatchet too -
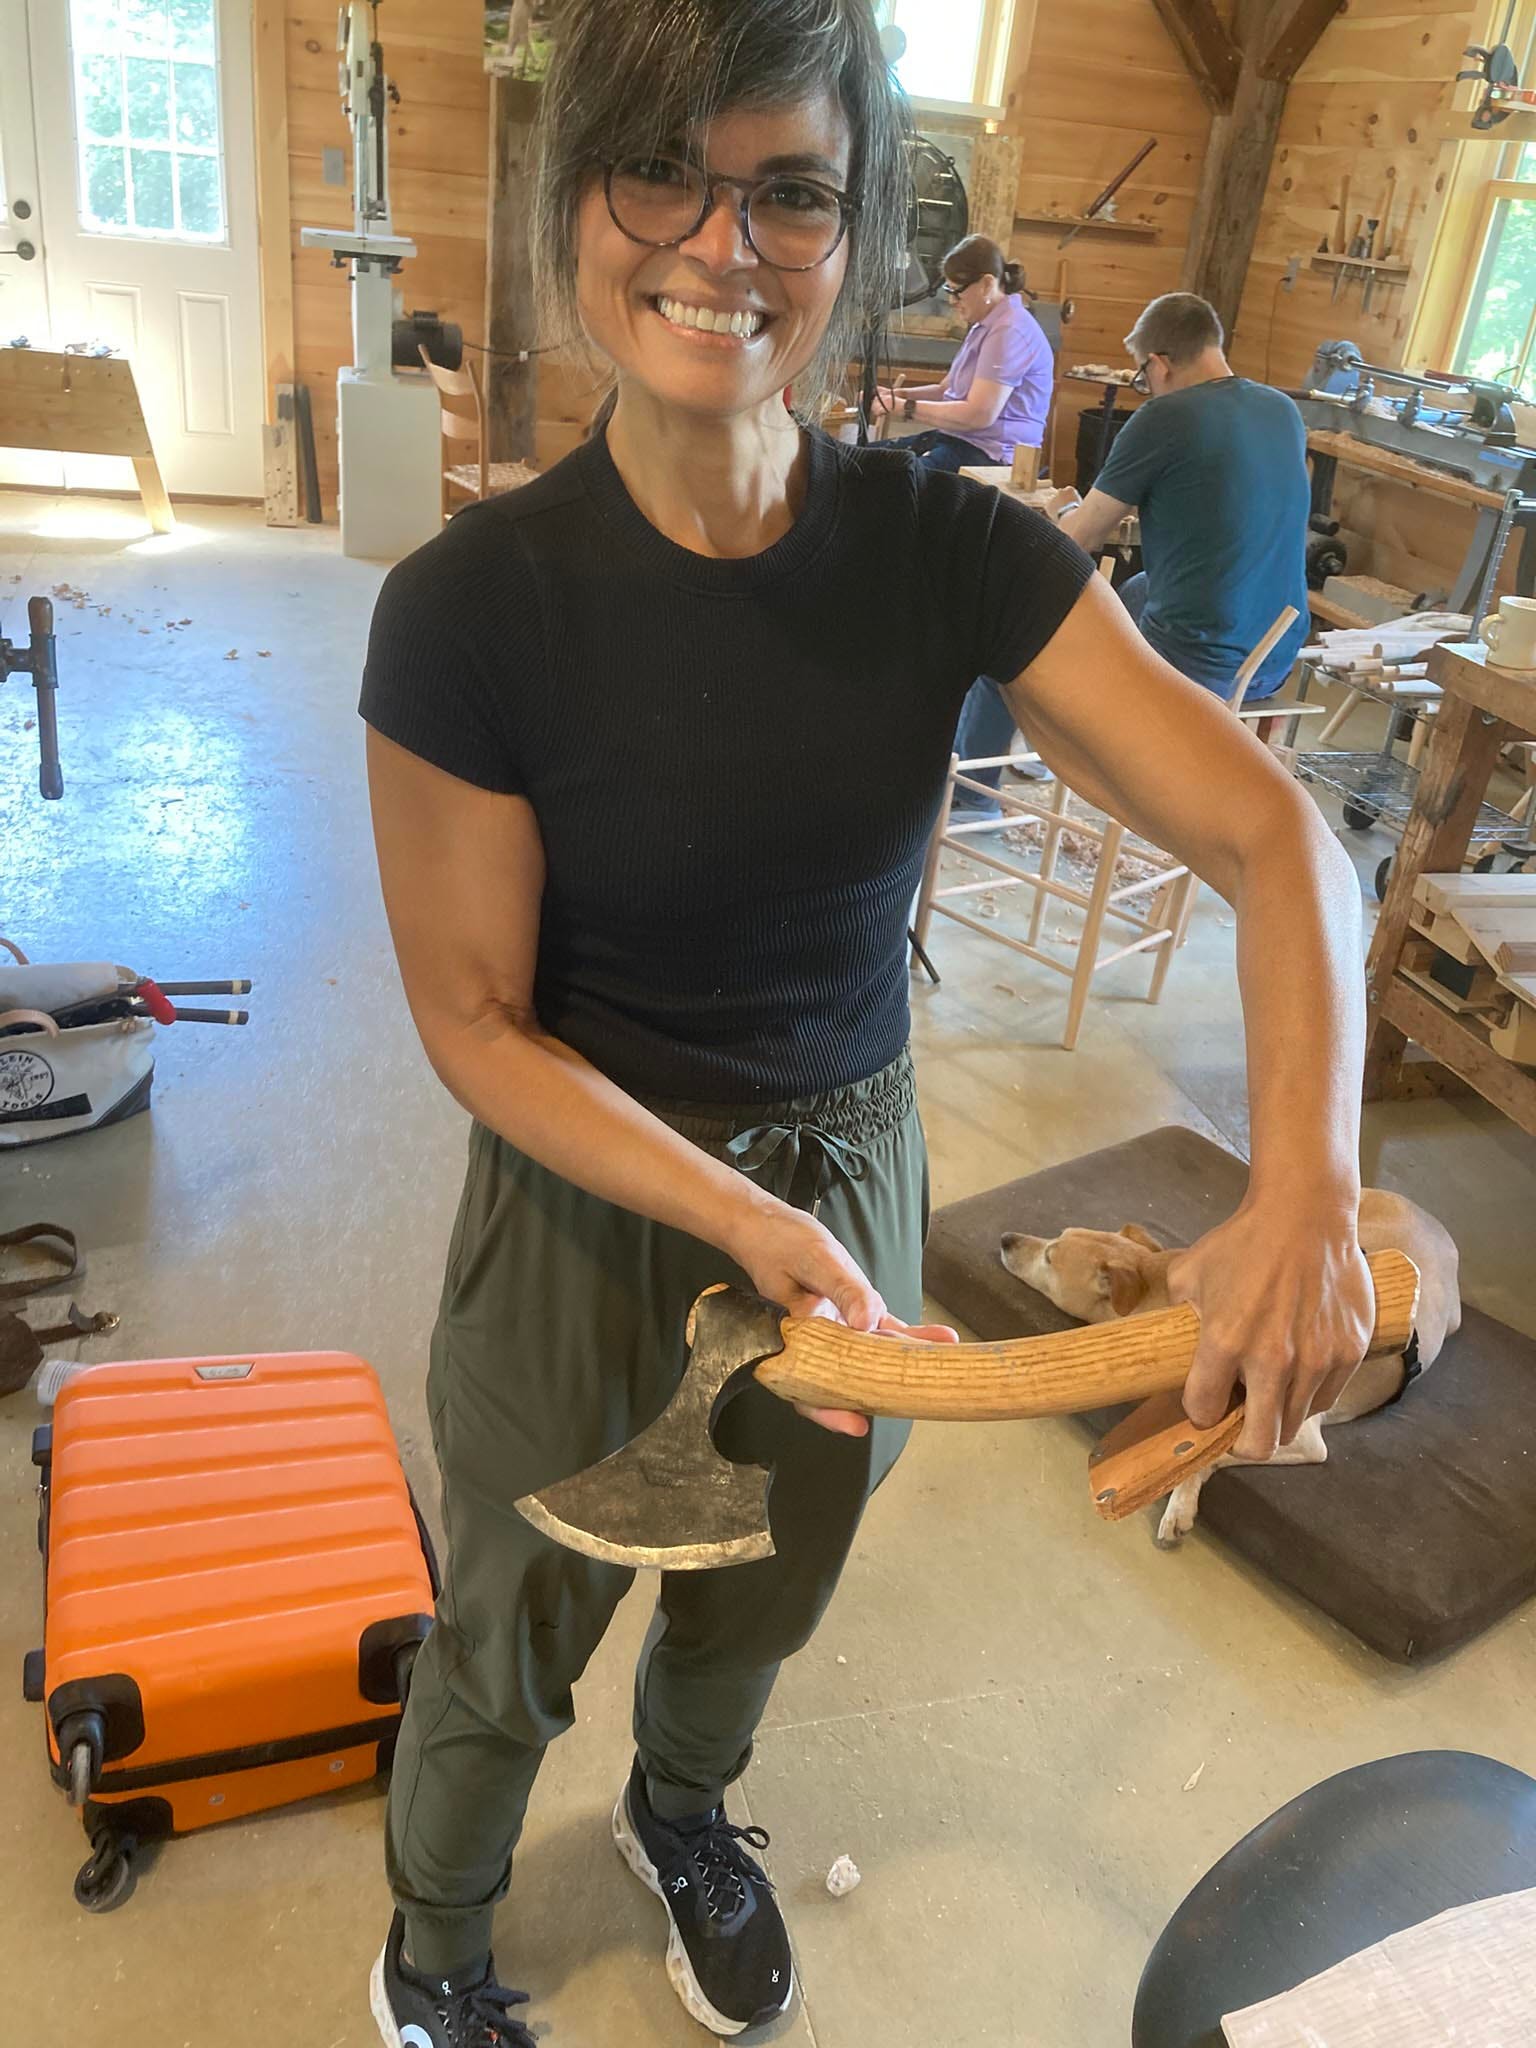
I knew the shape immediately, then when I saw the handle I knew even more. This hatchet was imported from Sweden by Drew Langsner/Country Workshops for sale. Drew used to bend the handles from red oak - I think he’d do two together as one double-bend, then crosscut them and fit them to the heads. It’s a prized axe - Maria asked Brian where he got it - “in a lot of tools…” that’s quite an accidental find!
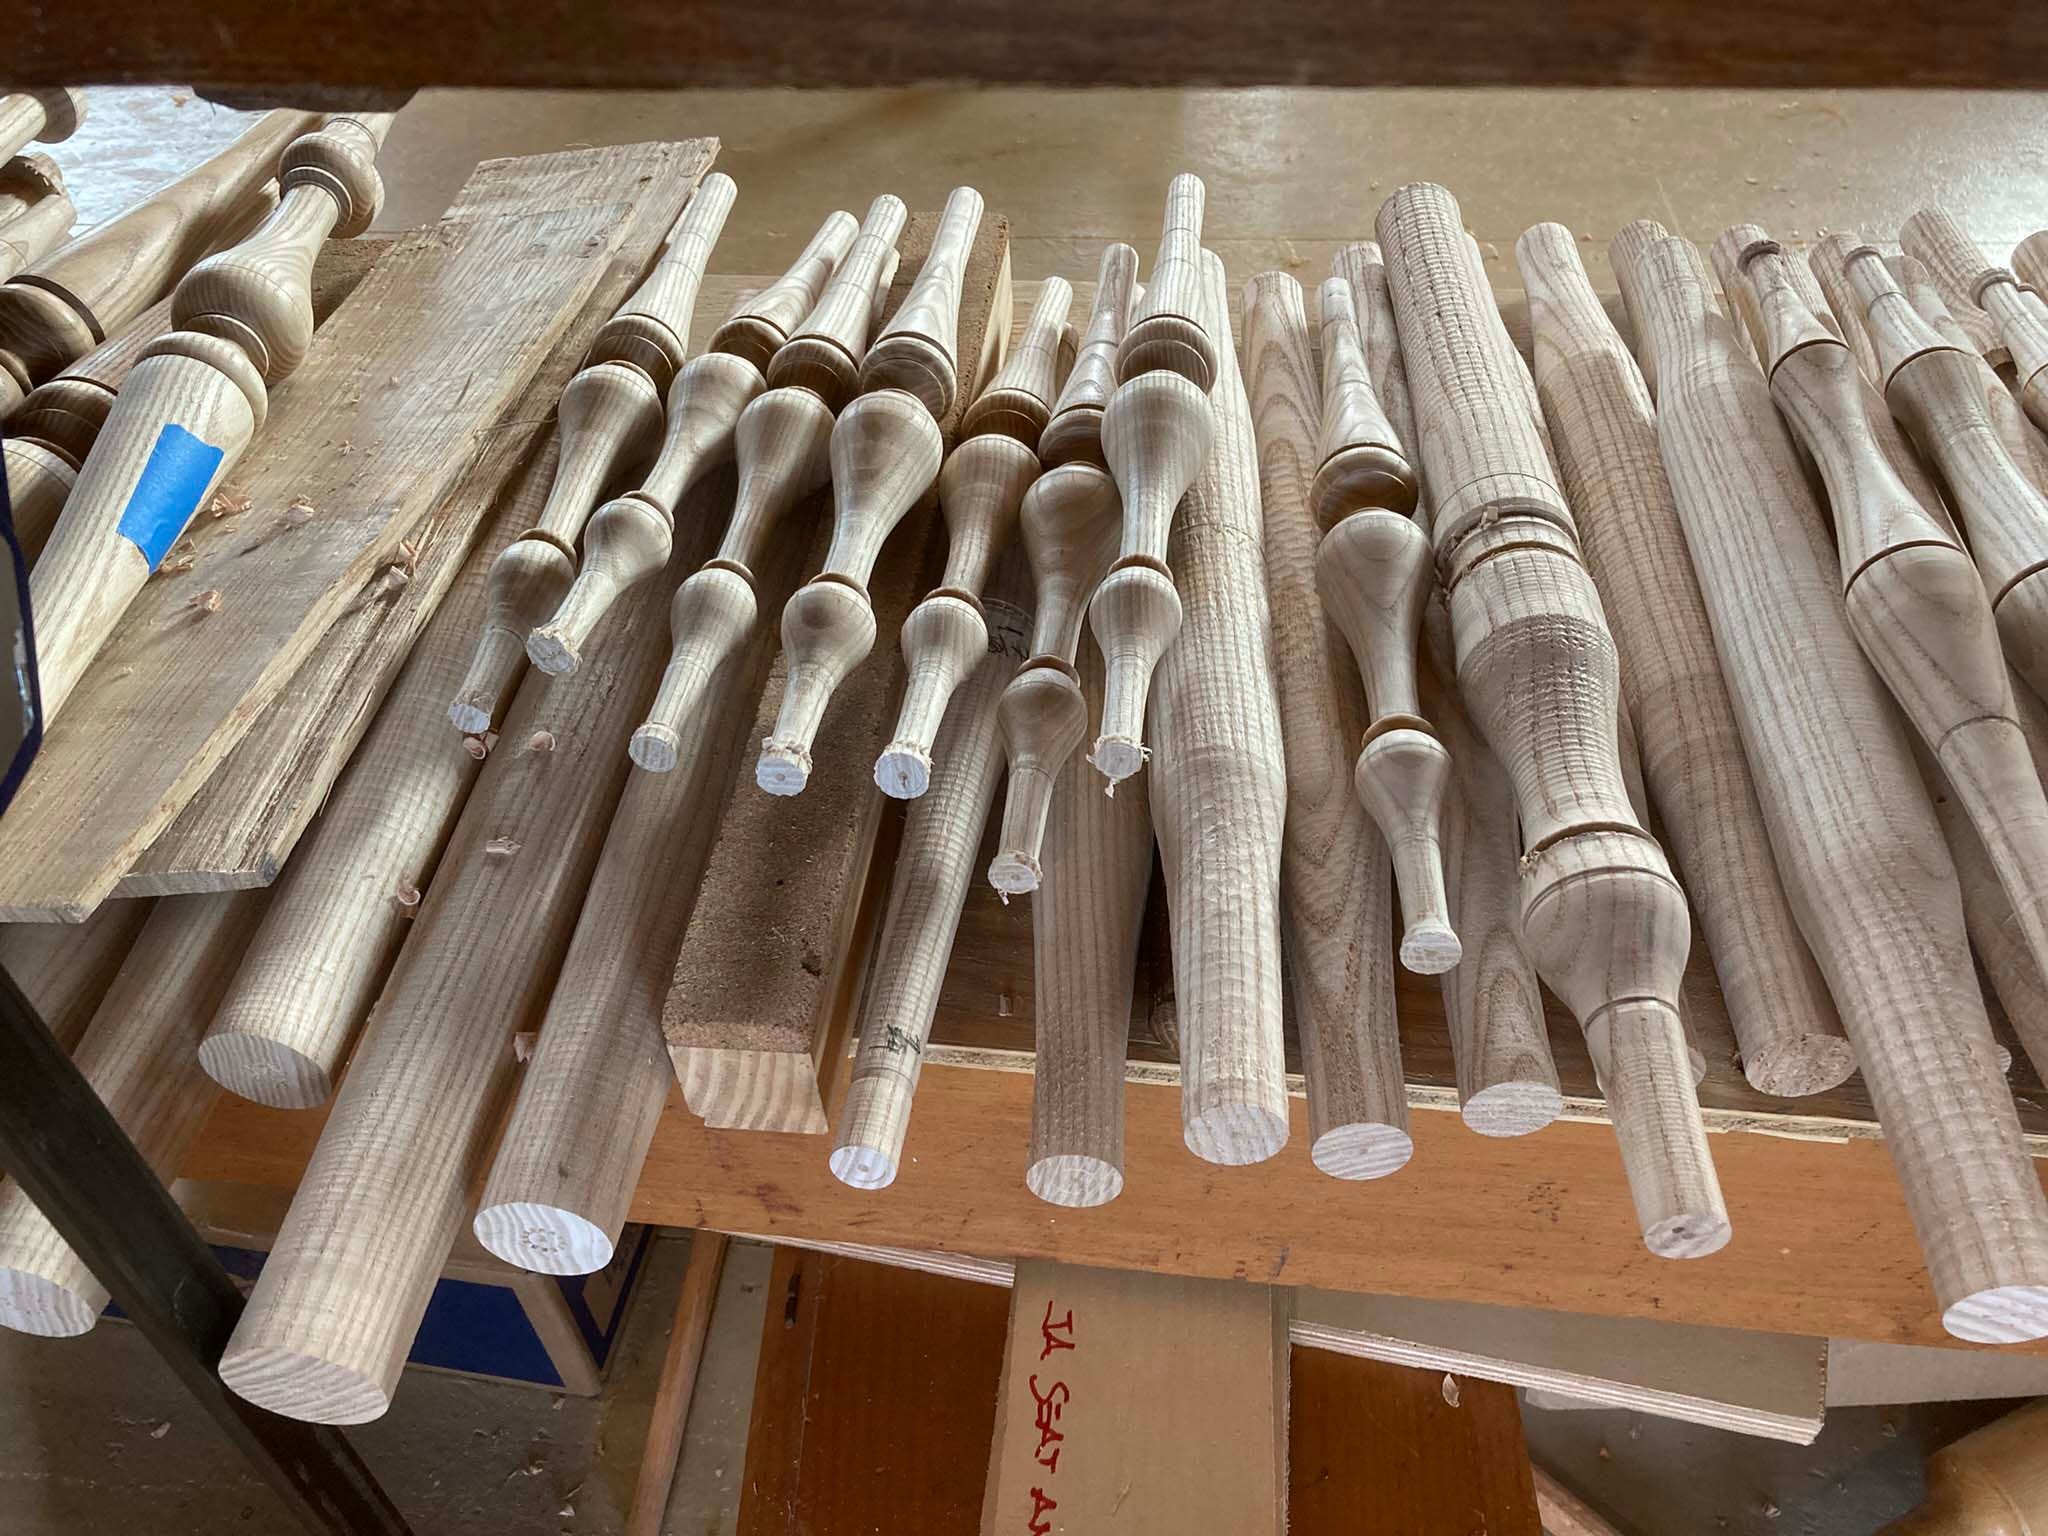
Pete was in & out of the shop during the week. One thing he had to get done was the turning for a chair class later this month. So anyone got to rubberneck as he turned the parts:
Here’s 7 students & their chairs where you can see them:
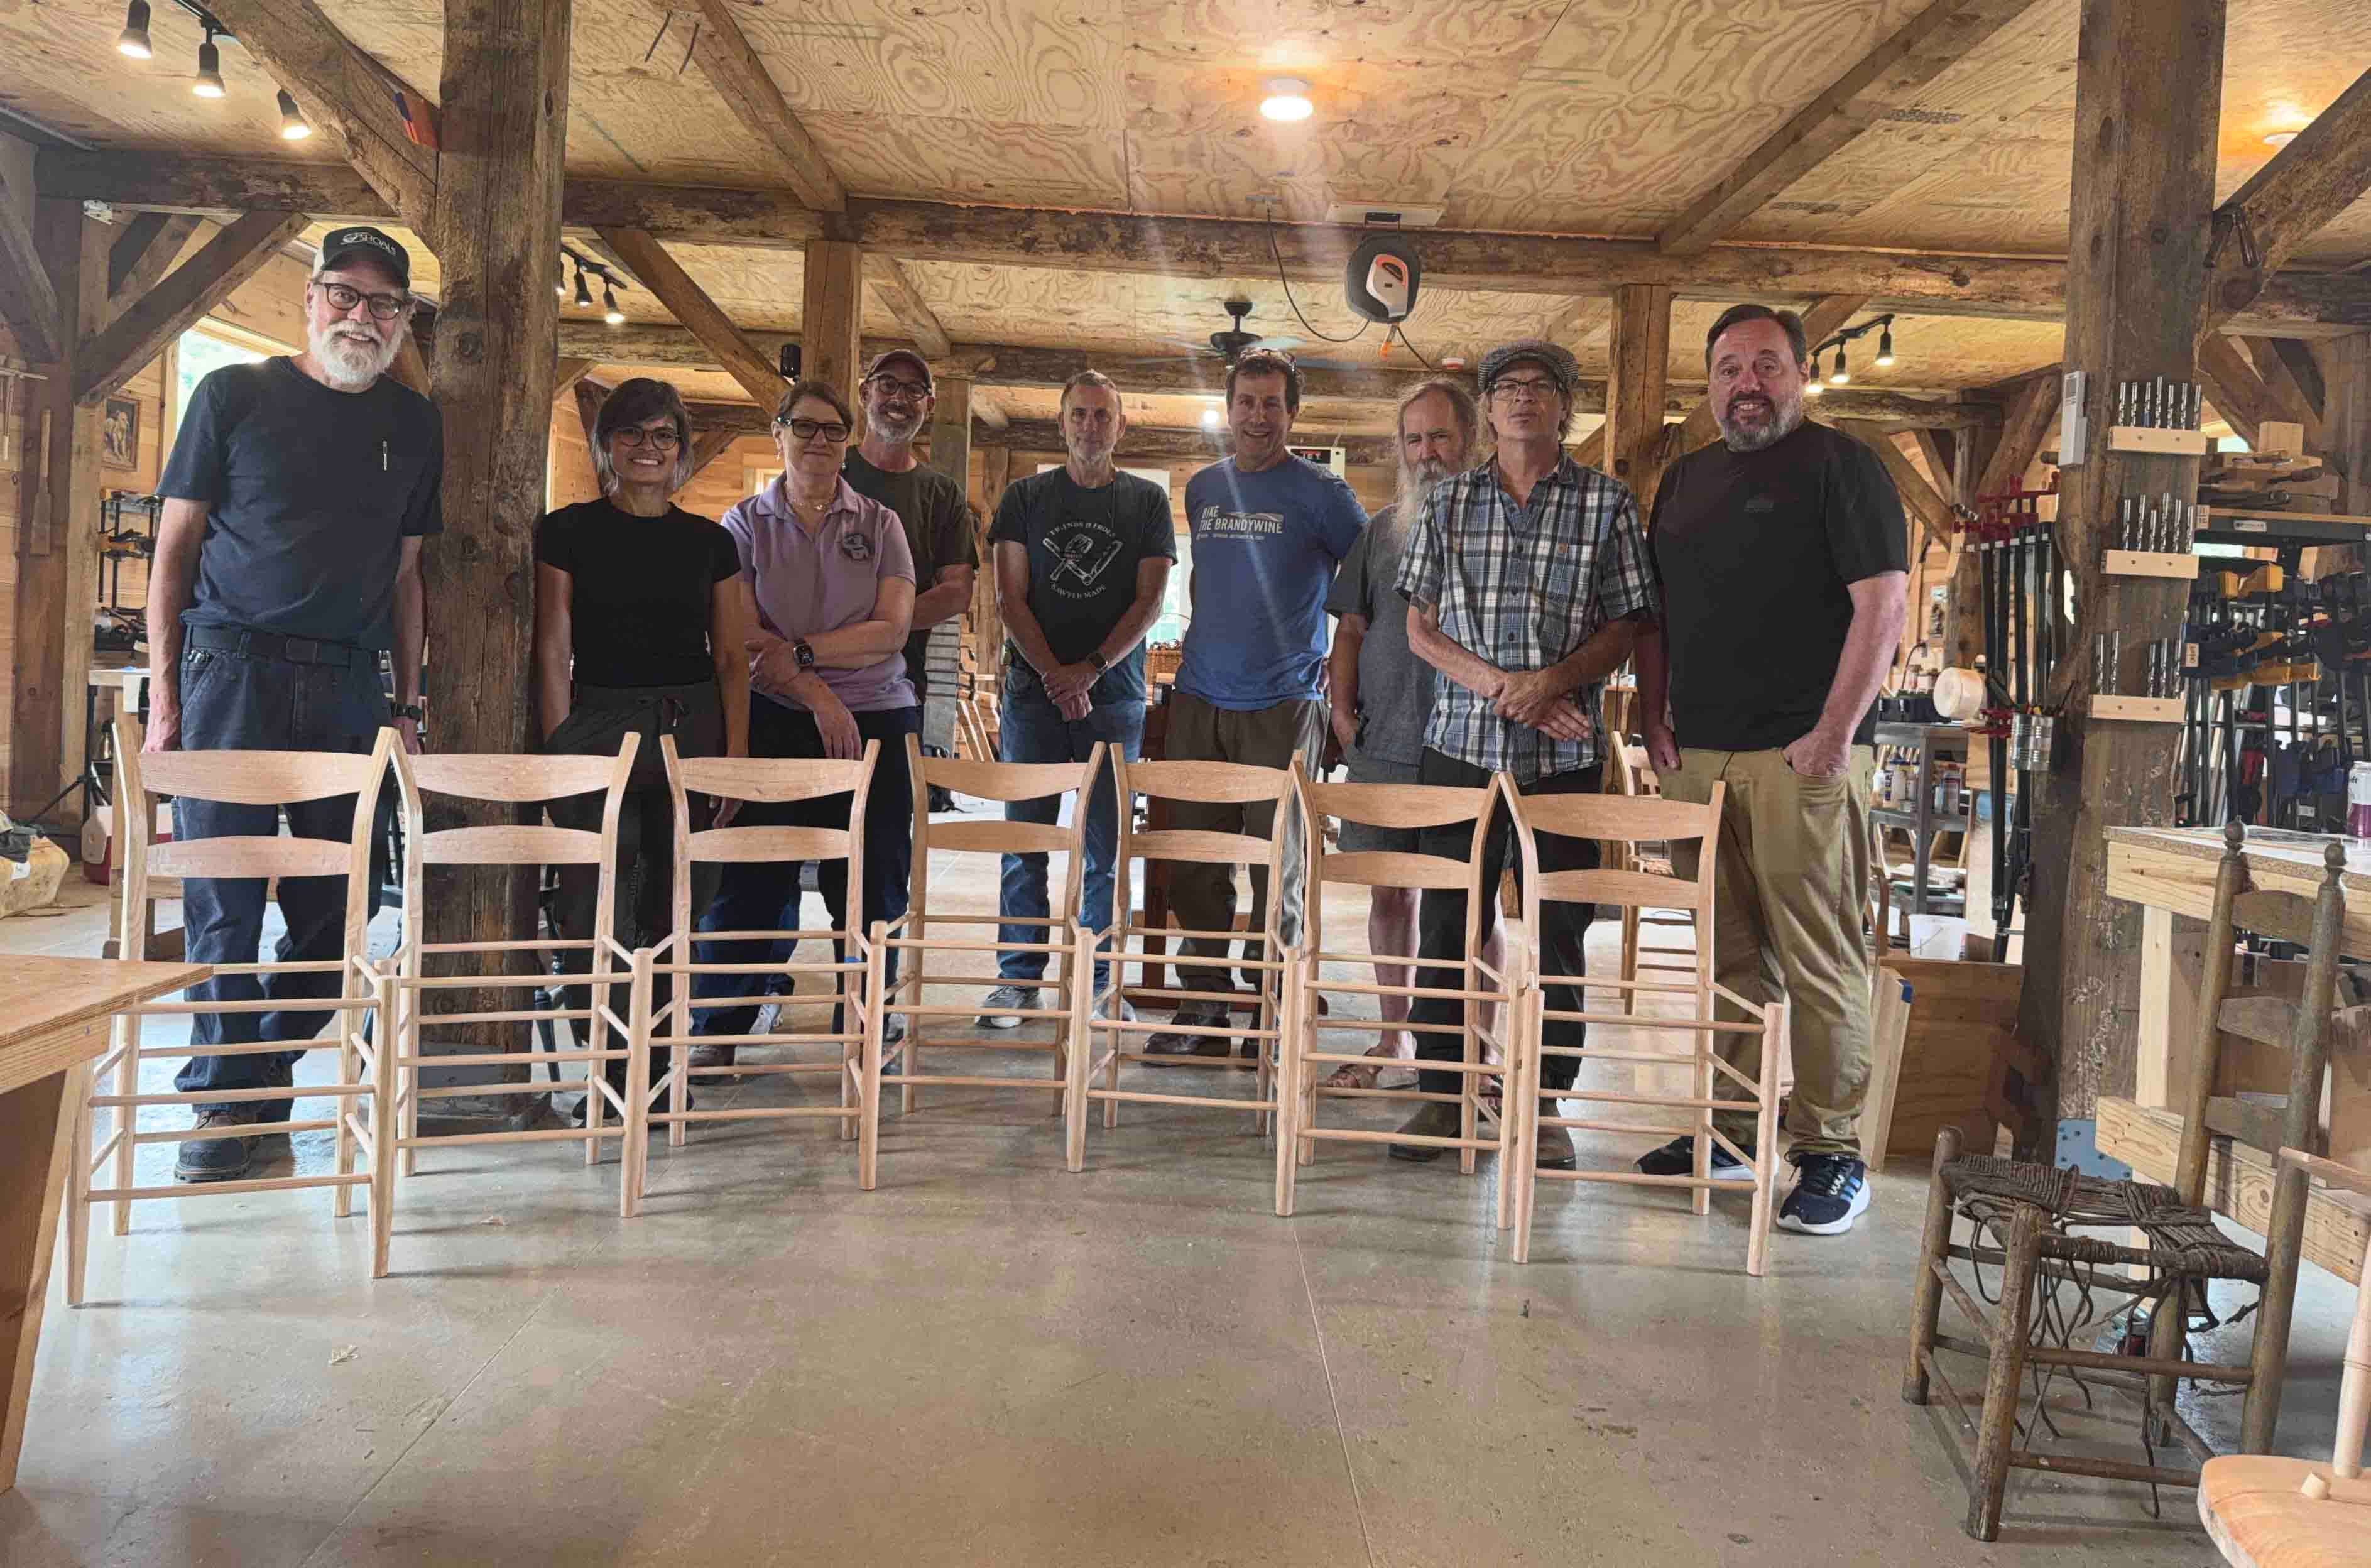
What a blast! And great results. Best class ever, best chairs
Such terrific low raking light in that barn
glad it went well