back to the dressing box
just for a while, chairmaking calls

I got back to the dressing box recently, moved it ahead a few steps. To refresh memories - there are two surviving examples of this form made by the unidentified shop in northern Essex County. Not much to go on. Here’s the overall of Winterthur’s, dated 1694. Overall size is 19” high, 19 1/2” wide and 13 1/2” deep (front to back).
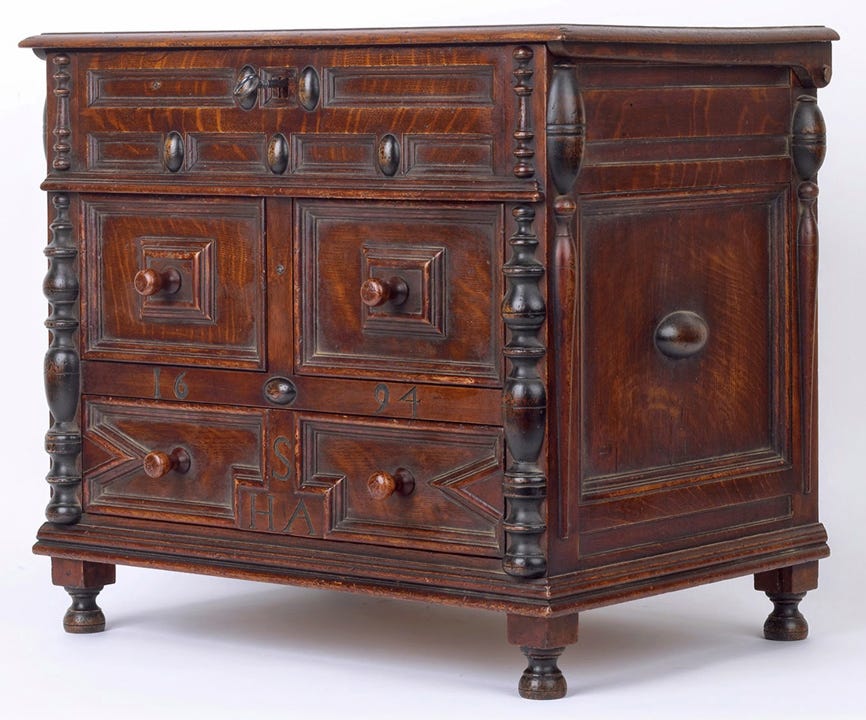
You can maybe make out the cleat-and-pintle hinge used to fix the lid. This shop used pintle hinges on a lot of chests - but this box & its relative both started life with iron hinges - what I know as “gimmals” and many of you know as snipebills. Somewhere along the line this one got a replaced lid and switched to a pintle hinge. In the chests, it’s perfectly fine. Here’s a chest from that shop - with the round-headed pintle driven through the cleat and into the side of the rear stile. A loose fit in the cleat and tight fit in the stile results in a nice wooden hinge:
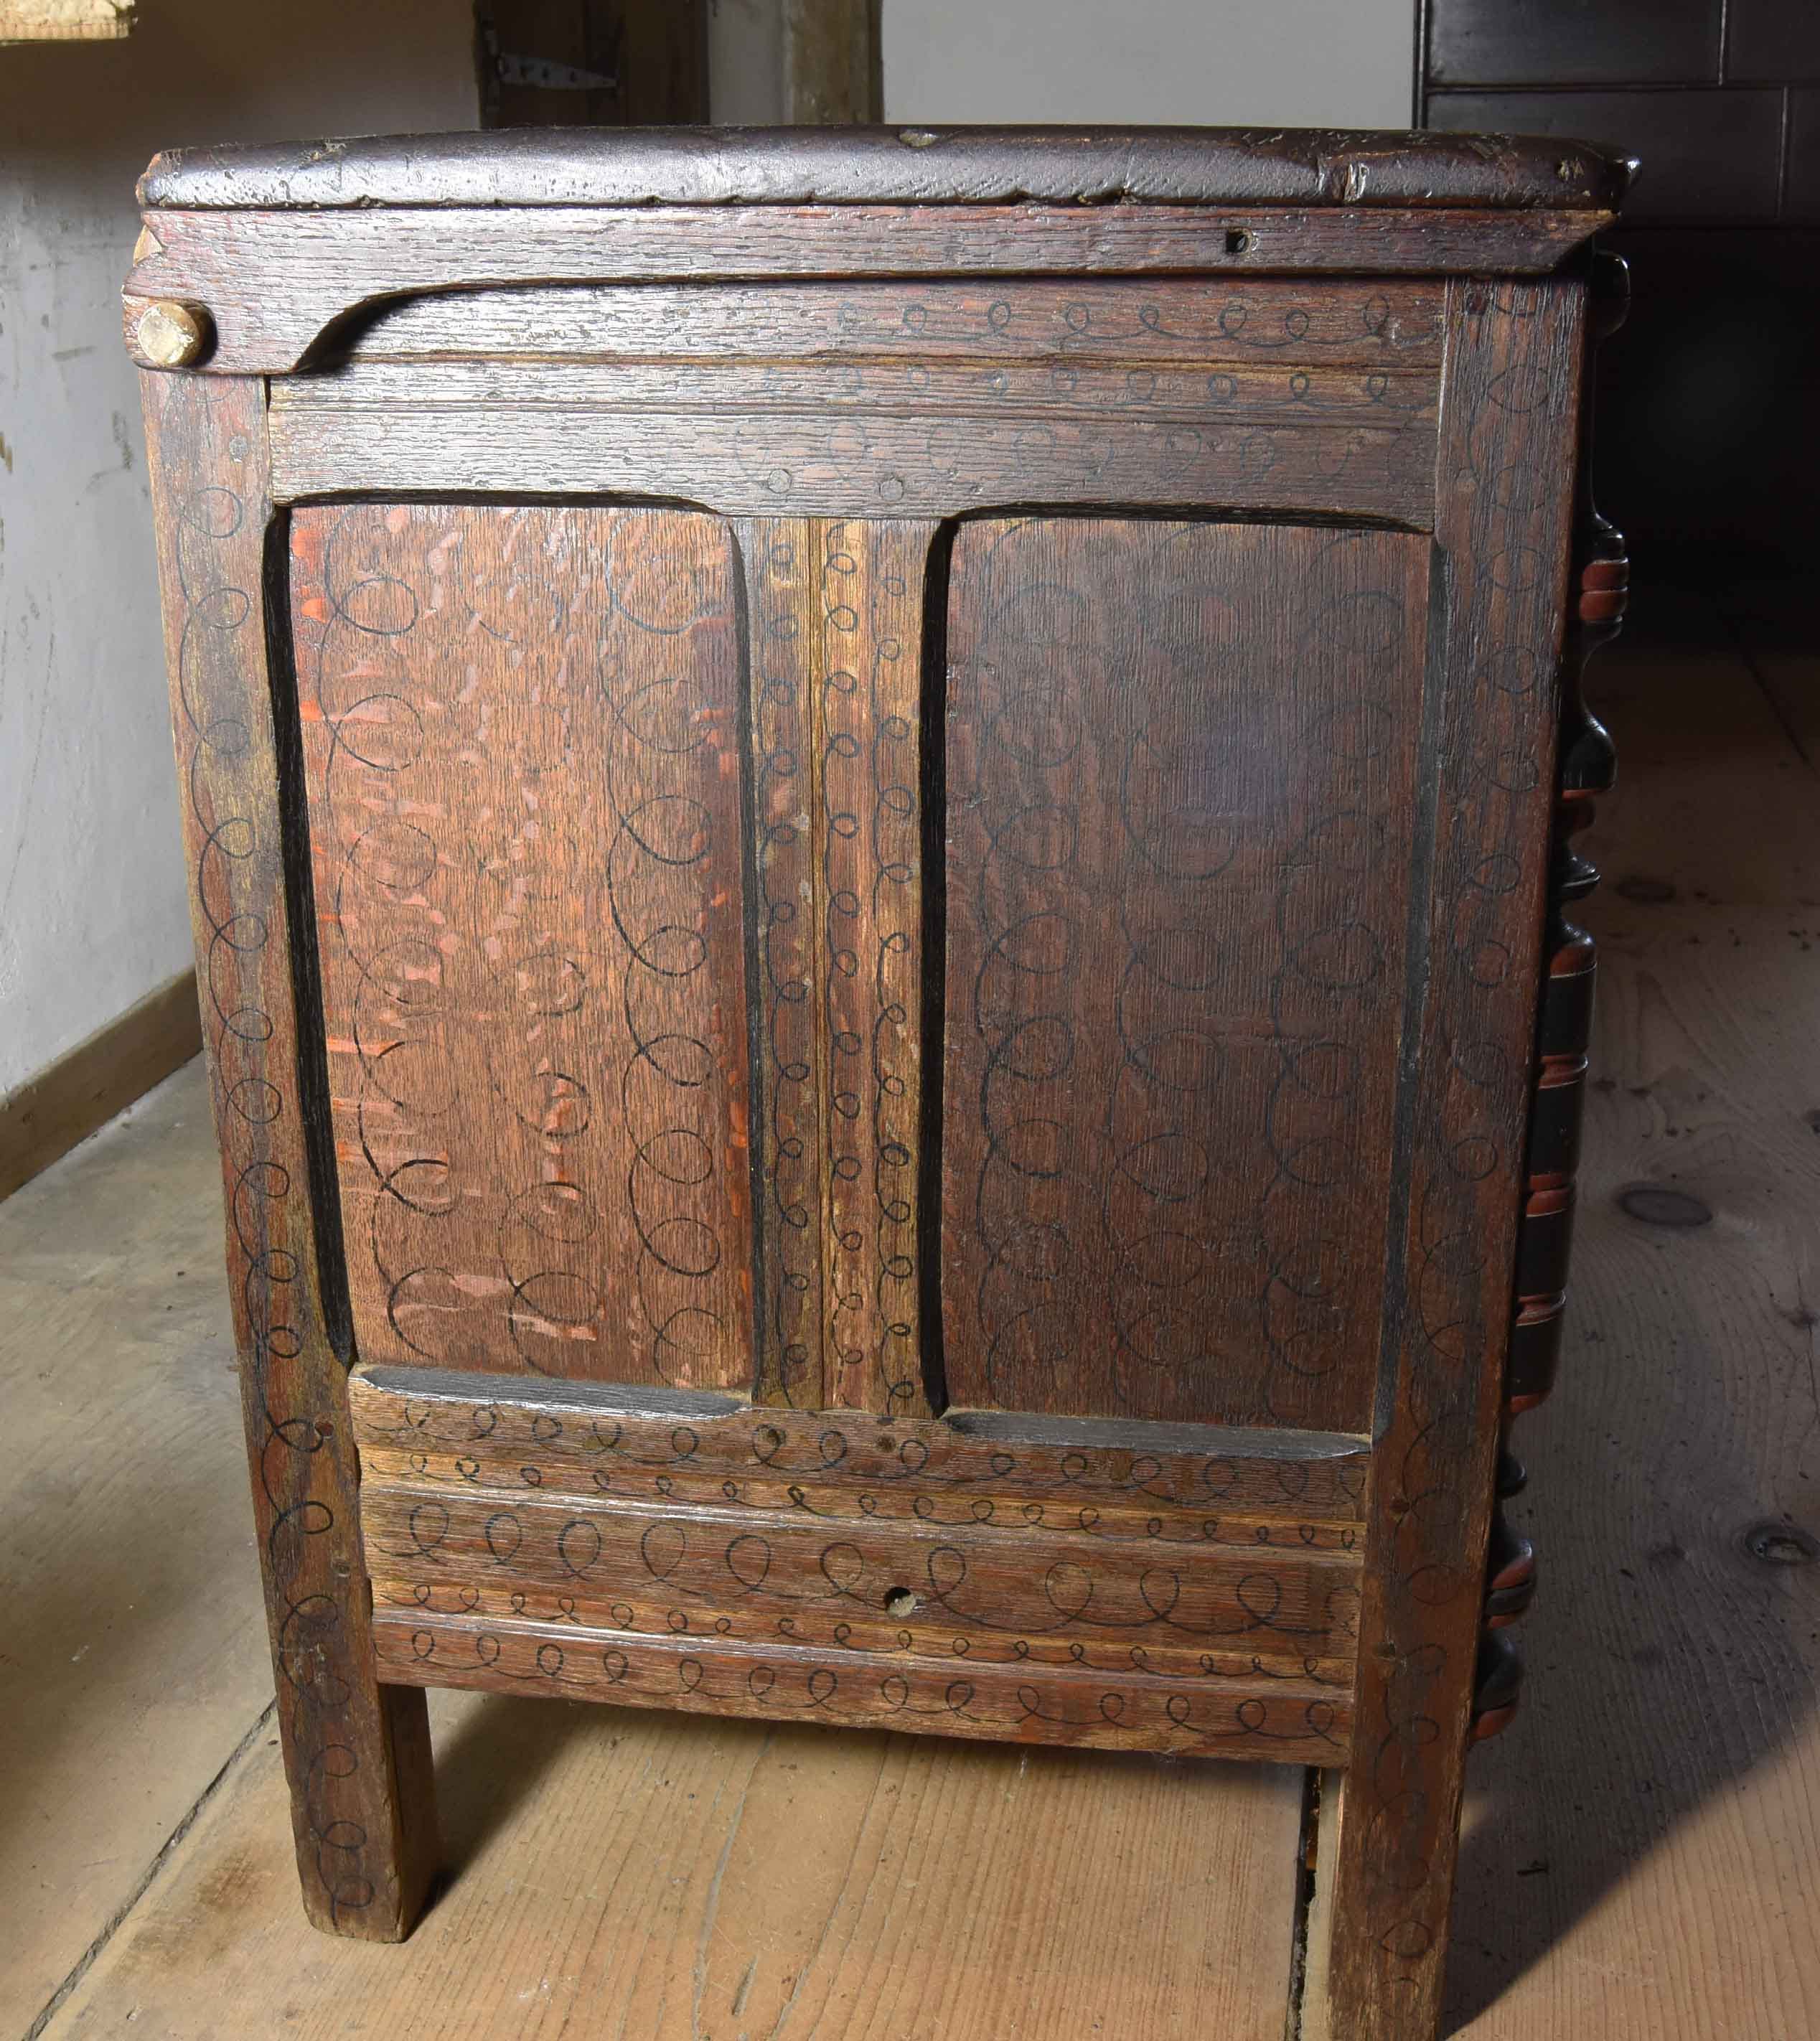
One thing that makes this work is the thickness of that rear stile. It’s about 1 3/4” x 3 1/2”, so there’s enough material there to bore that hole without interfering with the joints there from the top rails. That’s not the case in the dressing box - those stiles are 1 3/8” square, but have their inside corners cut out. So there’s only about 3/4” to 7/8” of thickness there. Here’s my first version (sorry MG):
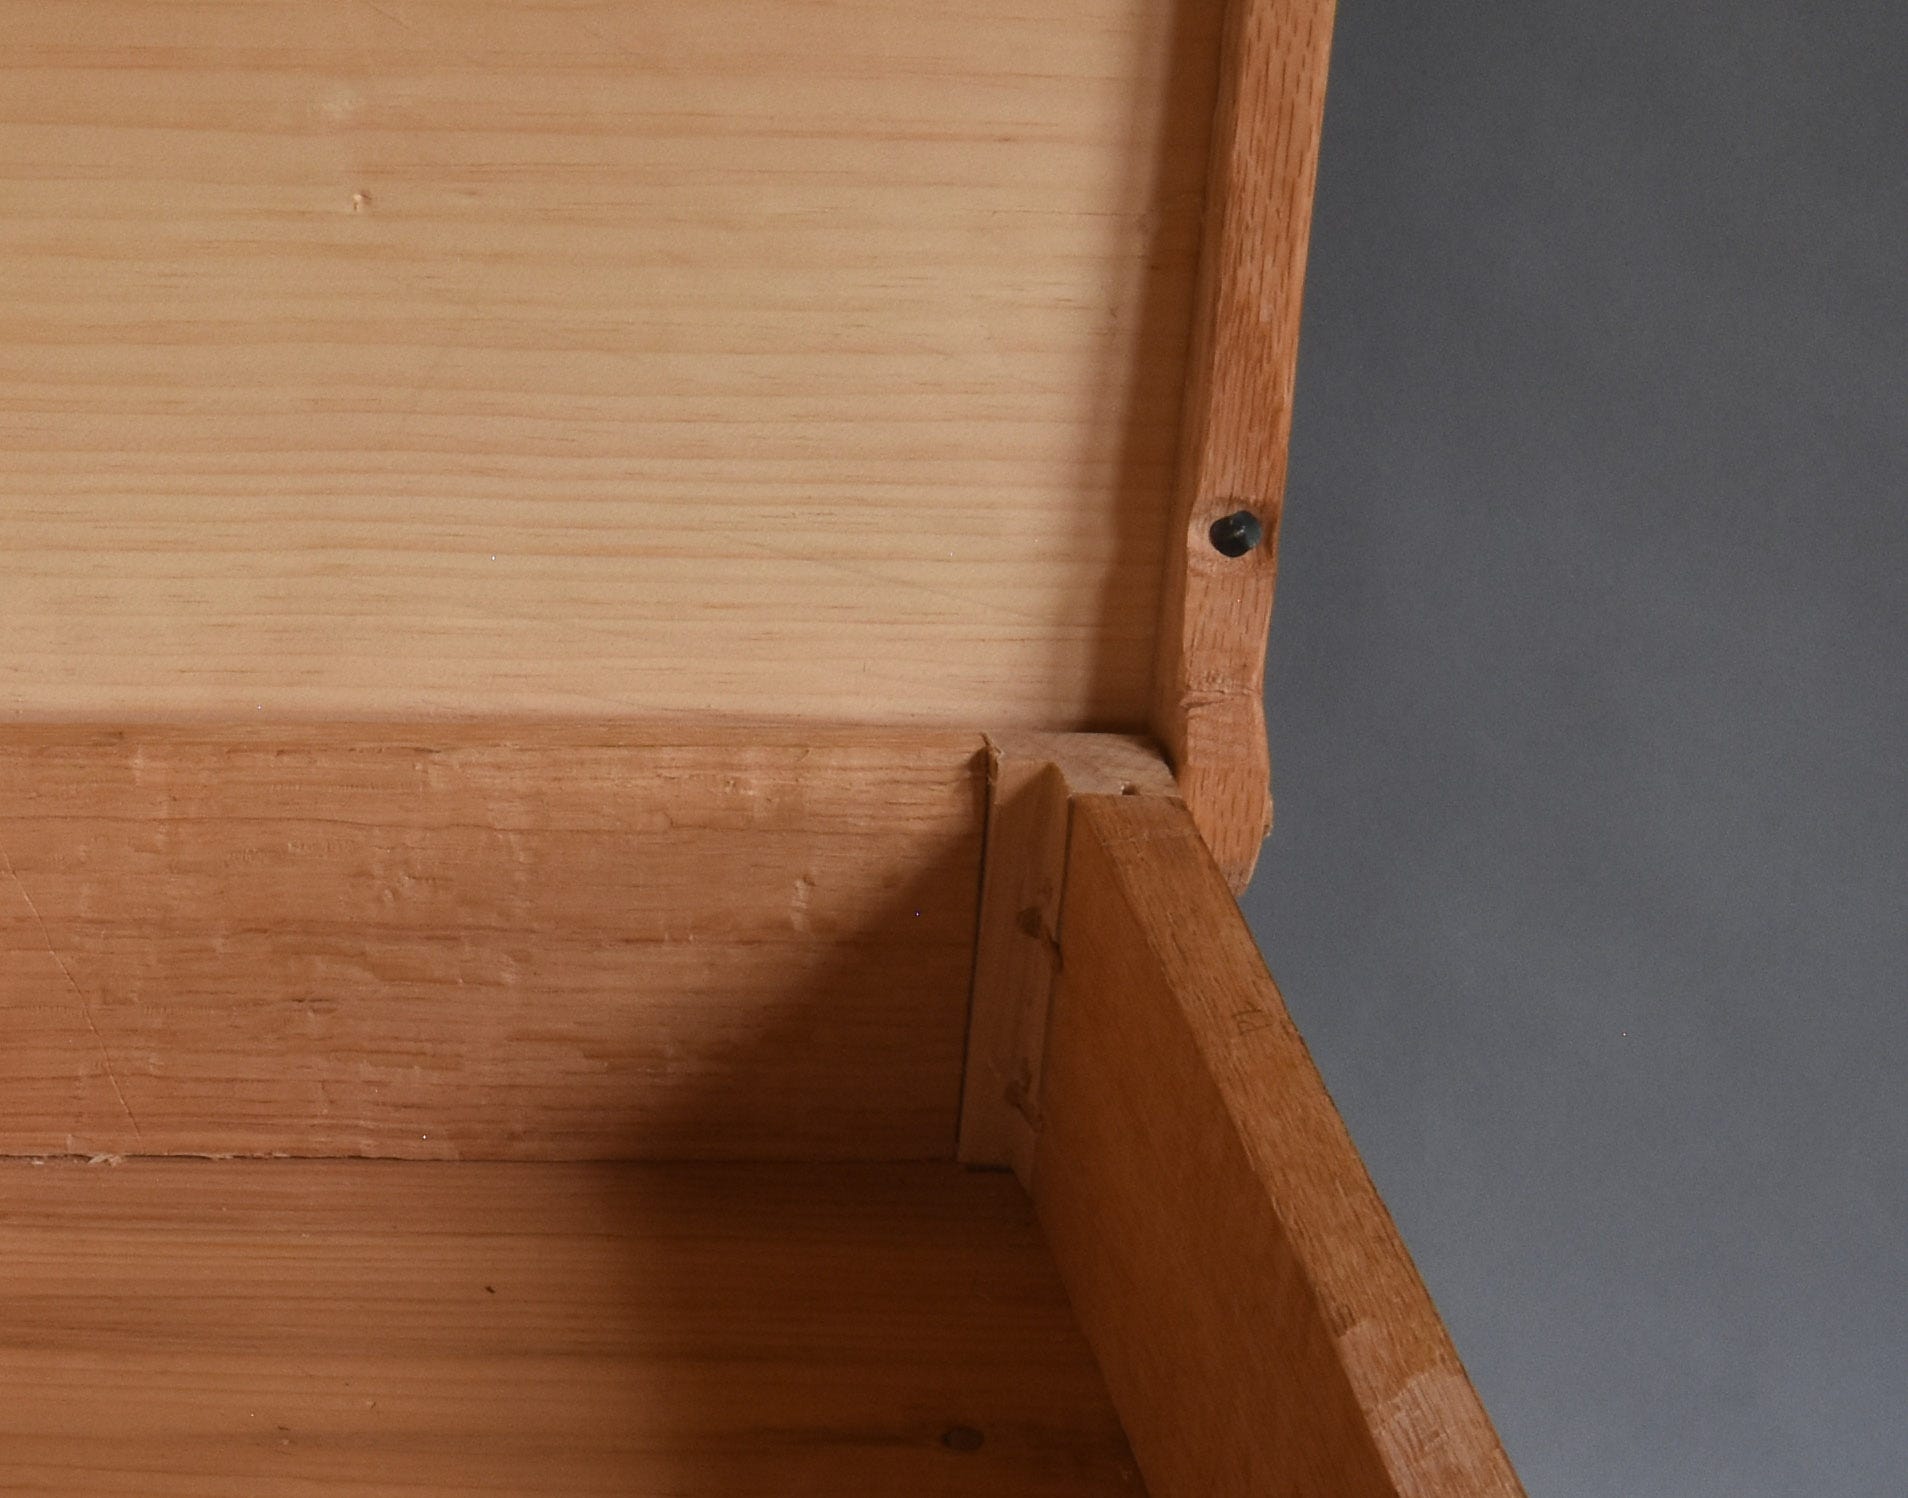
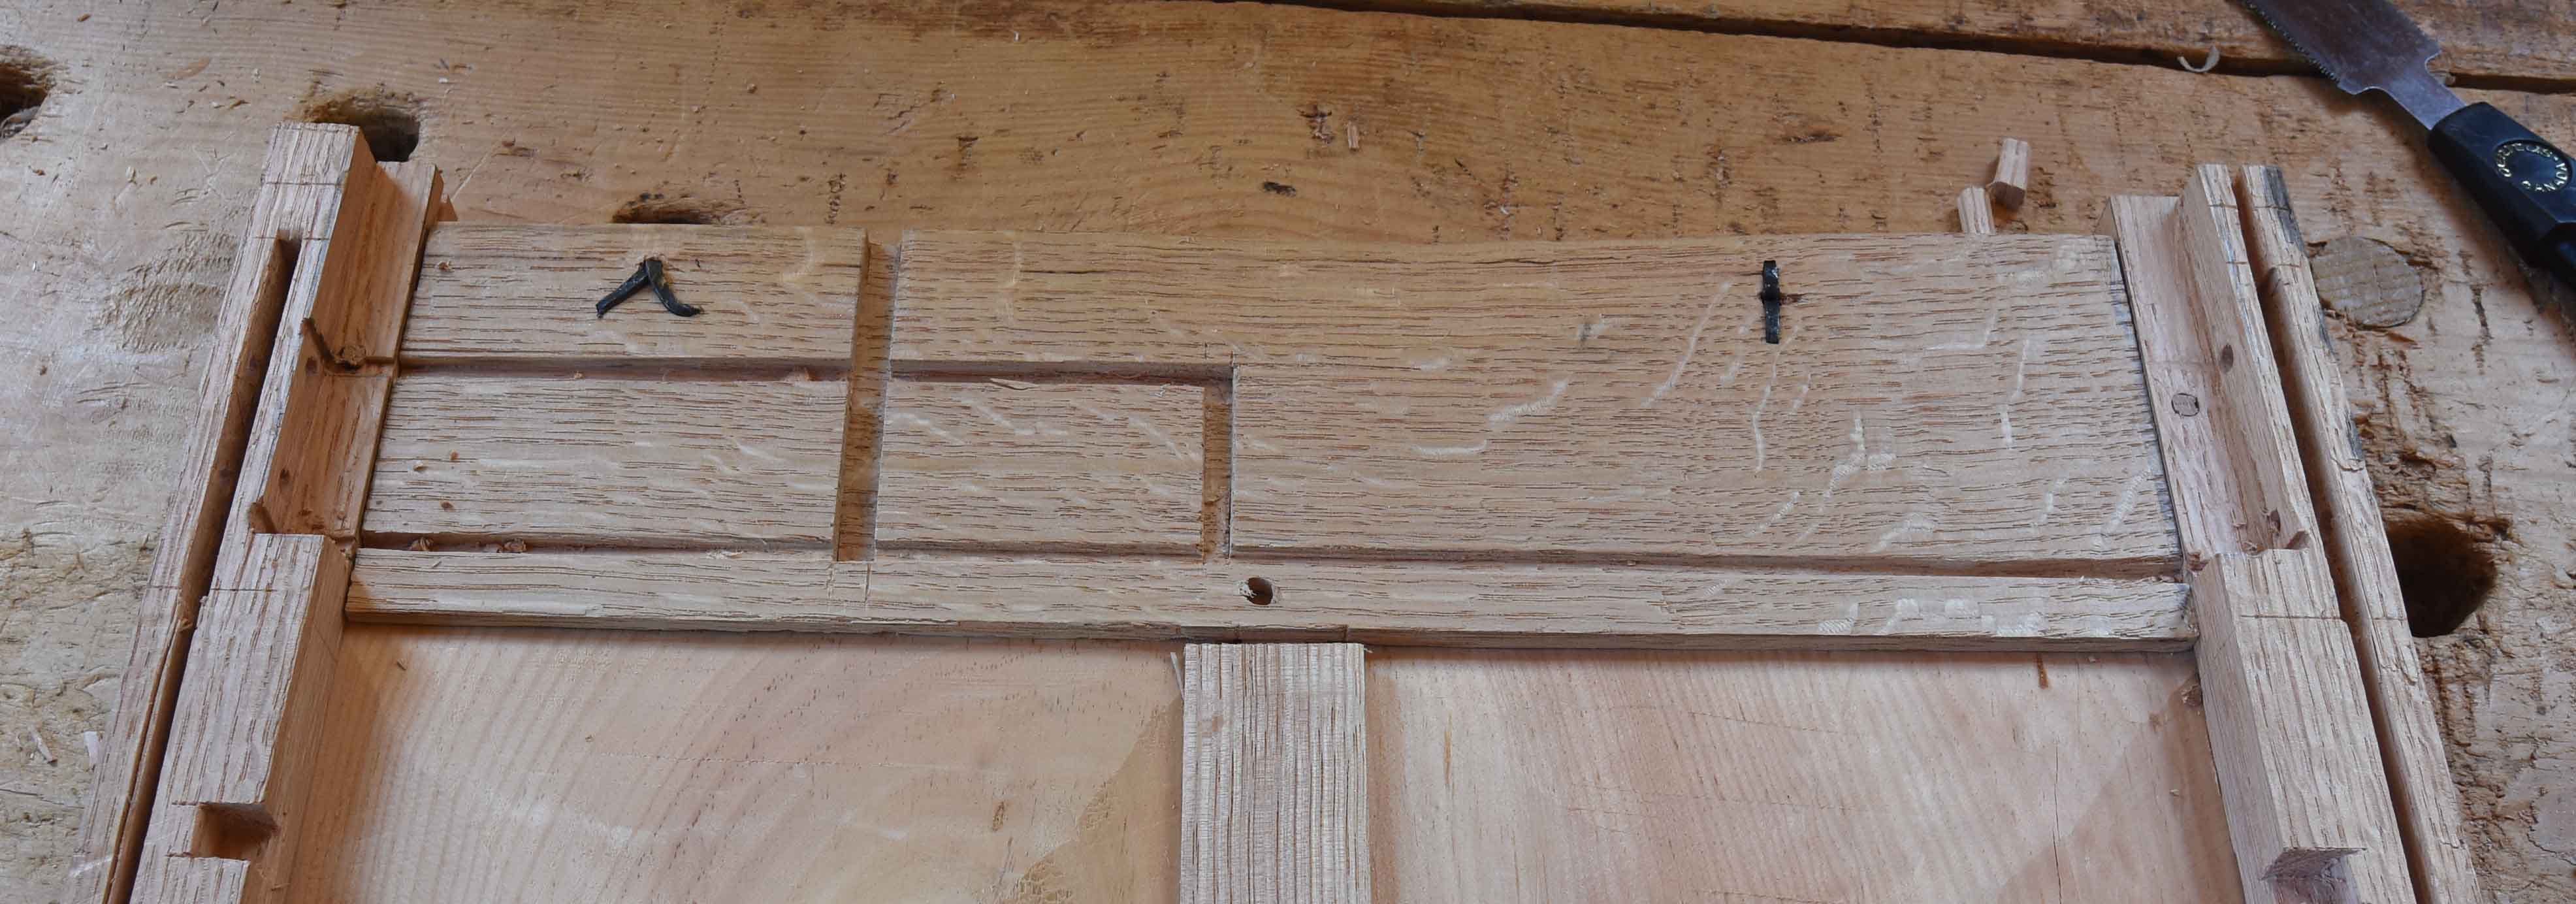
There’s so little material there that the hole for the pintle interferes with the tenons in that stile. So this time I waited until I had some gimmals. Installed them the other day, before assembly.
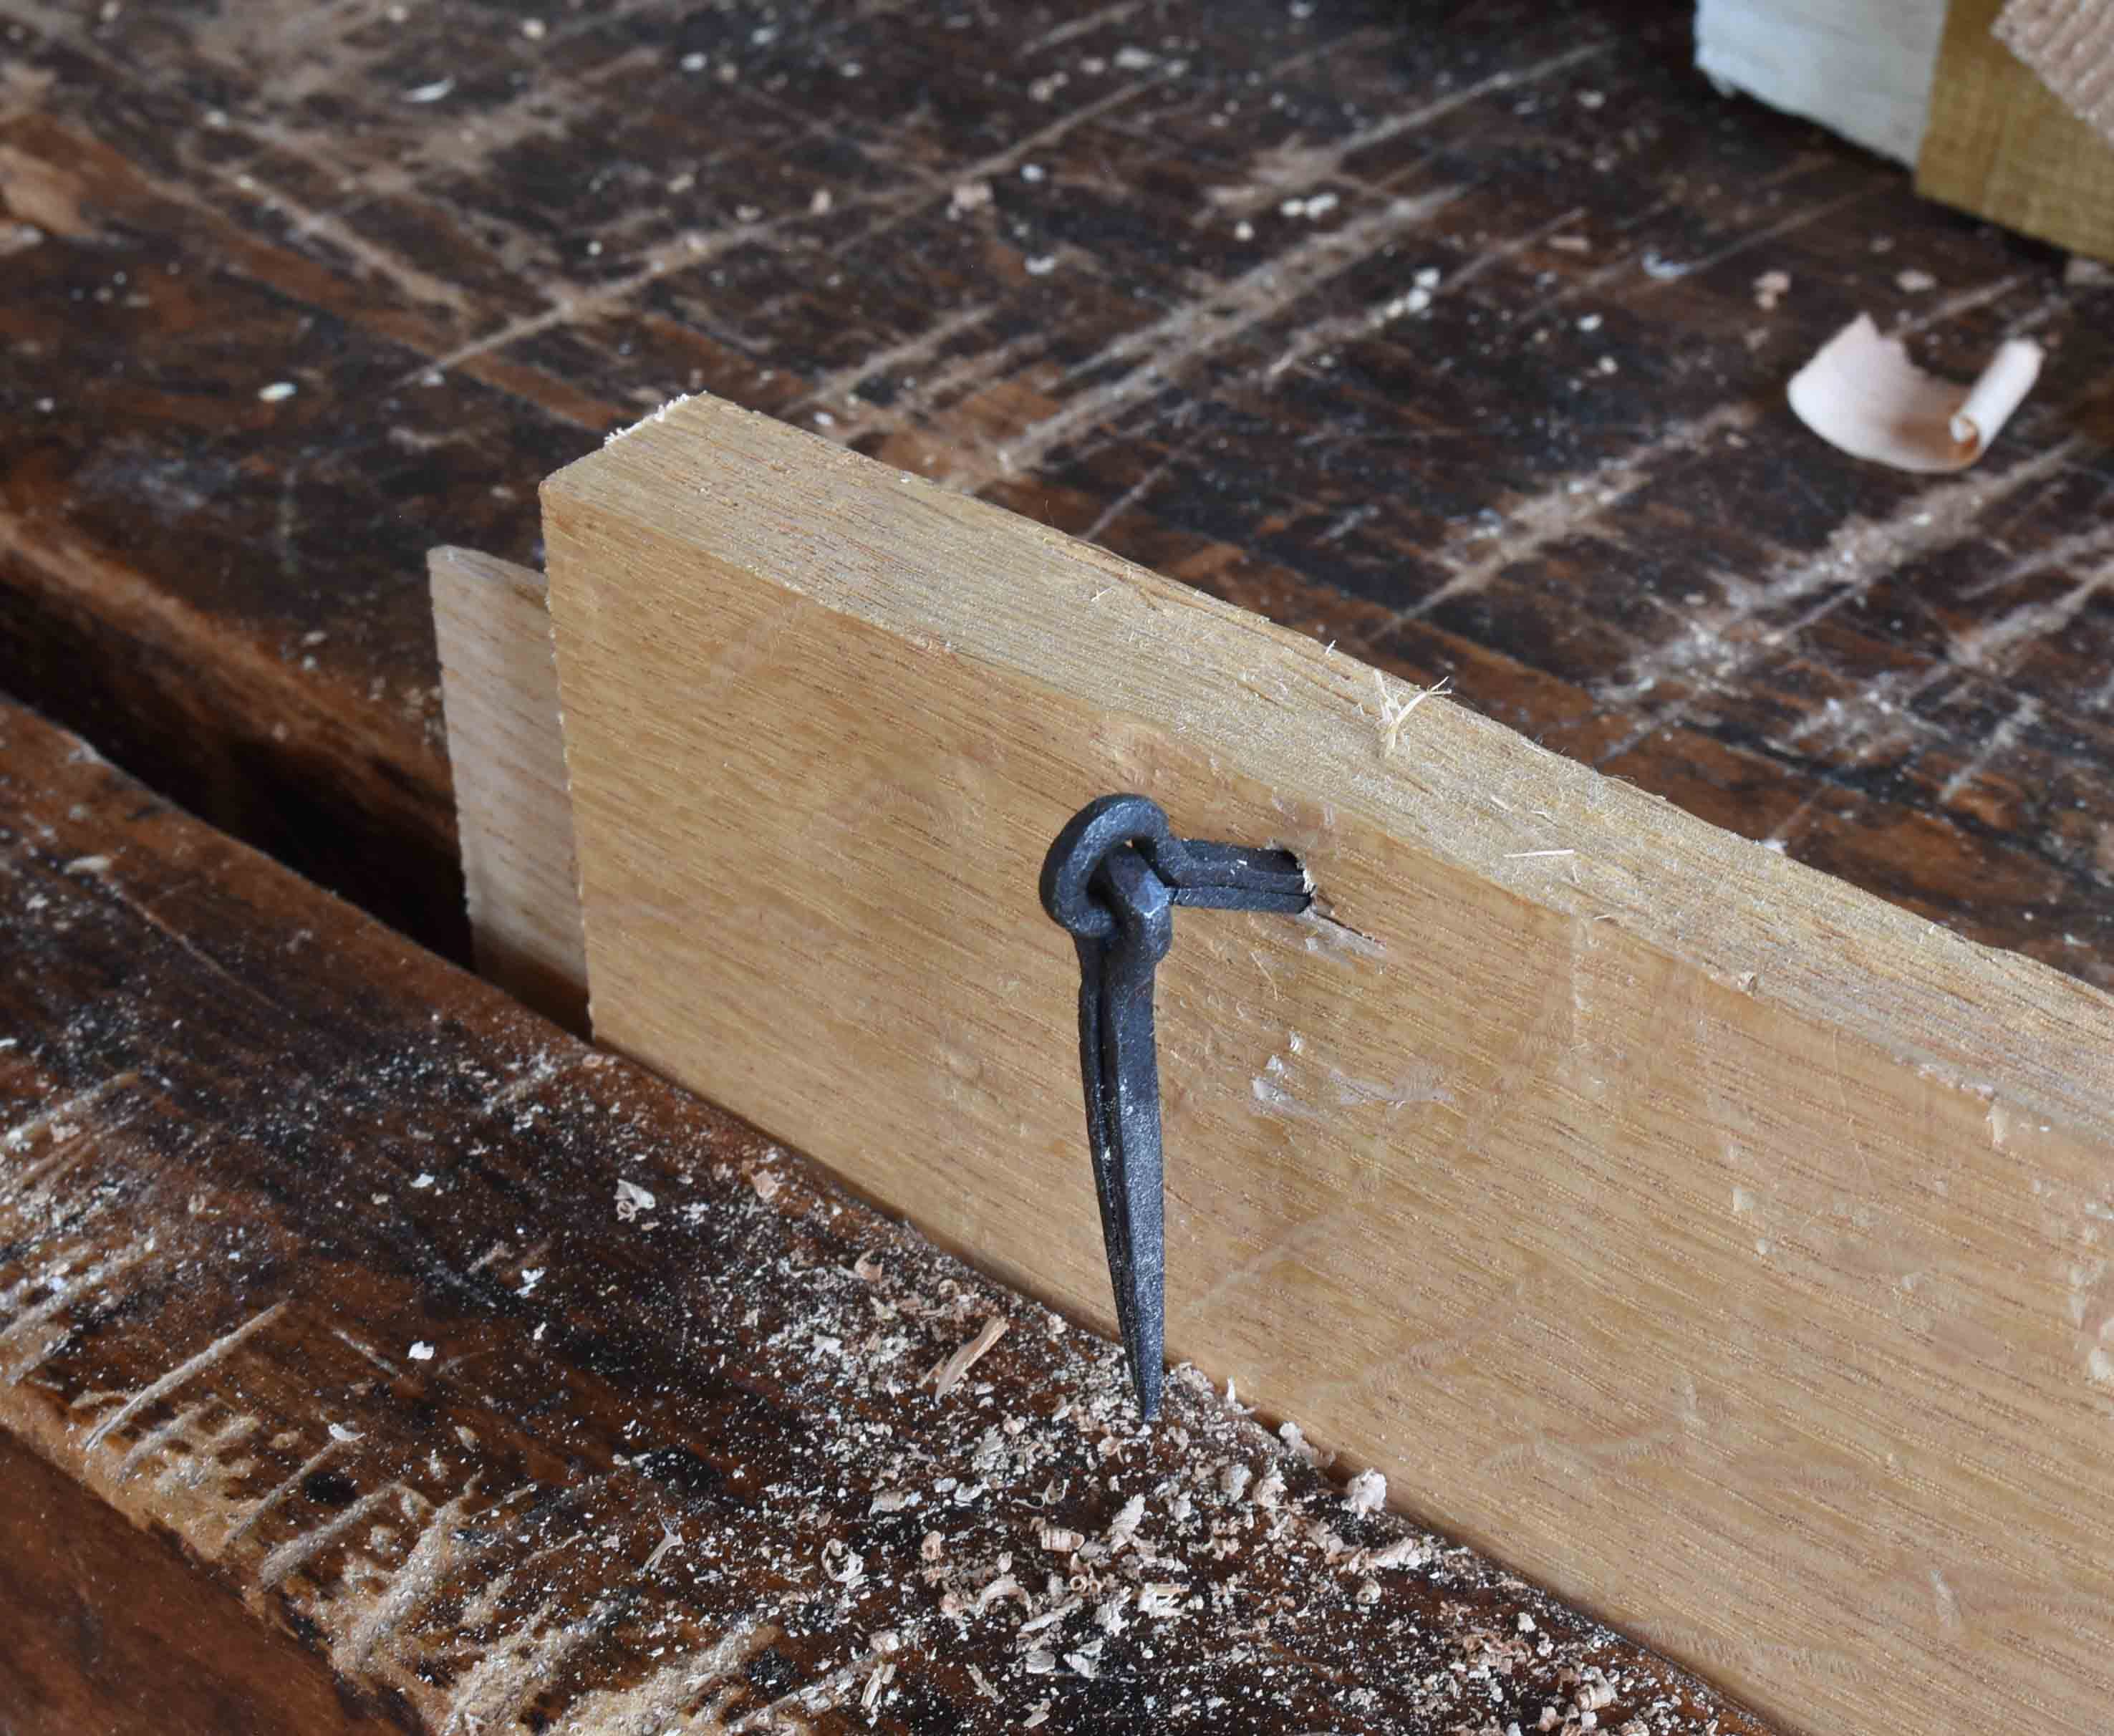
I always bore a test hole for these, once that’s done I drive them into the rail to then clinch them over on the inside. This is best done before assembling the box.
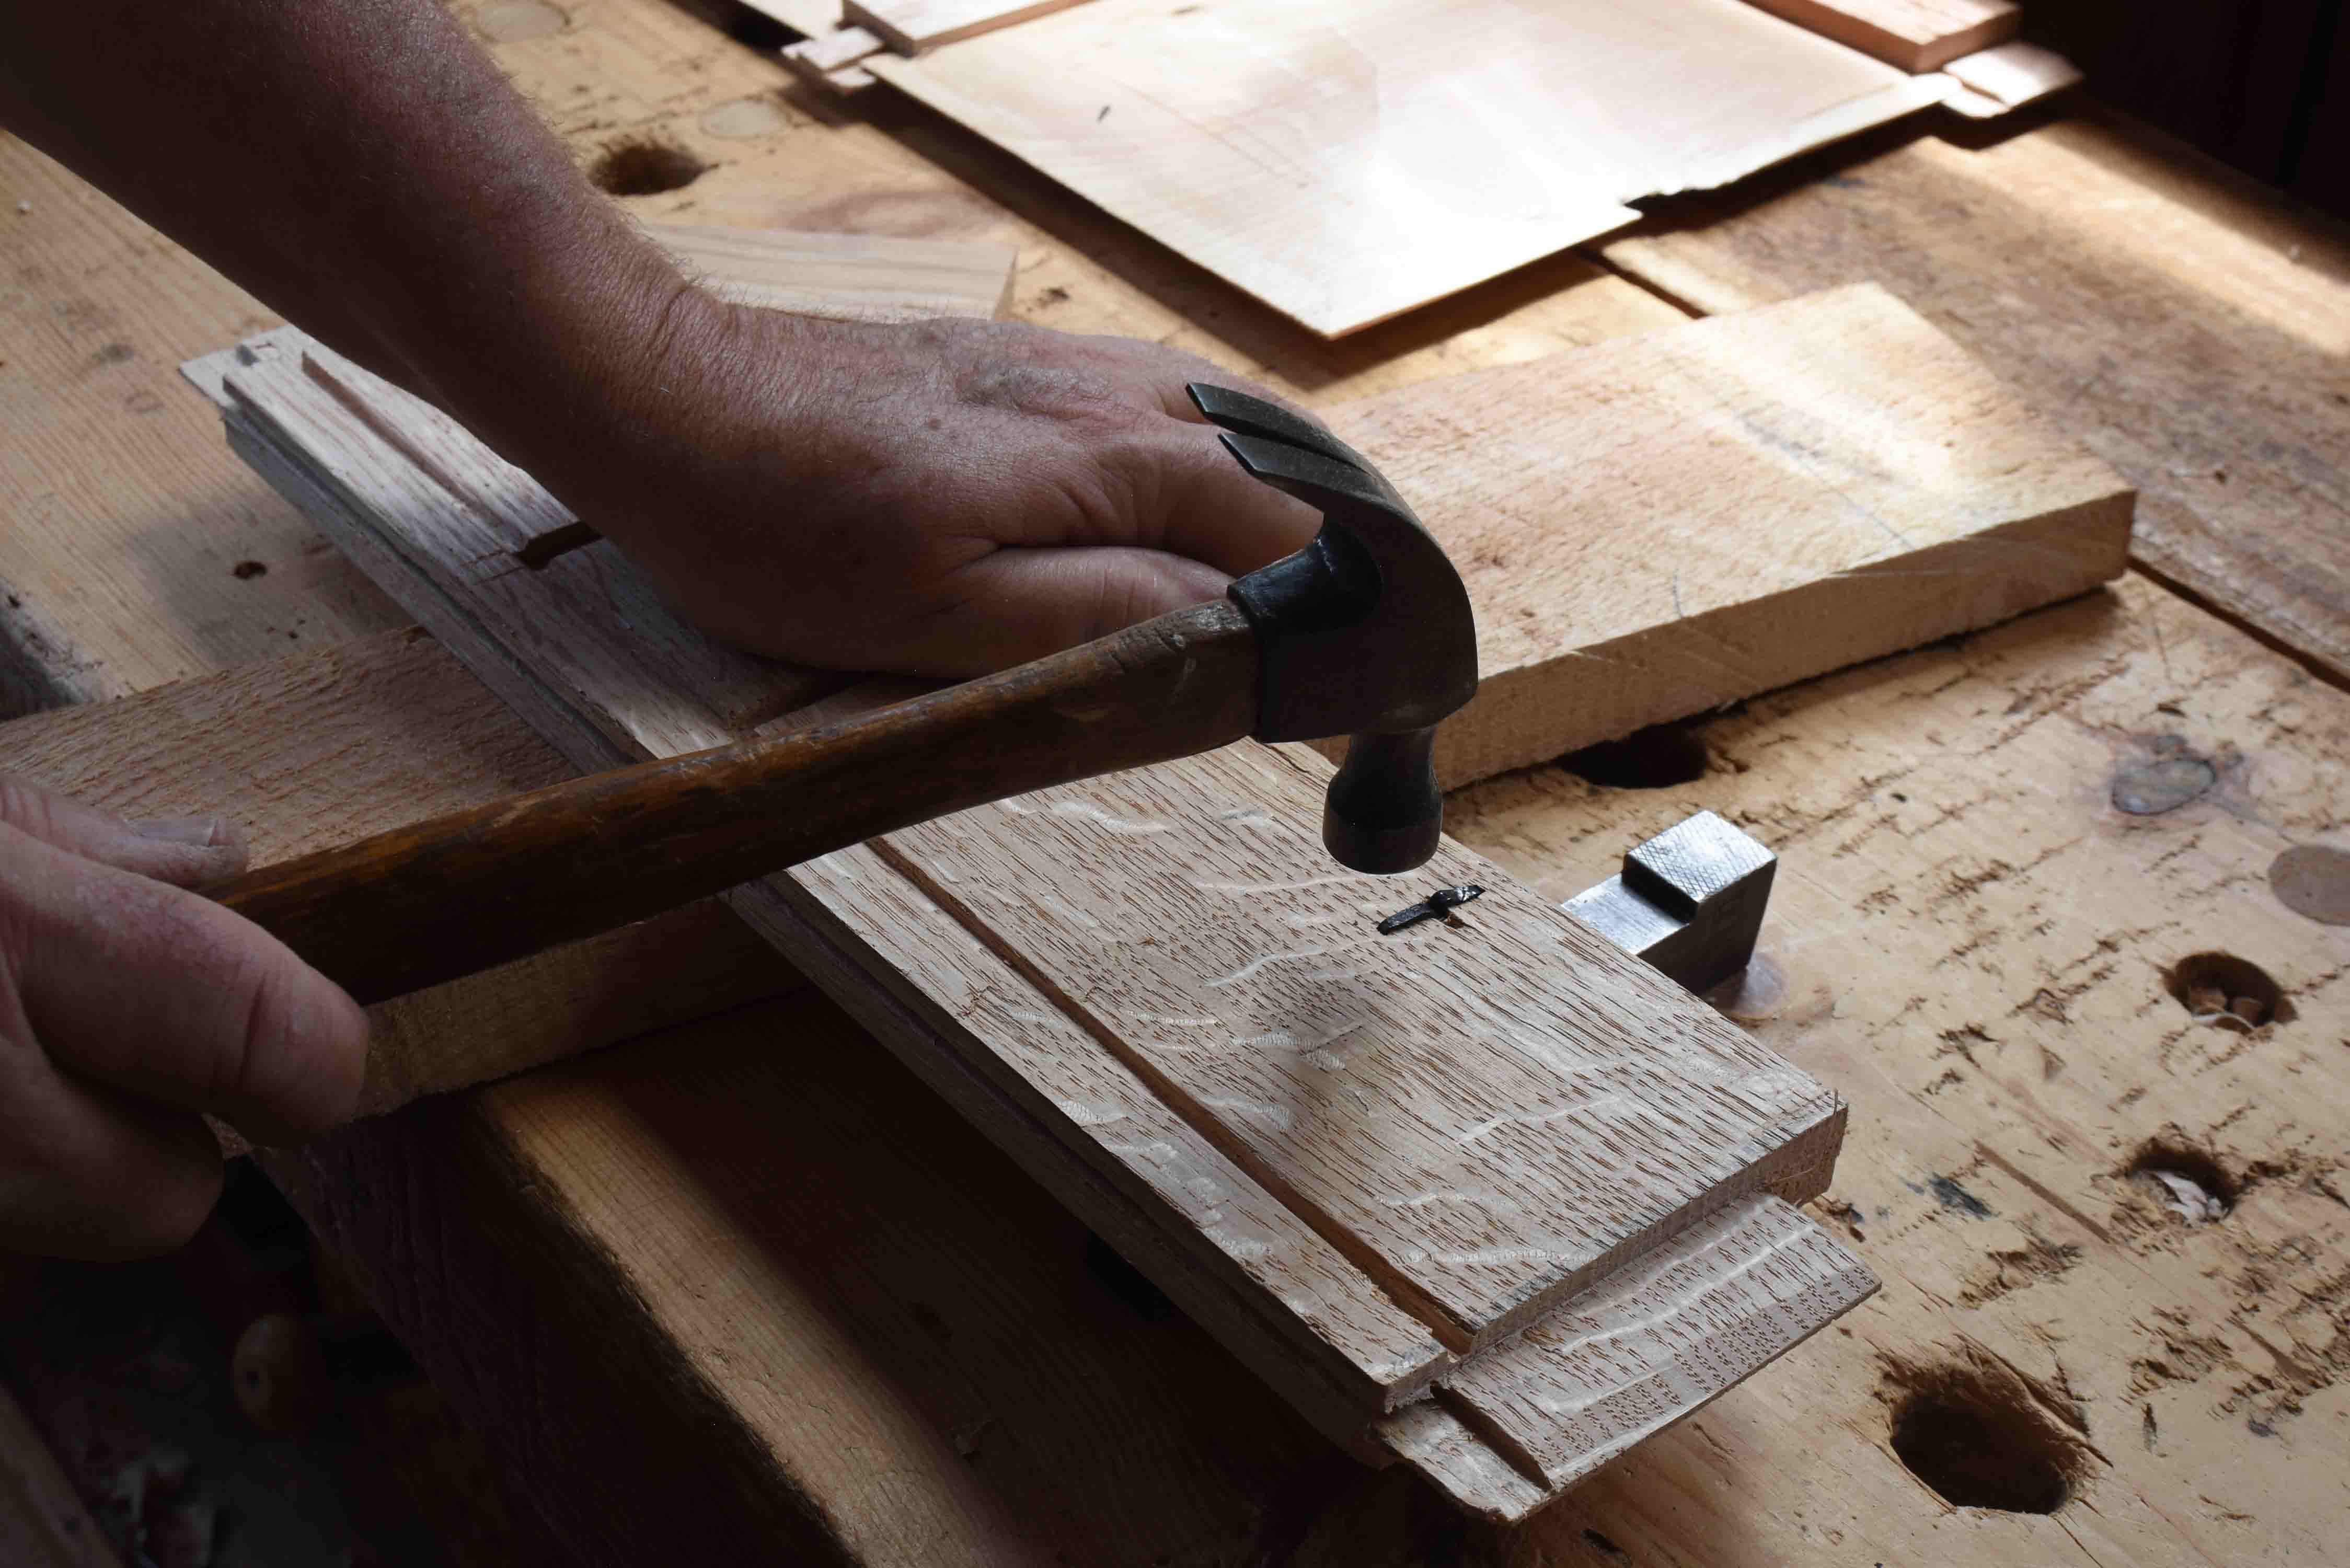
That photo with the hammer is the 2nd hinge - but it should have been the first. There’s an elevated compartment at the other end and I didn’t think I’d have room above it to clinch the hinges 90 degrees to the fiber (as I’m doing above.) So one hinge is clinched this way, the other that way. As it happened, there would have been enough room. Made a note for next time.